11 minutes
Hubstaff Quick Start Guide for New Users
Welcome to Hubstaff!
We look forward to helping you easily track time and activities.
Read on to learn everything you need to know to get started:
Accepting an invitation
Before joining Hubstaff, your organization owner will have had to send you an invite to join their Hubstaff organization or company.
Step 1
Once an organization owner or employer, has invited you to join their Hubstaff organization, you will receive an invitation to your email. Click the Accept invite button.
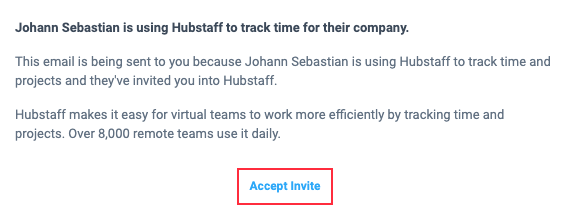
Alternatively, you can also copy and paste the invite link within the body of the email to the browser address bar.
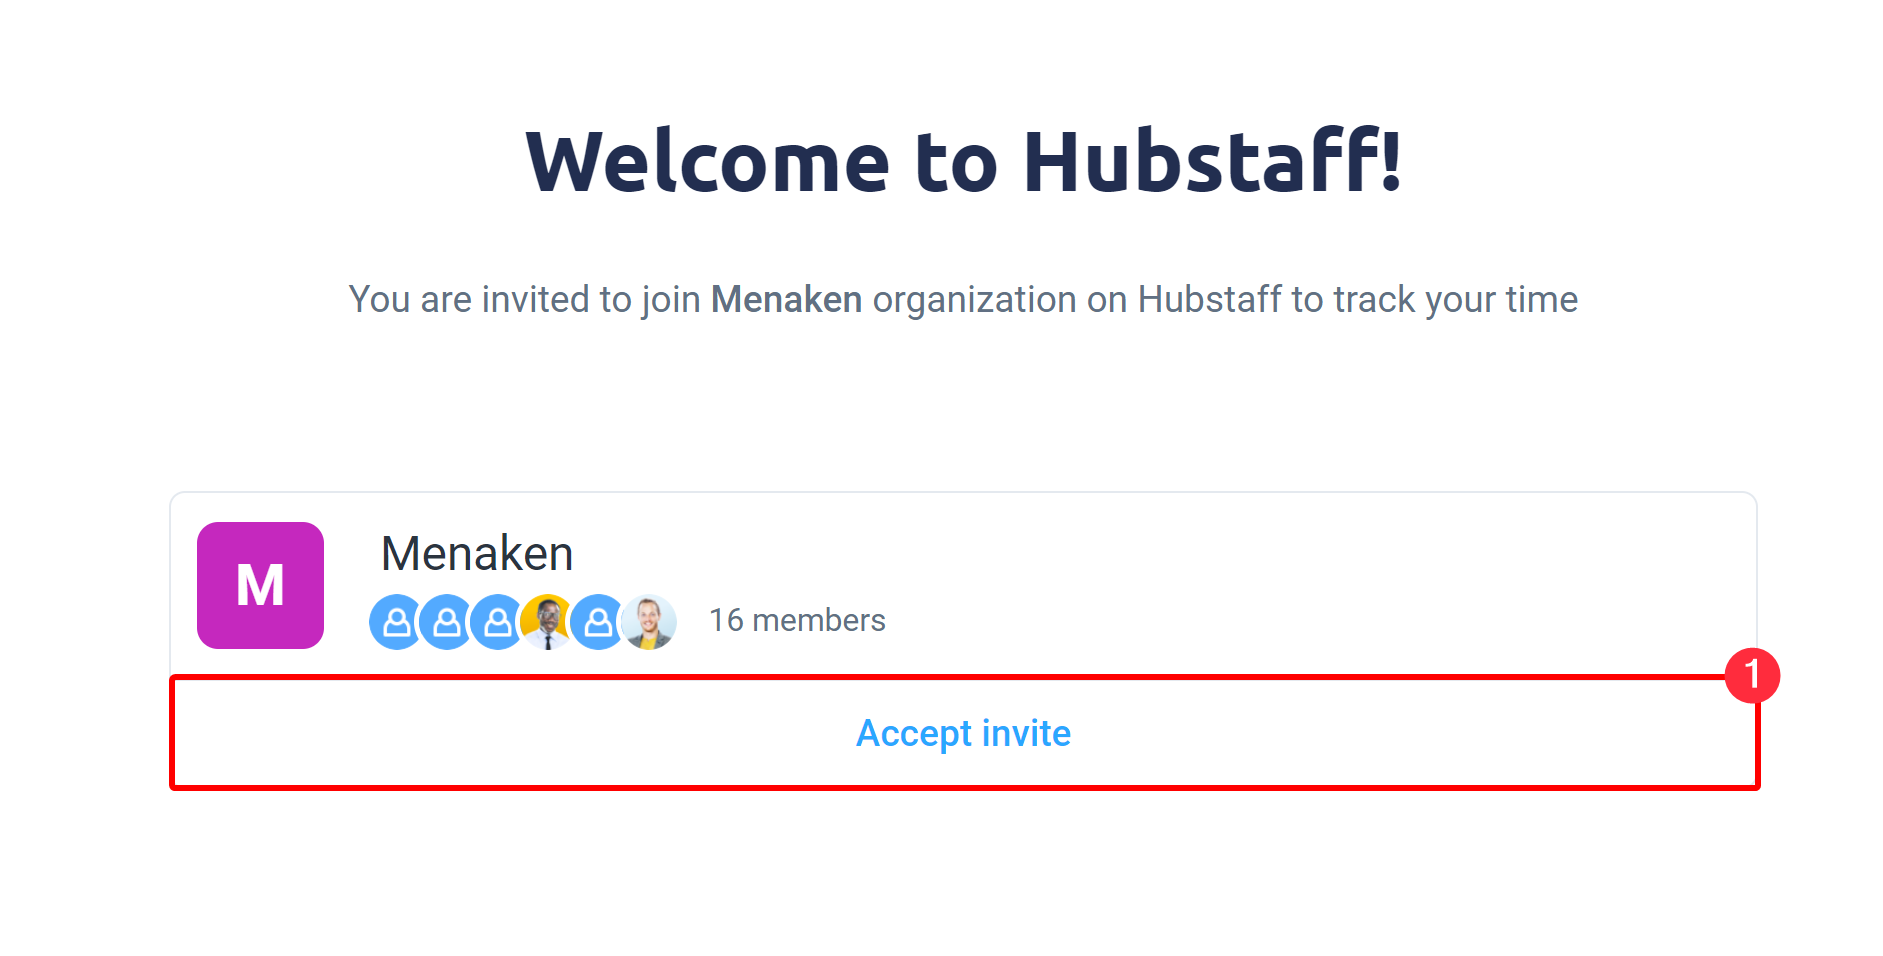
Step 2
After clicking Accept Invite on the email or copying the link to the browser, you will be directed to a page where you can view the respective invited organization. Here, click on Accept Invite to start creating your account.
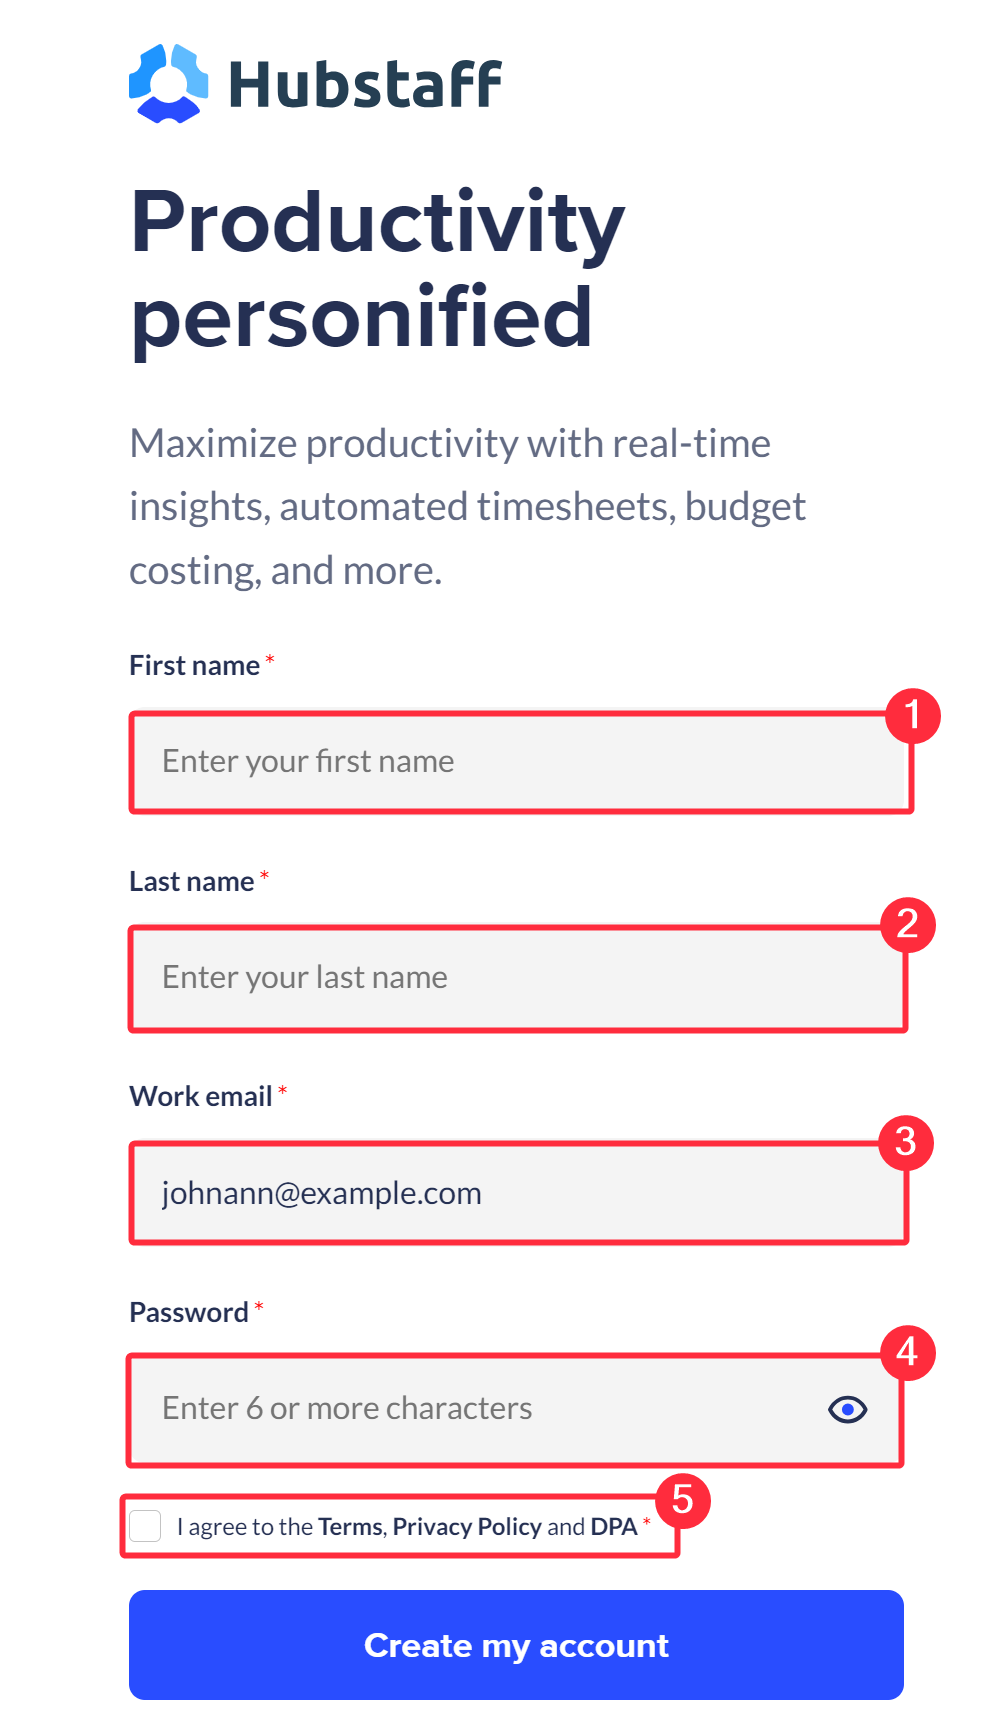
Step 3
Clicking on the Accept Invite button will take you to the Hubstaff account signup page. Fill in your first and last name, email address, and password (Use 6 or more characters with a mix of letters, numbers & symbols), accept the terms of service, then click on Create my account.
After clicking Create my account, you’ll be taken to your organization’s Hubstaff Dashboard.
If you created a Hubstaff account before being invited by an employer, all you will need to do is click the confirm account button found in your email. After logging into your account, accept the invite as directed above to join the organization.
Downloading the app
To begin tracking time, you’ll need to download and install our desktop, mobile, or browser apps.
Your employer may also require one type of client to be used to ensure activities are recorded. It would be best to consult them or contact us in case you’re not sure what application to download.
You can download the desktop client by clicking on your avatar on the bottom left-hand side of your web dashboard. Alternatively, you can go to our download page.

Hubstaff supports Mac, Windows, Linux, and Chromebook operating systems for the desktop application, along with iOS and Android apps for the mobile application, and the Chrome extension for browser apps.
Installing and Signing into the Client
Once you have downloaded the client, you will be prompted to install it. Click on a link below, which will take you to the installation instructions page for each app:
- Windows Desktop Client
- Mac Desktop Client
- Linux Desktop Client
- Android Mobile Client
- iOS Mobile Client
- Chromebook Client
- Chrome Extension
Time Tracking
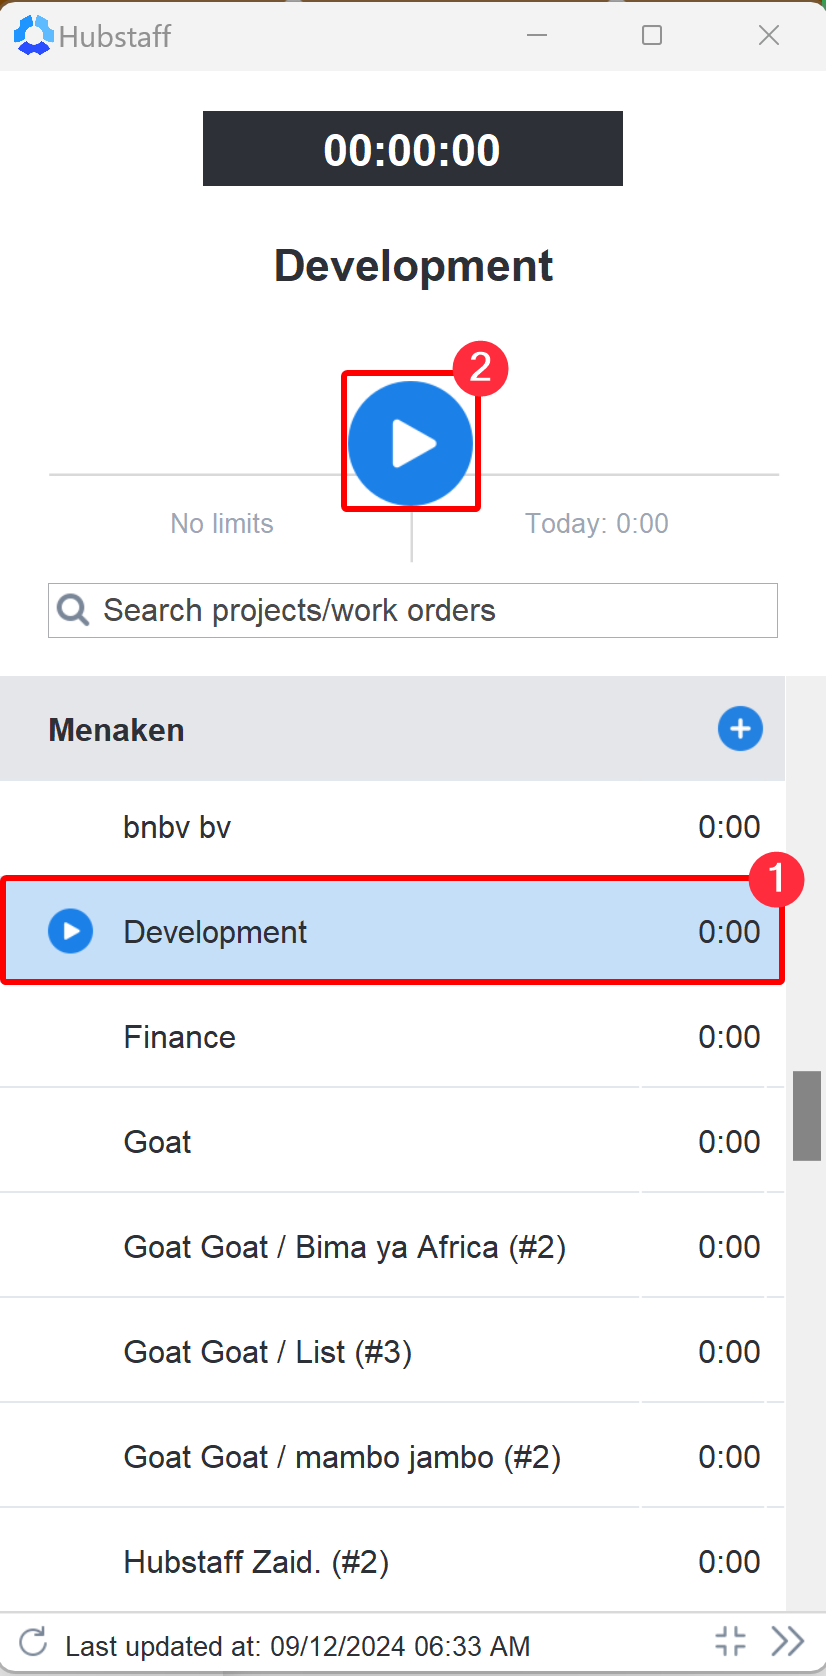
After installing and signing in to the app, you are now ready to begin tracking time.
Select the project name, and click on the play button to start recording. You can also click the play button next to a task name to track time to that specific task.
Upon clicking the Play button, the app begins recording your time and activities.
The app does not record activities when you are not tracking time.
Desktop Application:
Mobile Application:
![]()
Chrome Extension:
![]()
Viewing your activities
While you are recording time, your activities will be uploaded to your web dashboard. Depending on what application you’re using, you’ll be able to view the screenshots, keyboard/mouse activity levels, apps, URLs, and/or location maps. Navigate to the Activity or Map sections of the sidebar to see your recorded activity.
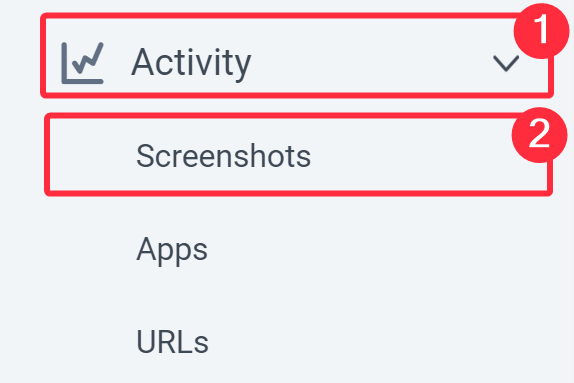
To learn more about each activity section, please click here.
Viewing your timesheets
While recording on the app, you’ll be able to see your time logs via the Timesheets > View & edit page on the web dashboard.
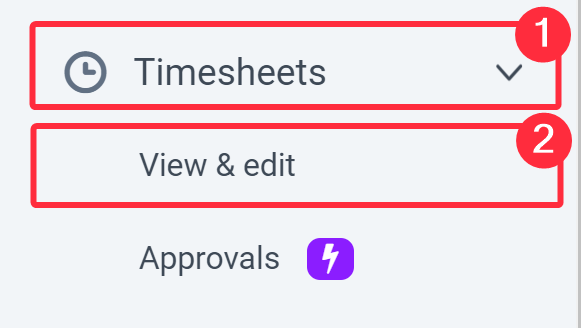
Within the daily timesheets page, you’ll be able to see your exact start and stop times during your workday.
To learn more about timesheets, click here.
If you don’t have a Hubstaff account yet, you can sign up here: https://hubstaff.com/signup.
In case you need help with anything, please let us know!