7 minutes
How to view screenshots in Hubstaff
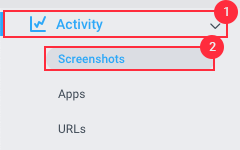
Are you looking for where to view screenshots recorded by your team in Hubstaff? Screenshots can be viewed under Activity > Screenshots on the sidebar menu, where they are captured up to 3 times for each active monitor every 10-minute interval while your team is tracking time. These screenshots are displayed per day in 10-minute intervals, and you can view all the screenshots recorded for the day on a single page.
Screenshot views
You can view your employee’s screenshots using the Every 10 minutes or All screenshots views. Toggle the buttons on the top of the Activity > Screenshots page to change the view.
![]()
You can also toggle the dates forward/backward by using these shortcut keys:
1. Mac – Command (⌘) + Left/Right.
2. Windows – Ctrl + Left/Right.
Or toggle users by using these shortcut keys:
1. Mac – Command (⌘) + Up/Down.
2. Windows – Ctrl + Up/Down.
Every 10-minutes
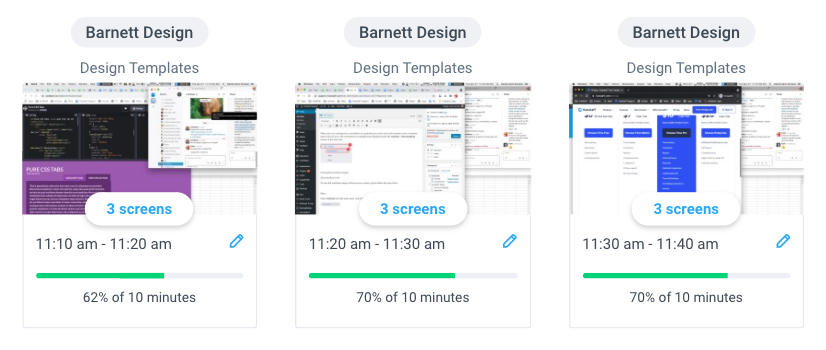
This view shows screenshots grouped into 10-minute intervals, by the hour and is the default view when accessing the Activity > Screenshots page. The sample image below displays all screenshots recorded from 12:00 pm – 1:00 pm. If you check on the example below, you will see the number of screens recorded displayed for each 10-minute interval. You will see 3 screenshots recorded for every 10-minute interval below:
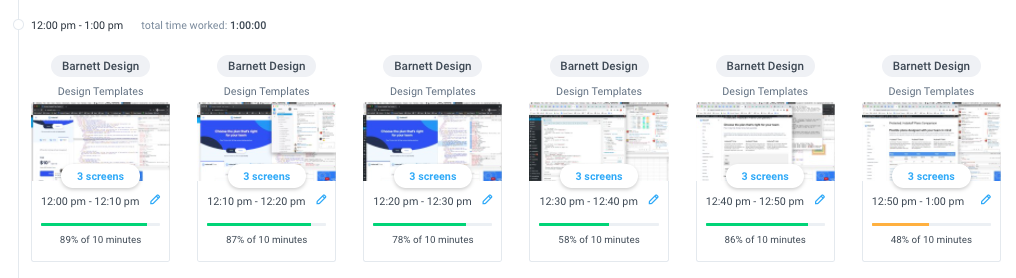
Under each screenshot you will see the following information:
- Interval – Shows the exact time the screenshots were taken. For instance, in the image above, it shows screens recorded between 12:00 pm – 12:10 pm.
- Activity level – total keyboard + mouse activity over the duration of time tracked. For example, on the 12:20 – 12:30 pm interval, the user tracked 10 minutes of time (600 seconds) and recorded a total of 468 seconds of activity (78%). To learn more about how activity levels are calculated, click here.
All screenshots
You can view your team members screenshots in the All screenshot view which will then display all recorded screenshots individually in sequence. You will not see activity levels displayed in this view.

Viewing full resolution images
To view full resolution images of these screen capture, please follow the steps below:
Step 1
Navigate to Activity > Screenshots from the menu.
Step 2
If the organization is set to record 3 screens every 10 minutes, you will see 3 screenshots recorded.
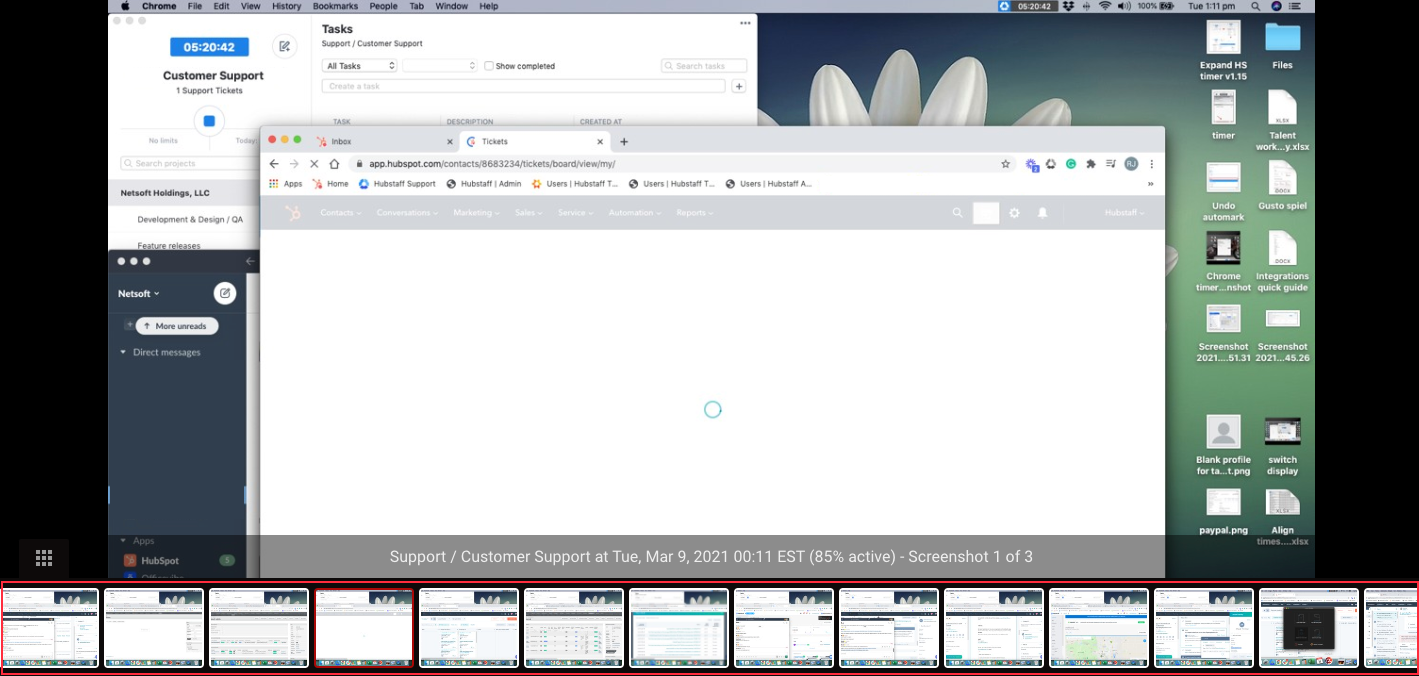
On the Screenshots page, for example, hover any single image, then click View screen to open the thumbnail gallery.

Step 3
- Click the left and right directional arrows at either side of the screen to scroll through the images.
- To exit out of the gallery, click the cross at the top right hand side of the screen.
- You will also see the project name, date, time and activity level recorded under each image.
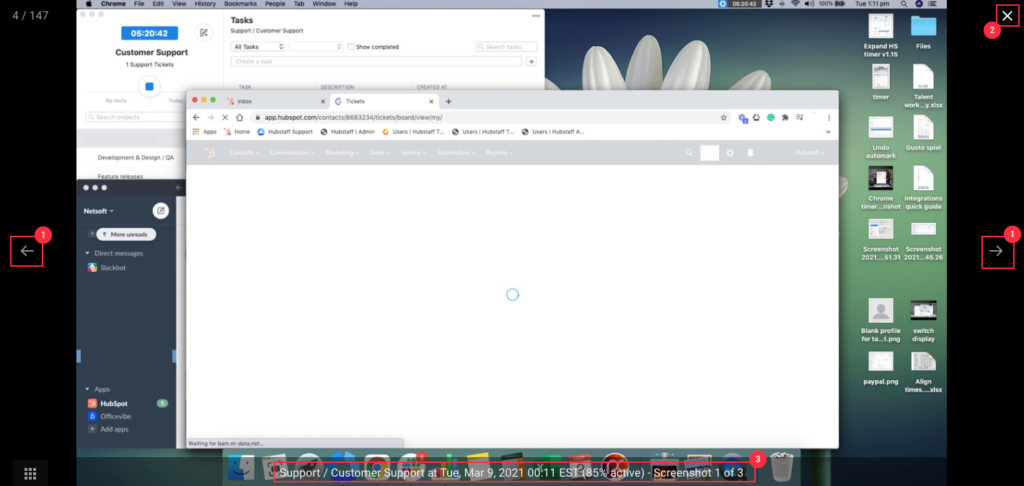

Step 4
If you wish to display the images in a continuous gallery, rather than a 10-minute segment, click the gallery icon at the bottom left-hand side of the screen.
![]()
Step 5
A bar of thumbnail images will appear across the bottom of the screen. Furthermore, click on any of the thumbnails to reveal the full-size version of that image.