5 minutes
Job Sites Visits Report
Job Sites Visits Report
The Job sites visits report allows you to see the exact time each team member entered or exited an existing job site.
The job sites report can only be generated when the Job Sites are added and if the Location tracking feature is enabled in your organization.
This report is only available on Enterprise plans or with the Location add-on.
Step 1
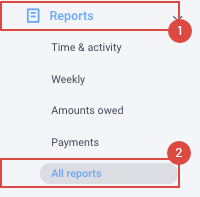
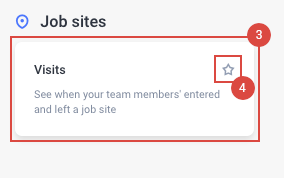
To go to the Jobsite Visit report page you would need to navigate to Reports > All reports and you will see the Visit report under the Job site group.
Optional
You can also click on the “star icon” to add this report on your favorites so it will show up directly on the left sidebar.
Step 2
Located at the top left-hand side of the page, you can choose the Me tab to display your personal information or the All tab (available only to owners and organization managers) to view the data for all team members.

Step 3
Select the date range from the calendar then hit Apply.

Step 4
After choosing the dates, your report will be generated. The report will display each team member’s name, the job site they visited, the time they entered and exited a job site, and the total time they spent on each job site.

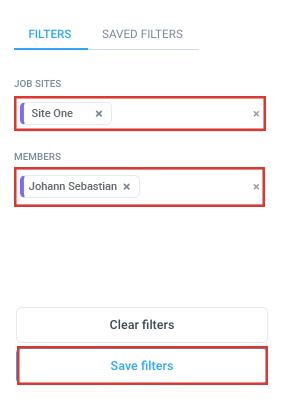
You may also click on the Filters button to apply filters such as members and job sites to your report. Click on the Save filters button to save your current filters which you can apply to another report in the future.
Our Scheduled reports feature will let you have reports automatically sent based on a frequency of your choosing
If you need to Export a report for your own record keeping, we offer that option as well