12 minutes
Freshdesk Integration Setup
Hubstaff integrates with Freshdesk so your team can track time spent on tickets.
You must connect your account in order to see tasks that are assigned to you. Also, connecting an integration allows for time to be sent back to the third-party software.

To learn more about how to connect Freshdesk to Hubstaff, please follow the steps below:
Step 1
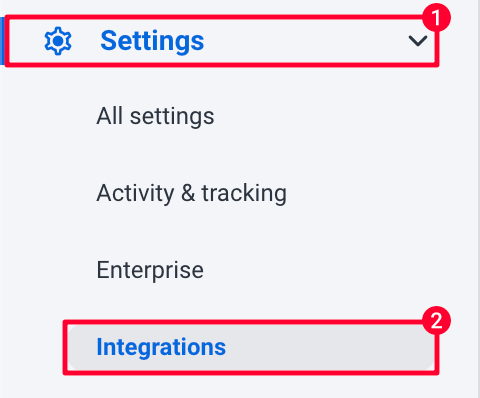
To get started, make sure you have selected the correct organization on the top right corner of the page, then click on Settings & Policies > Integrations on the sidebar menu.
Next, click the Add integration button on the upper right.

Select the Freshdesk logo from the list of available integrations.

Step 2
After selecting the Freshdesk logo, you will be taken to where you can choose a name for your integration (you can call it anything, the name is just for your reference). Enter your Freshdesk account URL starting with https (ie https://example.freshdesk.com).
We also support Google and WordPress authentication.


Step 3
Next, you need to select which projects you’d like to connect to Hubstaff. You may choose to sync all existing projects or select projects from a list. If the project name doesn’t exist in Hubstaff yet, new projects with the same name will automatically be created.

Step 4
Choose which users you need working on your Freshdesk integration. You have the option to either select/unselect all users, choose individual users, or automatically add new users. Click Finish to complete the set-up.

Step 5
Each user added to the integration will receive a confirmation email with a link to authenticate their account.

At this point, each invited team member needs to click on the Connect my Freshdesk account button from the confirmation email sent to them so they can authenticate their Freshdesk account.
Step 6
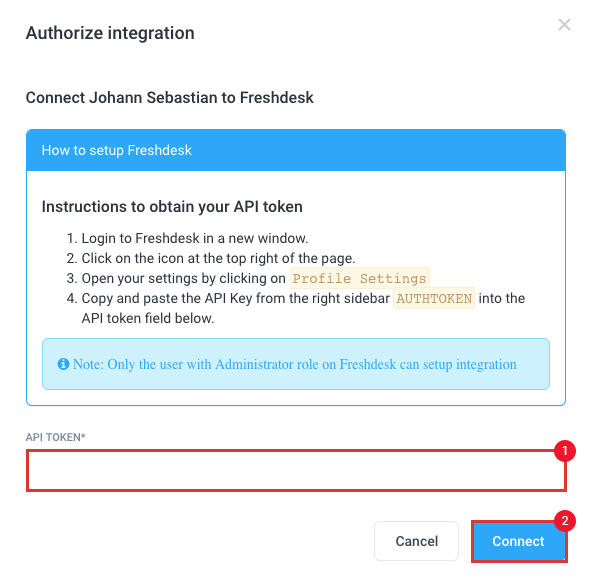
Once the confirmation link is clicked, it will take you to the Authorize integration dialog, where you’ll need to enter your Freshdesk API token accessible via the Freshdesk profile settings page.
Step 7
After linking the Hubstaff project and the user(s) you want to be able to track time to their tickets, you will be all set. Hubstaff users can see their assigned Freshdesk tickets in the Hubstaff app after the sync has completed.

After tracking time to a Freshdesk ticket, and depending on your integration’s time logging settings, you’ll see the time written back on the ticket’s Time Logs section:
Your agents will see their assigned tickets and be able to track the exact time they spend on them. Then can also close the ticket directly from the Hubstaff app. Tickets that are overdue will be highlighted in red to help agents prioritize.
Tasks might not sync right away. It can take approximately 5 minutes after linking your team. Also, please keep in mind that each time you add a new project or user to your project management tool, the integration needs be refreshed in Hubstaff for those changes to take effect, then link those accordingly. You may also manually retry synchronization by following the steps here.
Currently, when you add a new project in the project management third-party provider, you need to access the integrations page in Hubstaff > refresh the projects list > link the new project > assign team members to the Hubstaff project that’s linked to the newly added project.
Tasks can be completed outside of Hubstaff in the project management tool to have the time synced as well.
This integration supports logging time back to the integration as time entries. To learn more, click here.
Tasks synchronized with an integration will remain in Hubstaff as a simple task if the integration is deleted.
Subtasks are not supported with this integration.