21 minutes
Work Orders
Work Orders are most commonly used by companies that use our mobile applications and GPS locations feature, and they make it easier for organization owners and managers to assign specific jobs for their teams. Work orders allow you to define a specific scheduled time for the job, and/or a location as the worksite. A great application of this feature would be a construction manager sending your team to a specific address to work and need to assign each employee a specific job to complete.

To assign a work order, please follow the steps below:
Adding work orders
Step 1
Navigate to Project management >Work orders on the sidebar.

Step 2
Click on Add a work order.
![]()
Step 3
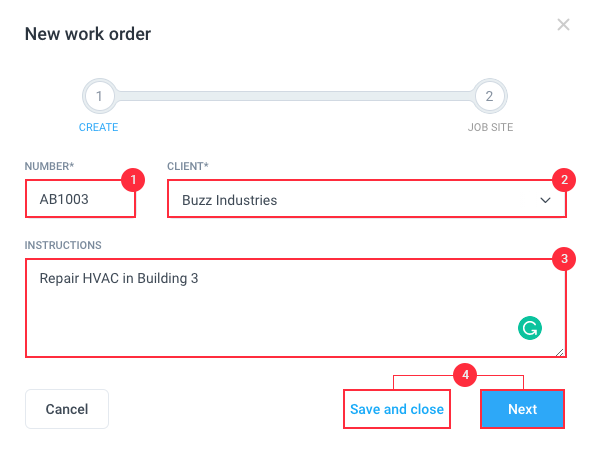
The New work order dialog will appear.
- Use the pre-generated work order number, or specify your own.
- Select a client
- Add the work order instructions (optional)
Click Next to continue or Save and Close to save the work order for now.
OPTIONAL
Specify the address, then define the radius of the geofenced area where the user needs to work. Hit Save to continue.

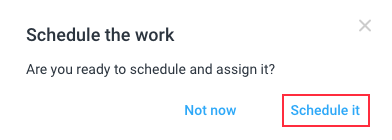
Step 4
The Schedule work order dialog will appear. Click Schedule it to add a schedule for the work order.
Step 5
The Add job dialog will appear. Fill in the assignees, dates/times, repeat options, details then hit Save.
Repeat options
- Never – the job will not repeat.
- Weekly – repeats weekly on a specific day/s.
- Monthly – repeats monthly either on:
- A specific month’s day, based on the date chosen on the date selector, e.g., the 31st. If the date doesn’t exist on specific months, it will default to the last day of the month.
- A specific weekday number of the month (e.g., The 3rd Tuesday, or the last Sunday), based on the date you have selected on the date selector.
- Custom – repeat jobs every specific number of weeks, months, or years based on the date chosen on the date selector. For example, if the date selected is November 16, 2021 (Tuesday):
- Weekly – will recur on November 23, 2021 (Tuesday) if set to 1 week. Will recur on November 30, 2021 (Tuesday) if set to 2 weeks.
- Monthly – will recur on December 16, 2021 of set to 1 month, or January 16, 2021 of set to 2 months.
- Yearly – will recur on November 16, 2022, if set to 1 year, or November 16, 2023, if set to 2 years.

Step 6
Your work order is now scheduled. Click on the Actions button next to the work order to edit the work order details, or to archive the work order if needed.

Each work order will be added as a scheduled shift under the Schedules section.
Work order budgets
The work order budget feature allows you to track the profitability of work orders and much more:
- Know when a work order is over-budget or on pace to go over-budget
- Track profitability of orders and restrict time/cost on their combined orders
- Ensure that your company is working the full amount of time for each of your orders on a monthly basis
- Receive notifications when an order is nearing its budget
- Allocate a budget (in hours or cost) to a work order, and Hubstaff will notify you as the selected milestone is crossed.
To add a budget to a work order, go to Work orders, then next to a work order name, under the budget column click the pencil icon, or go to Actions next to a work order name, then click Edit > Budget.
The Edit work order dialog will appear where you can edit the following details:
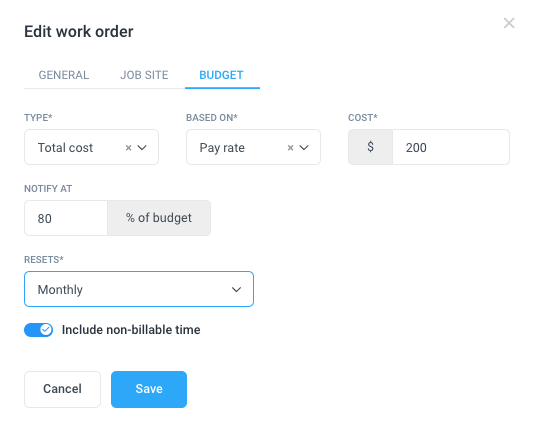
- Type – can be based on:
- Total cost
- Total hours
- Based on – where the budget is based on:
- Pay Rate – the rate you pay your team member/s.
- Bill Rate – the rate you bill for the time tracked by your team.
- Cost – can be in amounts or hours depending on the Type.
- Notify at – a specific percentage of the budget where you’ll be notified through email.
- Resets – can be set to Monthly, or Never.
- Include Non-Billable time – control whether the non-billable time is included on the budget.
Adding jobs
You can assign multiple jobs under each work order.
Step 1
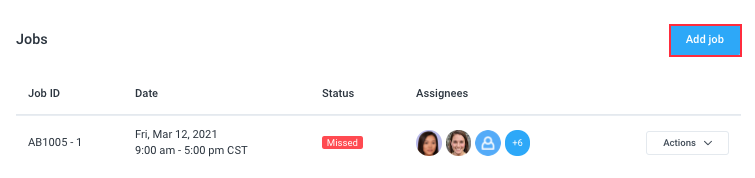
To add another job, go to Project management > Work orders > [Click on the job name] > Add job.
Step 2
The Add job dialog will appear. Fill in the assignees, dates/times, repeat options, details then hit Save.
Repeat options:
- Never – the job will not repeat.
- Weekly – repeats weekly on a specific day/s.
- Monthly – repeats monthly either on:
- A specific month’s day, based on the date chosen on the date selector, e.g., the 31st. If the date doesn’t exist on specific months, it will default to the last day of the month.
- A specific weekday number of the month (e.g., The 3rd Tuesday, or the last Sunday), based on the date you have selected on the date selector.
- Custom – repeat jobs every specific number of weeks, months, or years based on the date chosen on the date selector. For example, if the date selected is November 16, 2021 (Tuesday):
- Weekly – will recur on November 23, 2021 (Tuesday) if set to 1 week. Will recur on November 30, 2021 (Tuesday) if set to 2 weeks.
- Monthly – will recur on December 16, 2021 of set to 1 month, or January 16, 2021 of set to 2 months.
- Yearly – will recur on November 16, 2022, if set to 1 year, or November 16, 2023, if set to 2 years.
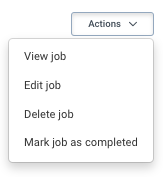
You can also click on the Actions button to see additional options:
- View job
- Edit job
- Delete job
- Mark job as completed
Once a job is added, users assigned to specific jobs will see the assigned jobs via Calendar > Schedules.

Tracking time to work order jobs
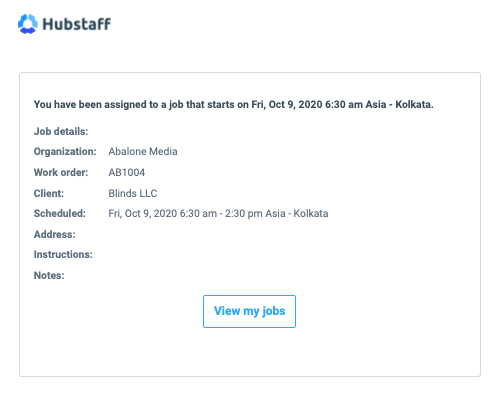
Once a work order is assigned, users will receive an email notification on their registered address.
Mobile
Step 1
On your mobile app, tap the name of work order in order to open the job. You can also search for the work order by using the search bar.

Step 2
Press the Play button next to the job name to begin tracking time to a job.

Step 3
After tracking time, the time each user spent on a work order will appear on the Timesheets > View and Edit page.

Adding job notes and photos
While tracking time to a work order job on the mobile app, you can add notes and photos to each job. To add notes, follow this guide:
Step 1
Click on the Job note button on the mobile app timer page.

Step 2
Write a note, then upload an image (or multiple images) to add to your job note.

Step 3
Once done, tap Save to upload your job note.

Step 4
The note will then appear on the dashboard via Project management > Work orders > Job name > Actions > View Job under the General tab as well as the work order page on the mobile app.
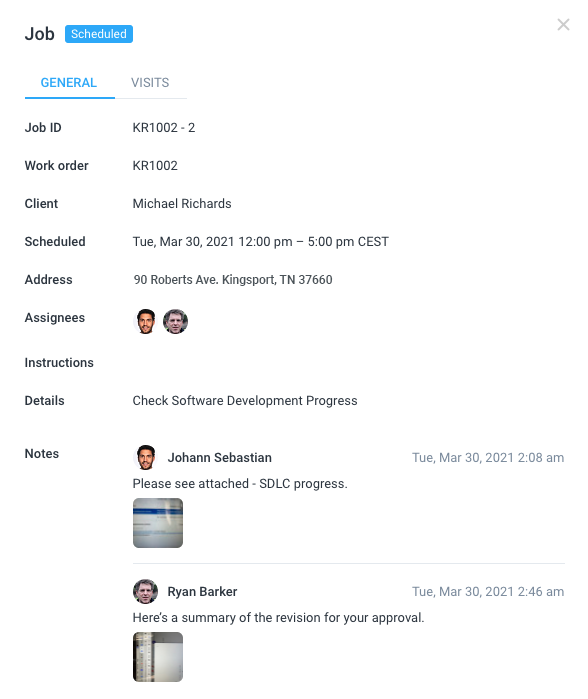
Additionally, job notes can be accessed from the Schedules area, by clicking on the job order and then on view:

Job notes on work orders are visible to all team members.
Desktop
To track time to work order jobs using the desktop app, select the work order name, then press the play button next to a job.

Job attendance report
Job attendance reports allow you to monitor employee attendance for each scheduled job assigned. To access this report, navigate to Reports > Attendance > Job attendance.

Work order status
Unscheduled – status when upcoming jobs have no start and end dates/times.
![]()
Scheduled Jobs – status when jobs within the work order are dated in the future and have been scheduled.
![]()
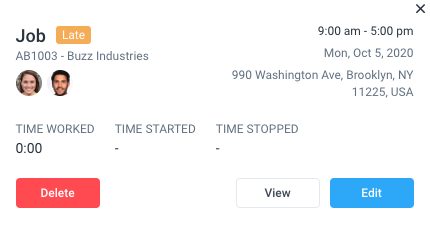
Late Jobs – status when users assigned to a job did not arrive on time.
![]()
Missed Jobs – status when users assigned to a job did not work on the assigned job.
Work order notifications
The work orders feature allows notifications to be sent via email to users depending on actions taken on the work orders page:
- Team members are notified when:
-
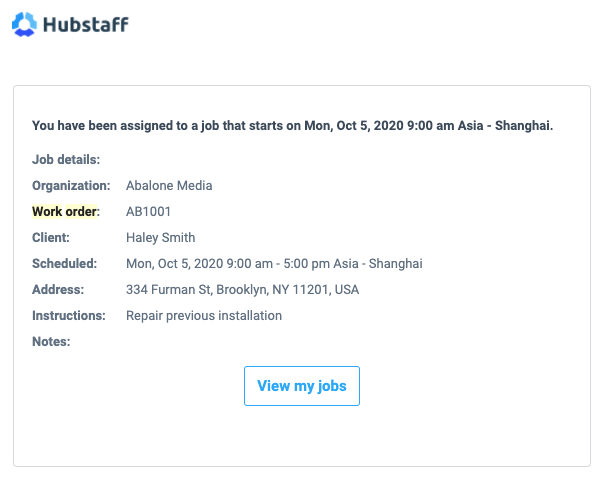
- They are assigned to a job
- They are removed from a job
- Their job is about to start
- They are late to a job
- They missed a job
- Managers and Organization Owners are notified when:
-
- A team member assigned to the work order misses a job
- A team member assigned to the work order shows up late for a job
Below is a sample email: