10 minutes
Managing Overtime in Hubstaff
Overtime policies allow you to apply a pay rate multiplier for team members who work beyond their designated weekly hours.
The following guide will take you through creating overtime policies, how to check a policy’s status, what notifications to expect regarding overtime, and the places where you can view overtime in Hubstaff.
Creating an overtime policy
To create a new policy, follow these steps:
Step 1
Navigate to Settings
![]()
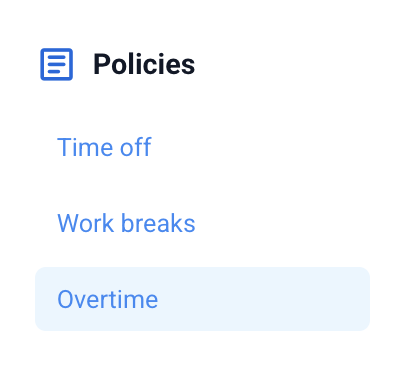
Then, Policies > Overtime.
Step 2
Next, click on the Overtime tab, then Create policy.

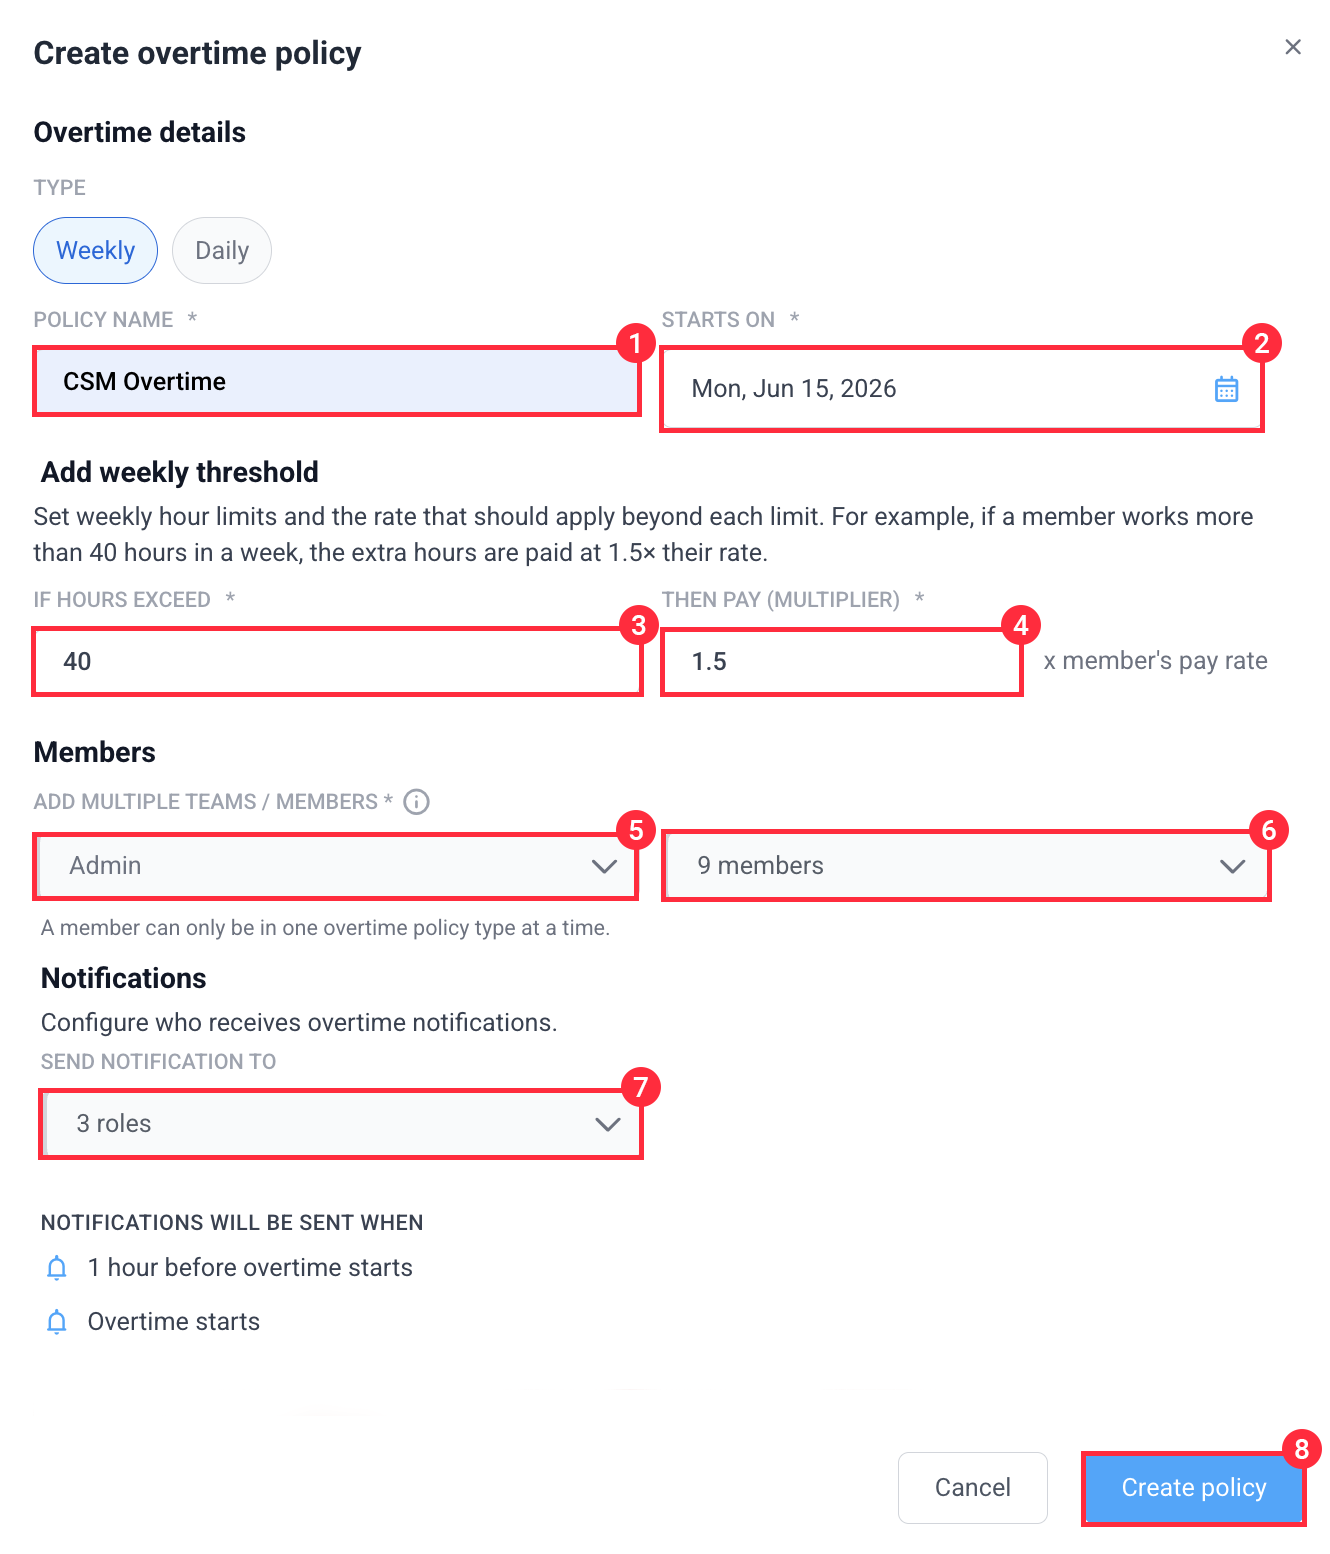
Step 3
Add the policy name, “starts on” date, threshold, multiplier, and team/team members, then hit Create policy. Note that team members need pay rates assigned before they can be added to overtime policies.
Overtime policy status
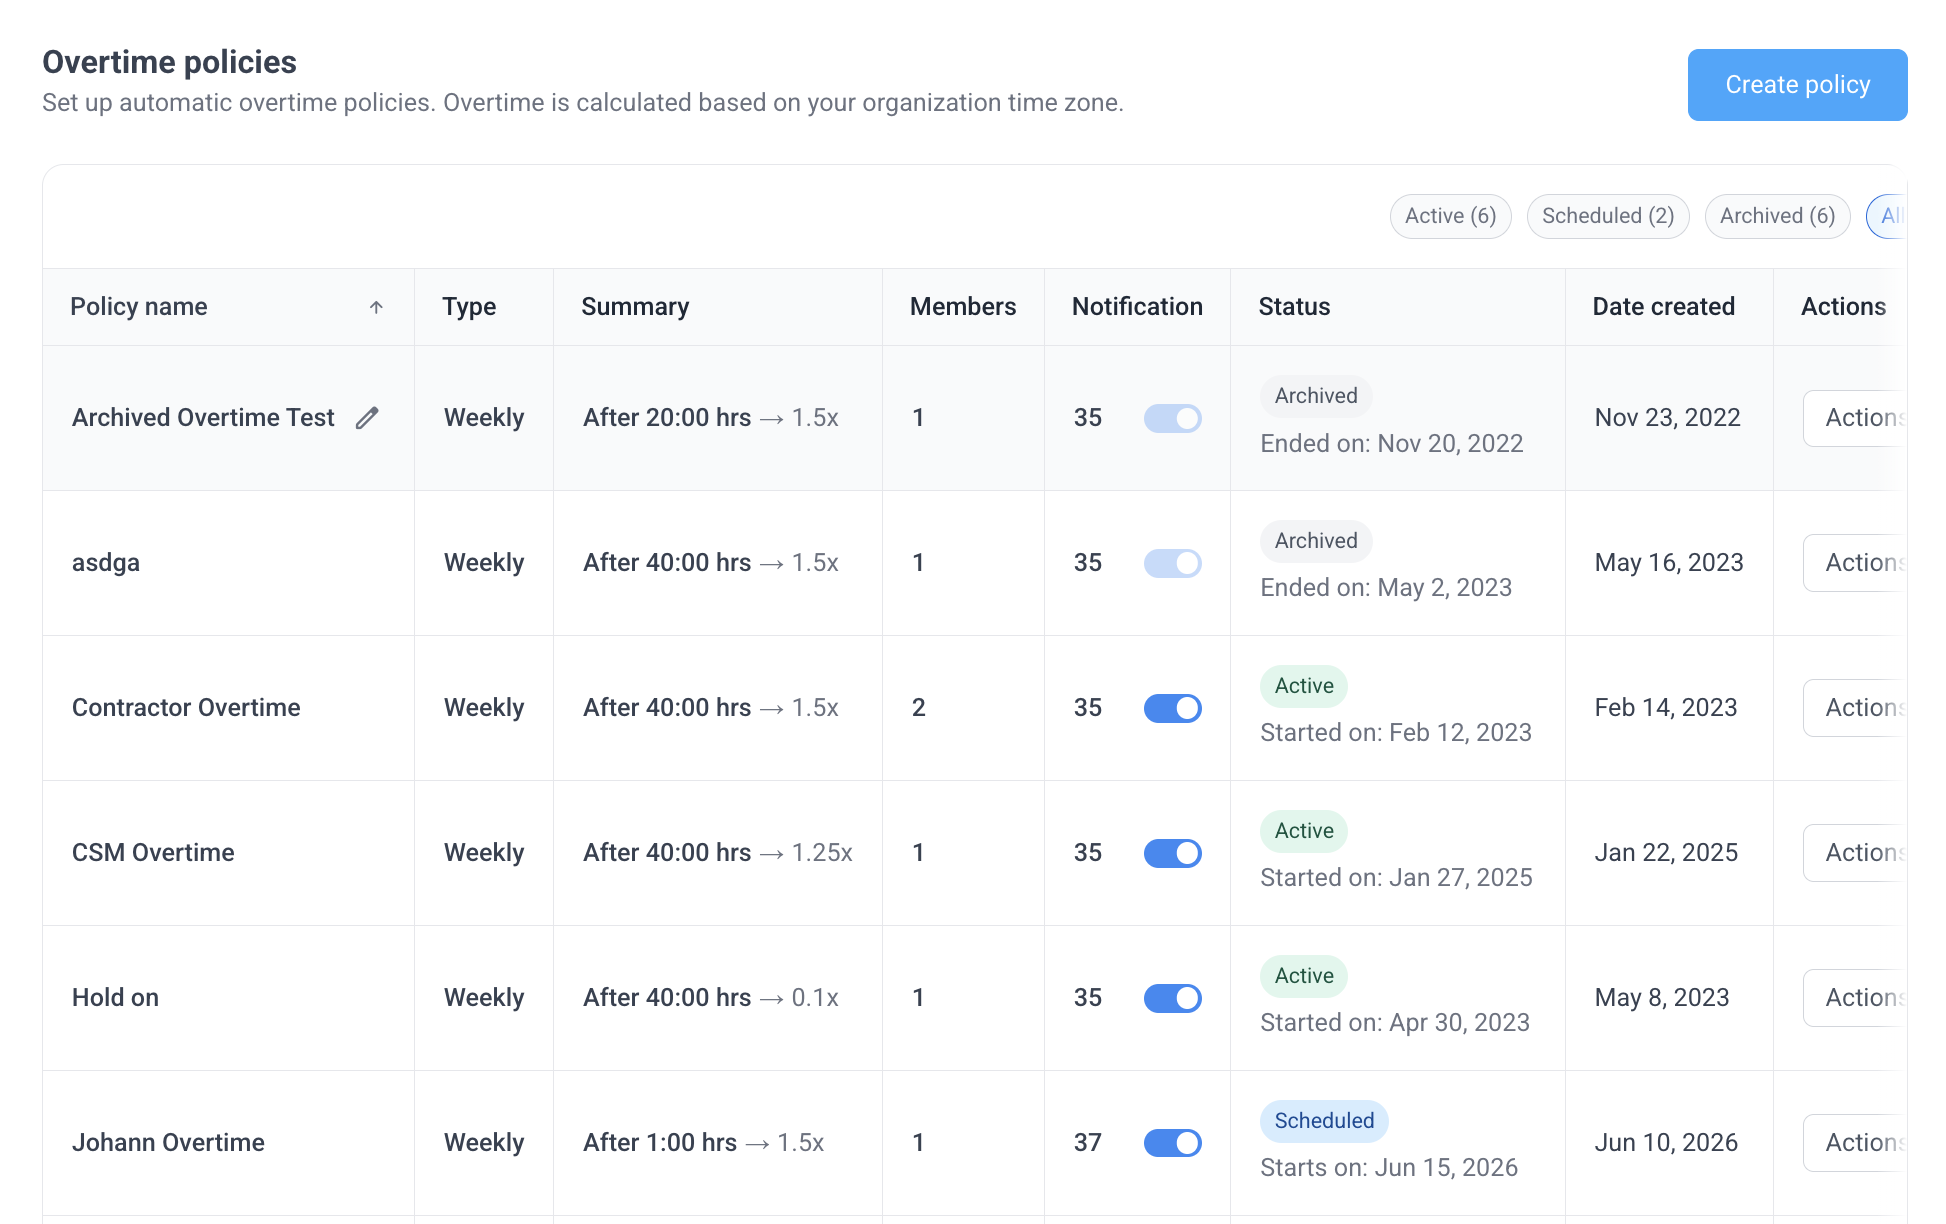
On the Status column of each policy, you will find the following statuses:
- Scheduled means the policy has not started and no active time is tracked.
- Active means that the policy is operational and time is tracked within the policy.
- Archived (on the archive page) means that the policy has been deactivated.
Overtime notifications
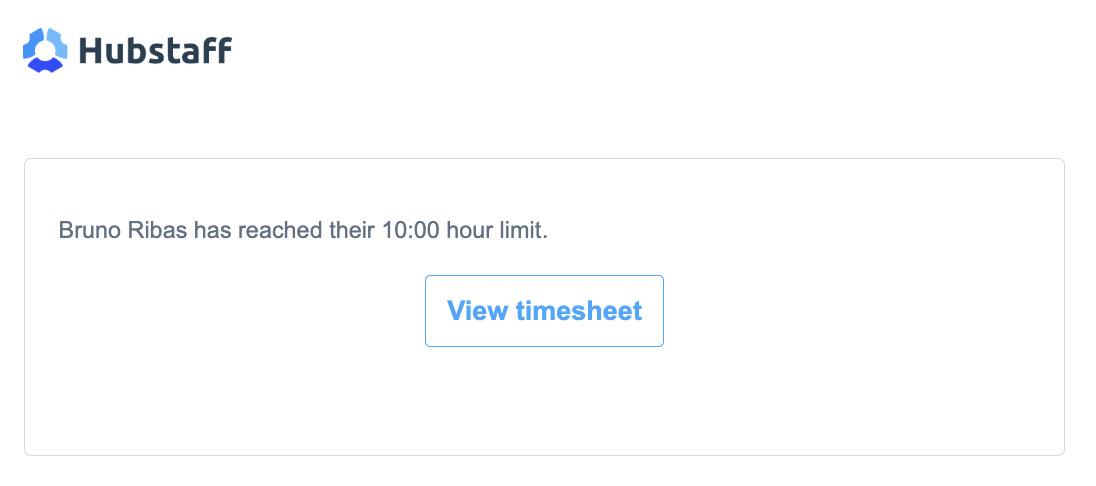
Once team members exceed the set threshold and go into overtime, owners, managers, and/or users will be notified via email depending on the notification setting set on the overtime policy:
User email notification

Manager email notification
Where is overtime visible?
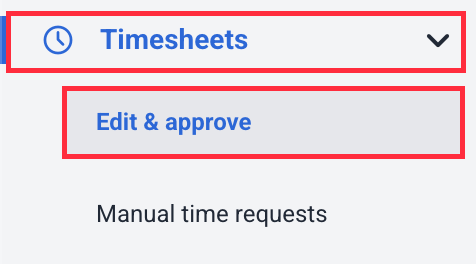
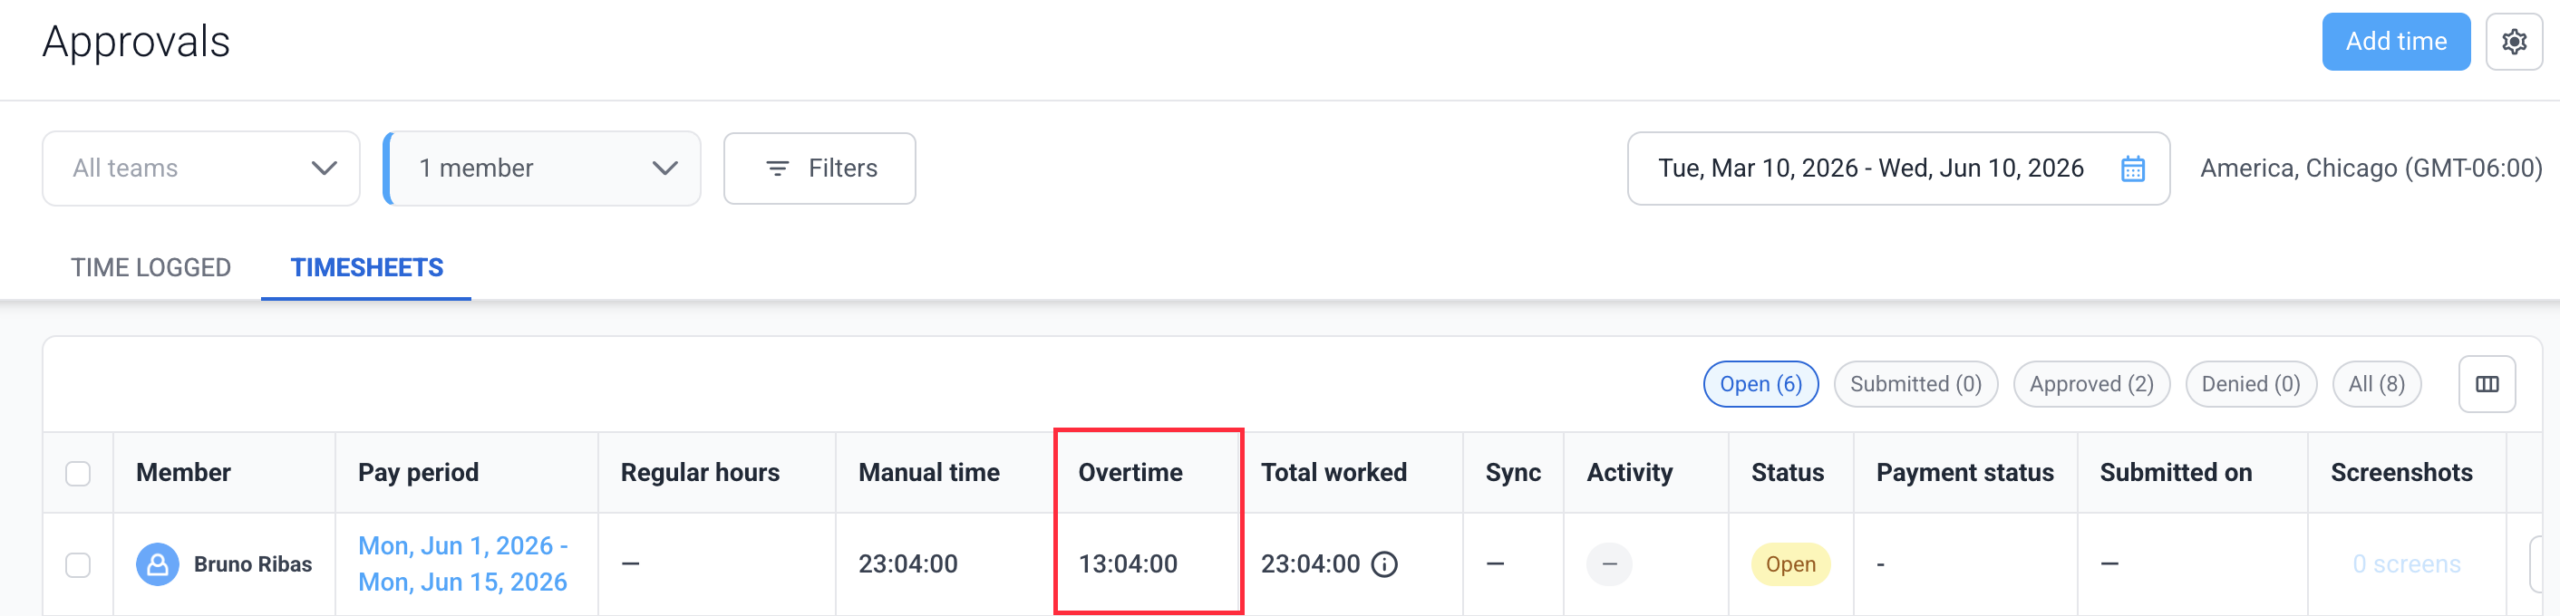
Timesheet approvals
Navigate to Timesheets > Edit & approve.
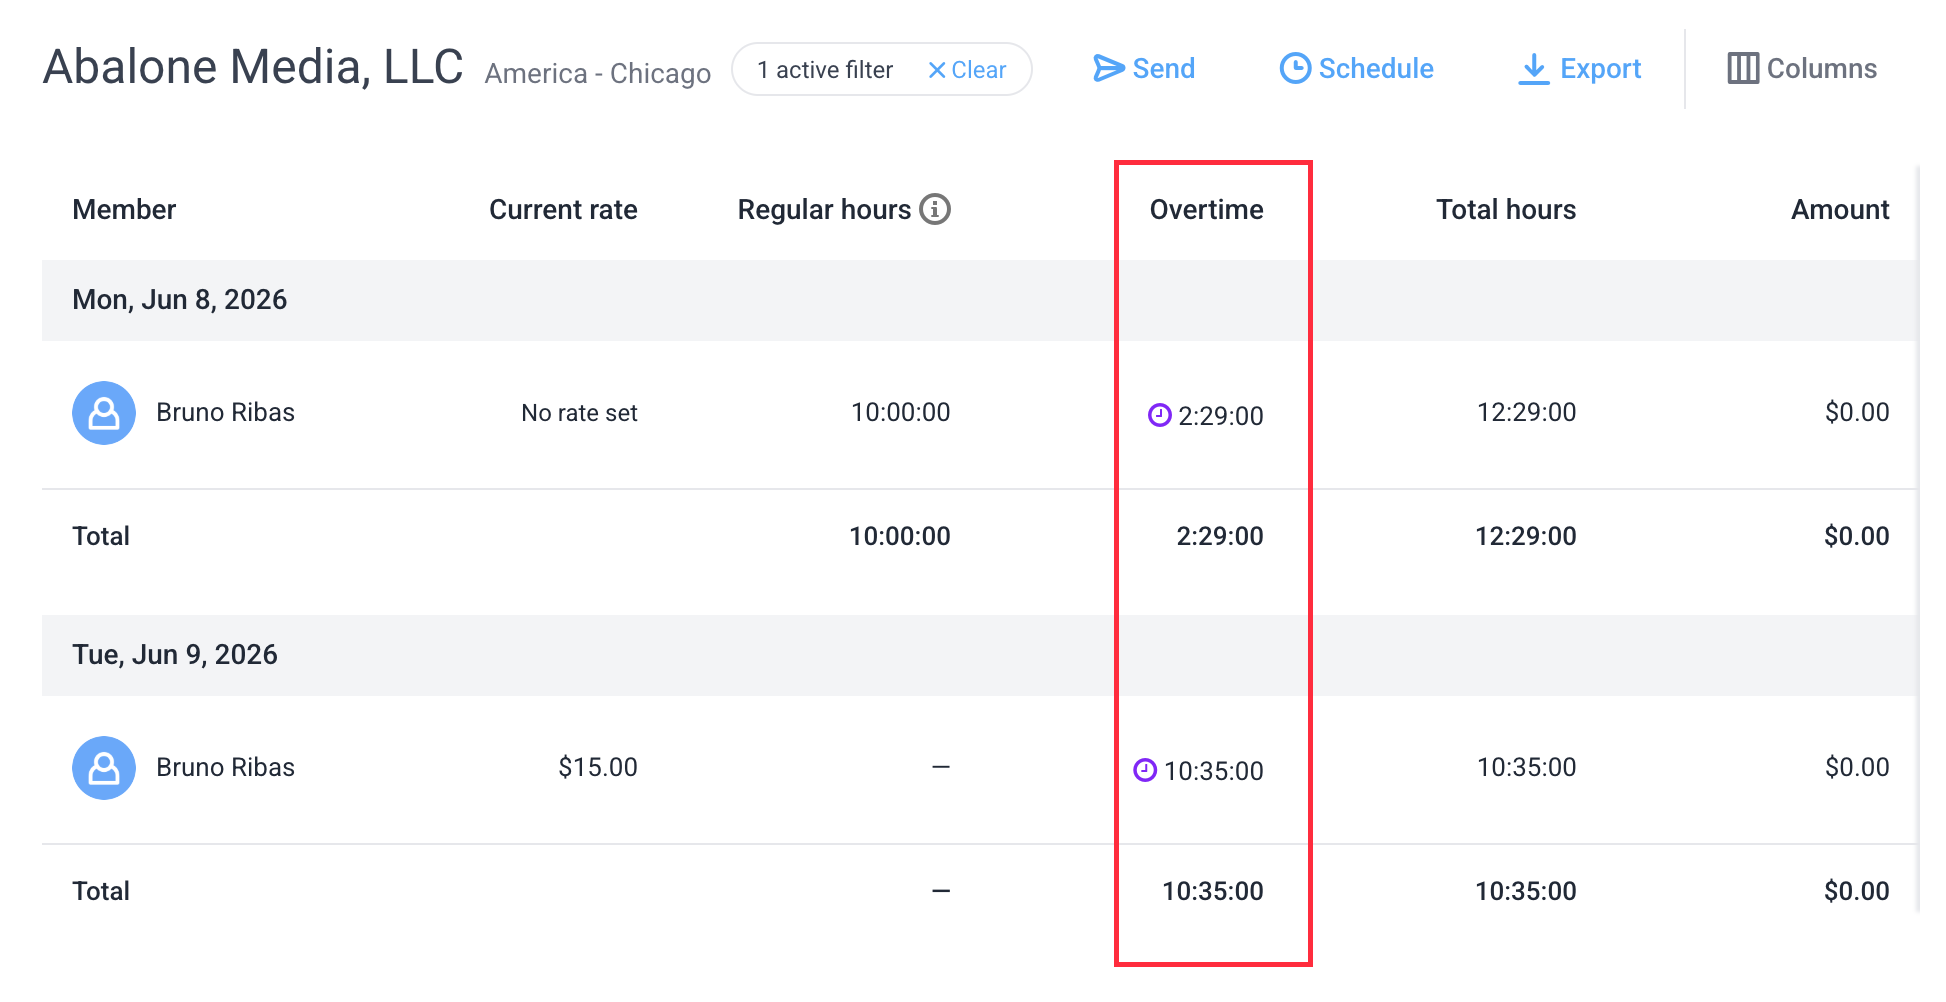
Amounts owed report
Navigate to Reports > Amounts owed:

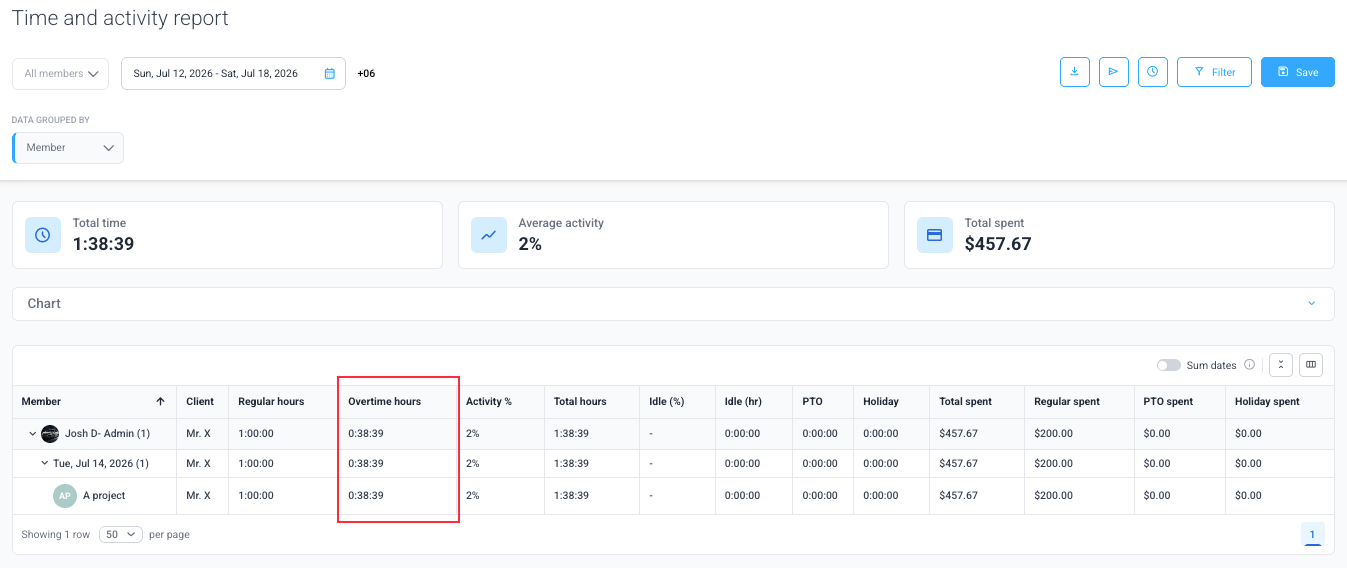
Time and activity report
Navigate to Reports >Time and activity report:

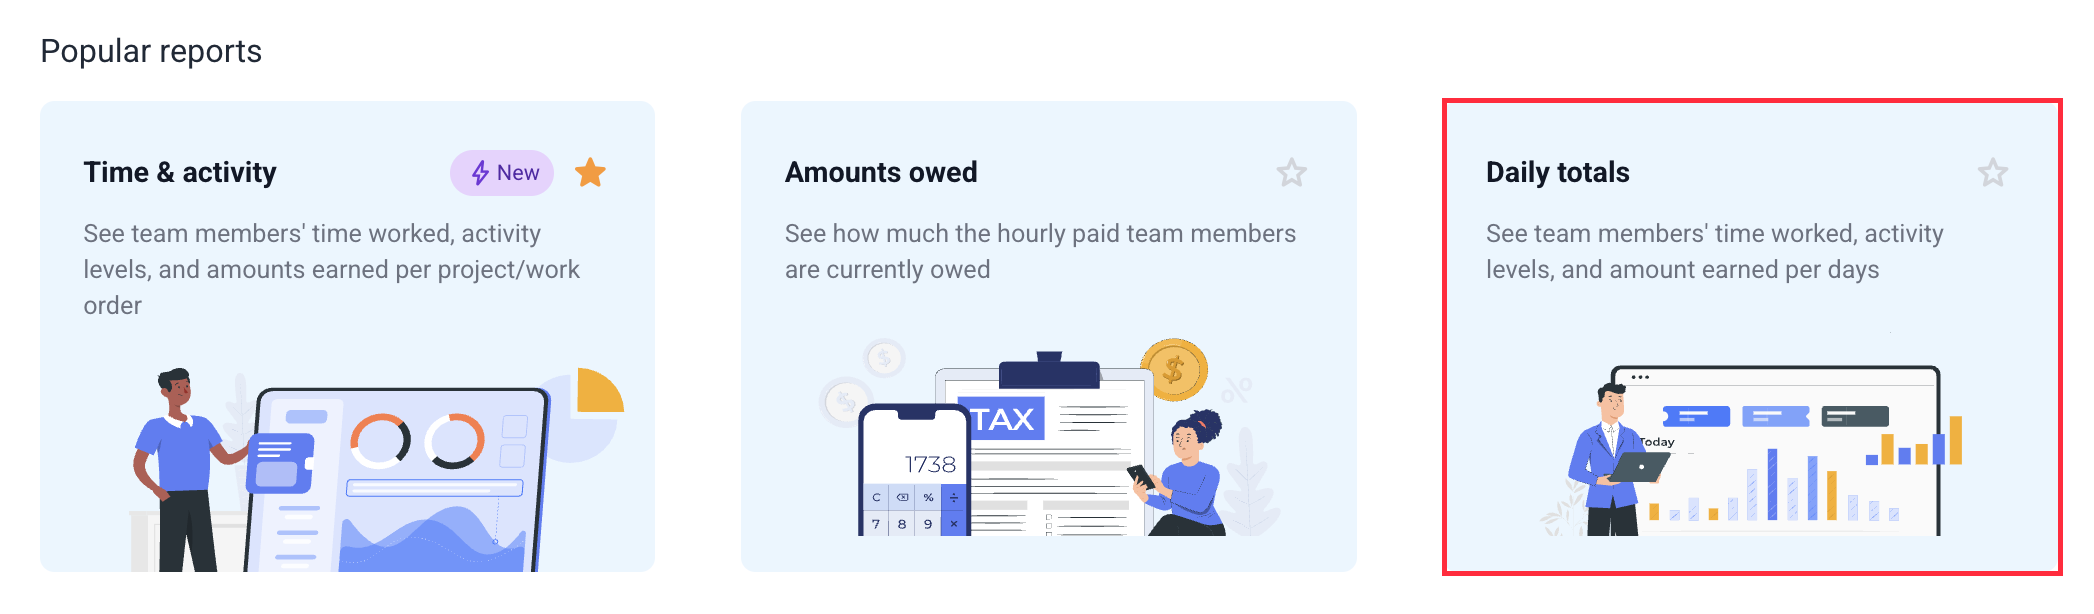
Daily Totals
Navigate to Reports> Daily Totals:

Note: The Overtime column only appears when there is an overtime policy active.
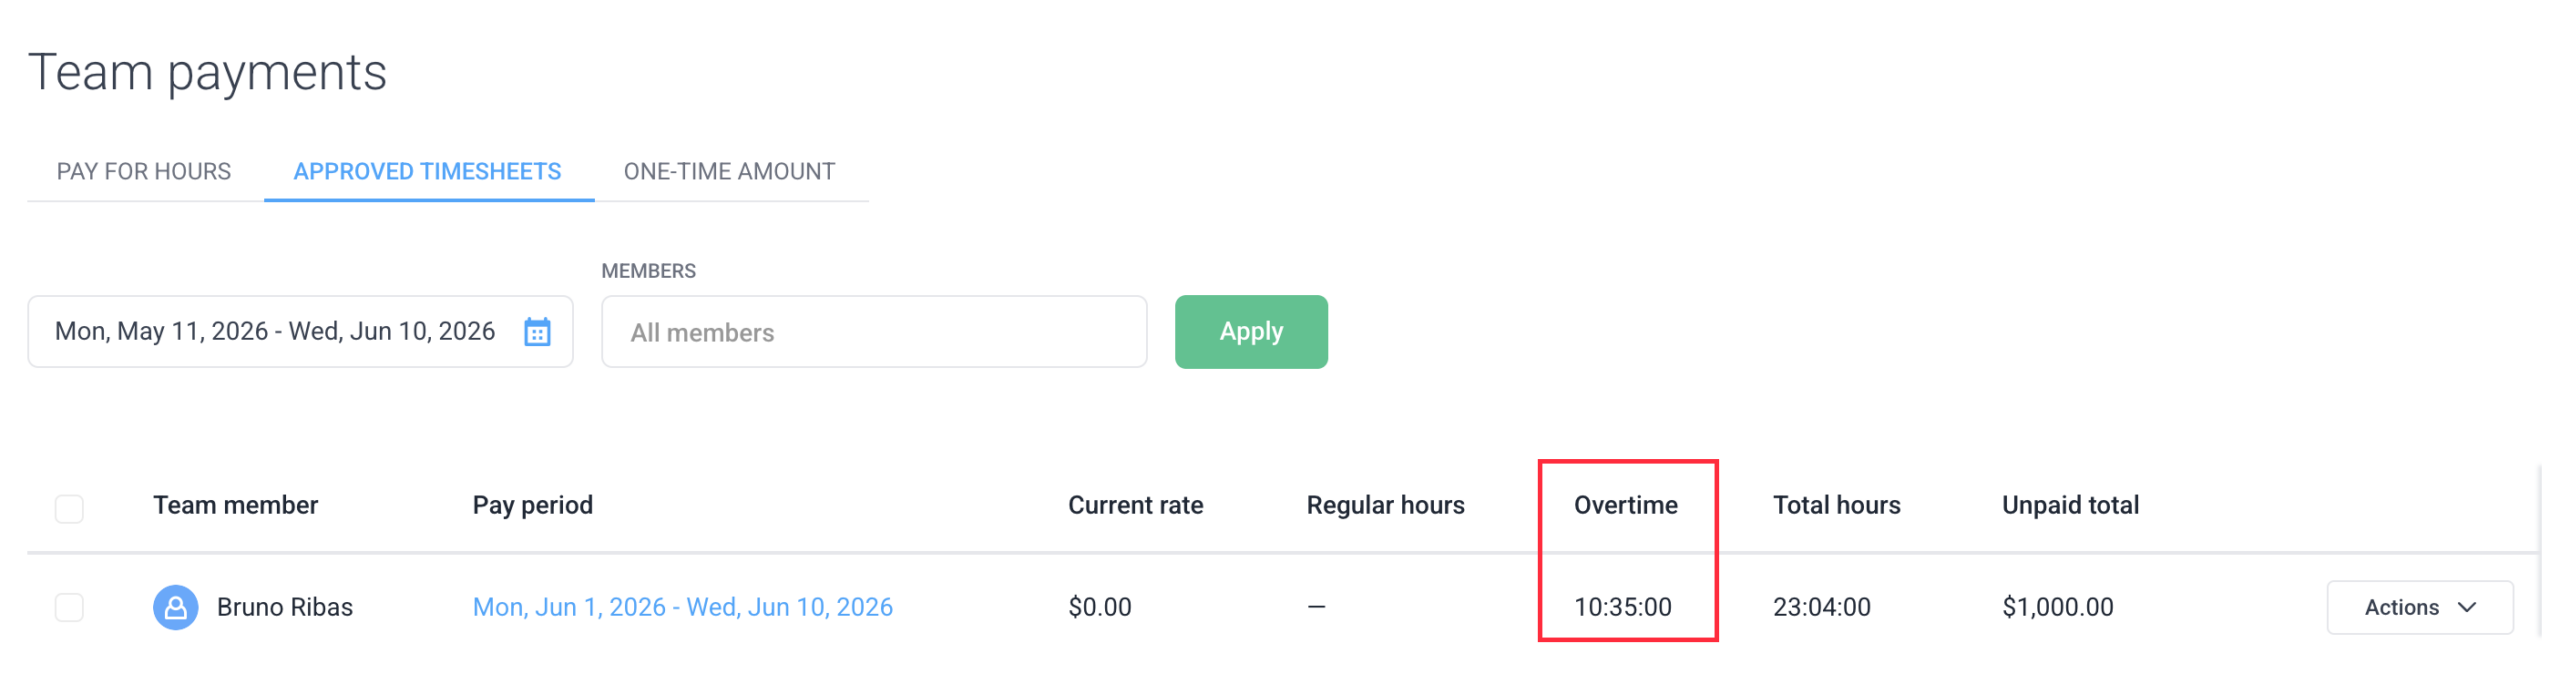
Payments
Navigate to Financials > Create payments > Approved timesheets