14 minutes
How Do I Invoice My Employer (Organization) in Hubstaff?
Members can automatically generate line items from time tracked with Hubstaff or enter a line item manually to request payment (or invoice an employer) for a completed task. Two example use cases:
- Instead of using automatic payroll, a member completes a project for their organization and bills the organization for their time using auto-generated line items.
- A freelance copywriter might not invoice for tracked time;instead they can enter an article they wrote as a line item and invoice the organization to pay them per word.
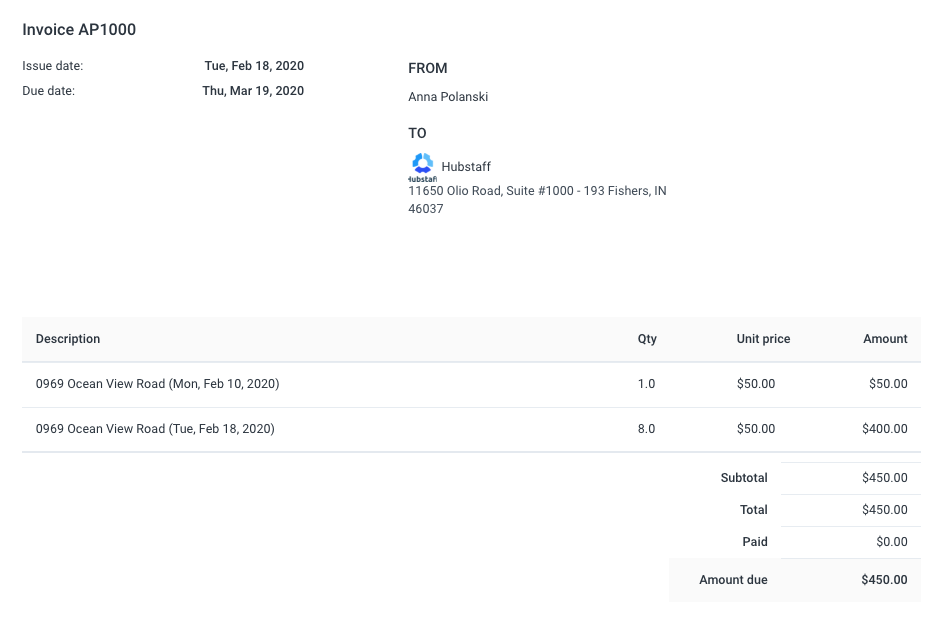
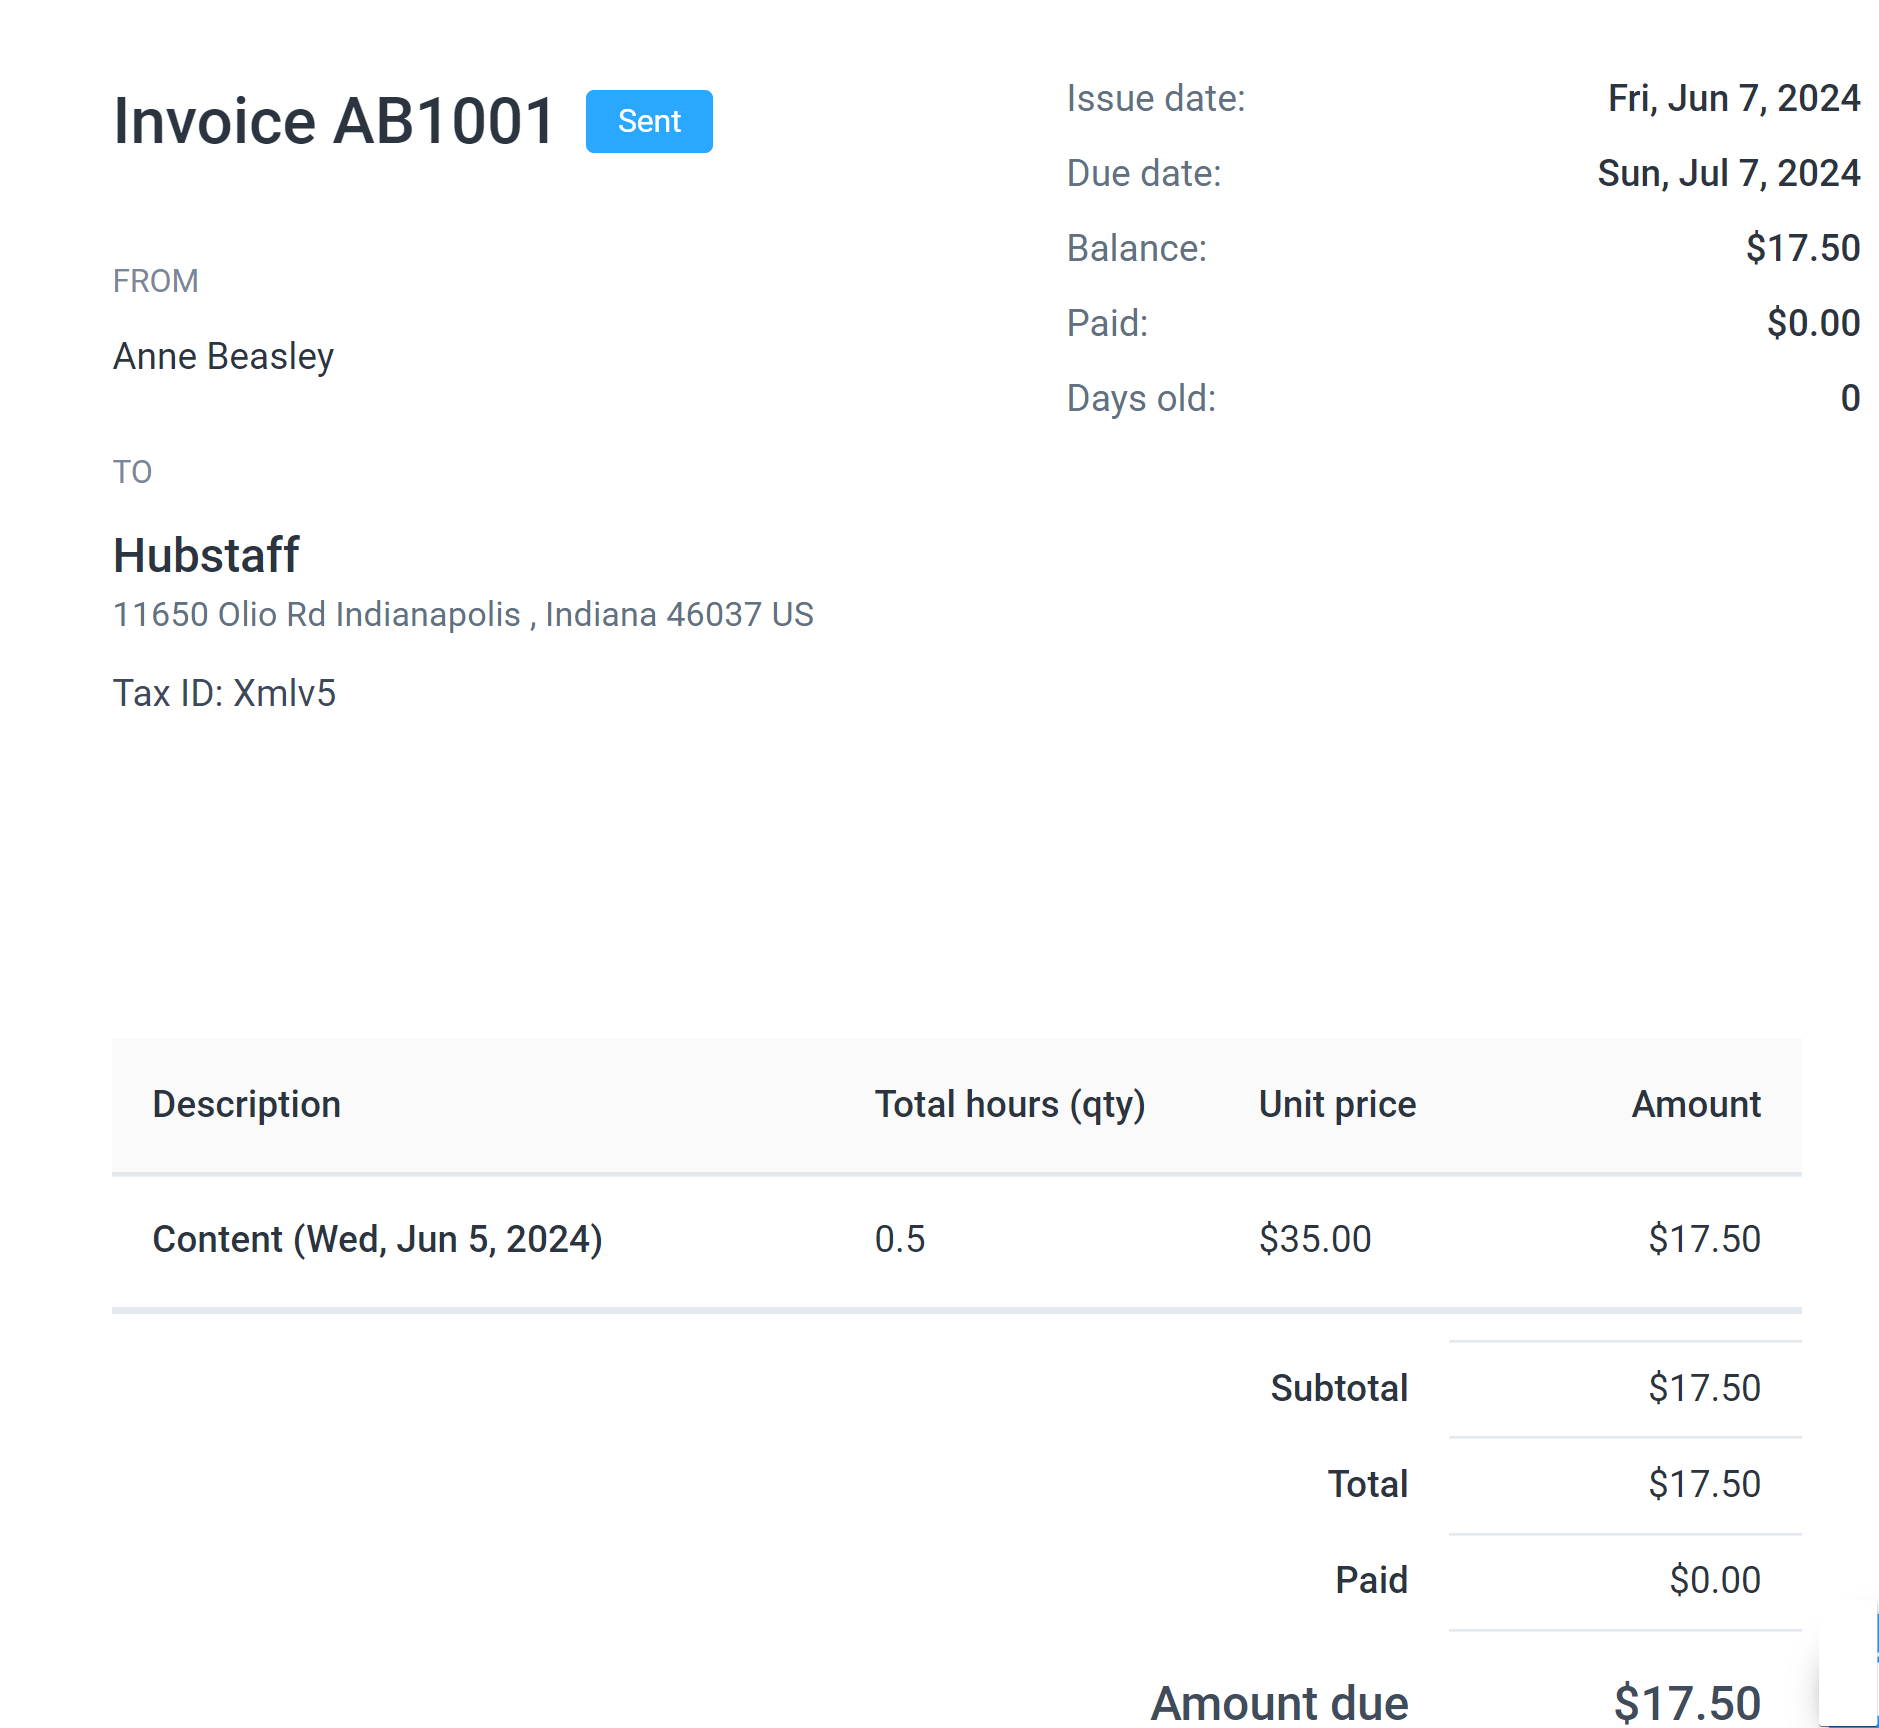
Below is a sample invoice sent by a team member to an organization owner.
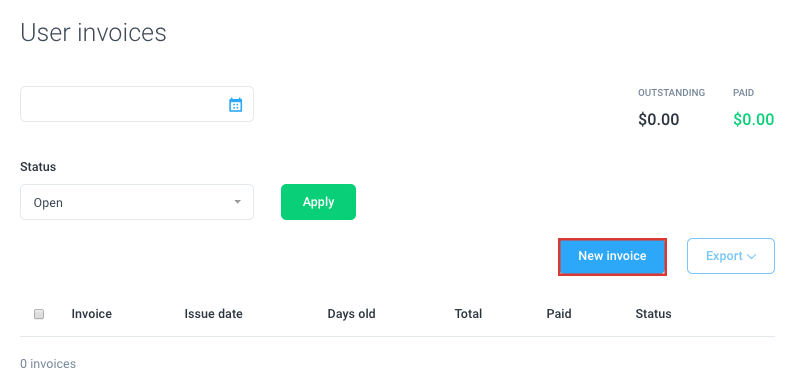
To get started with invoicing the organization, navigate to the Financials > Invoices tab on the sidebar.

Creating a New Invoice
Step 1
Click on the New invoice button.
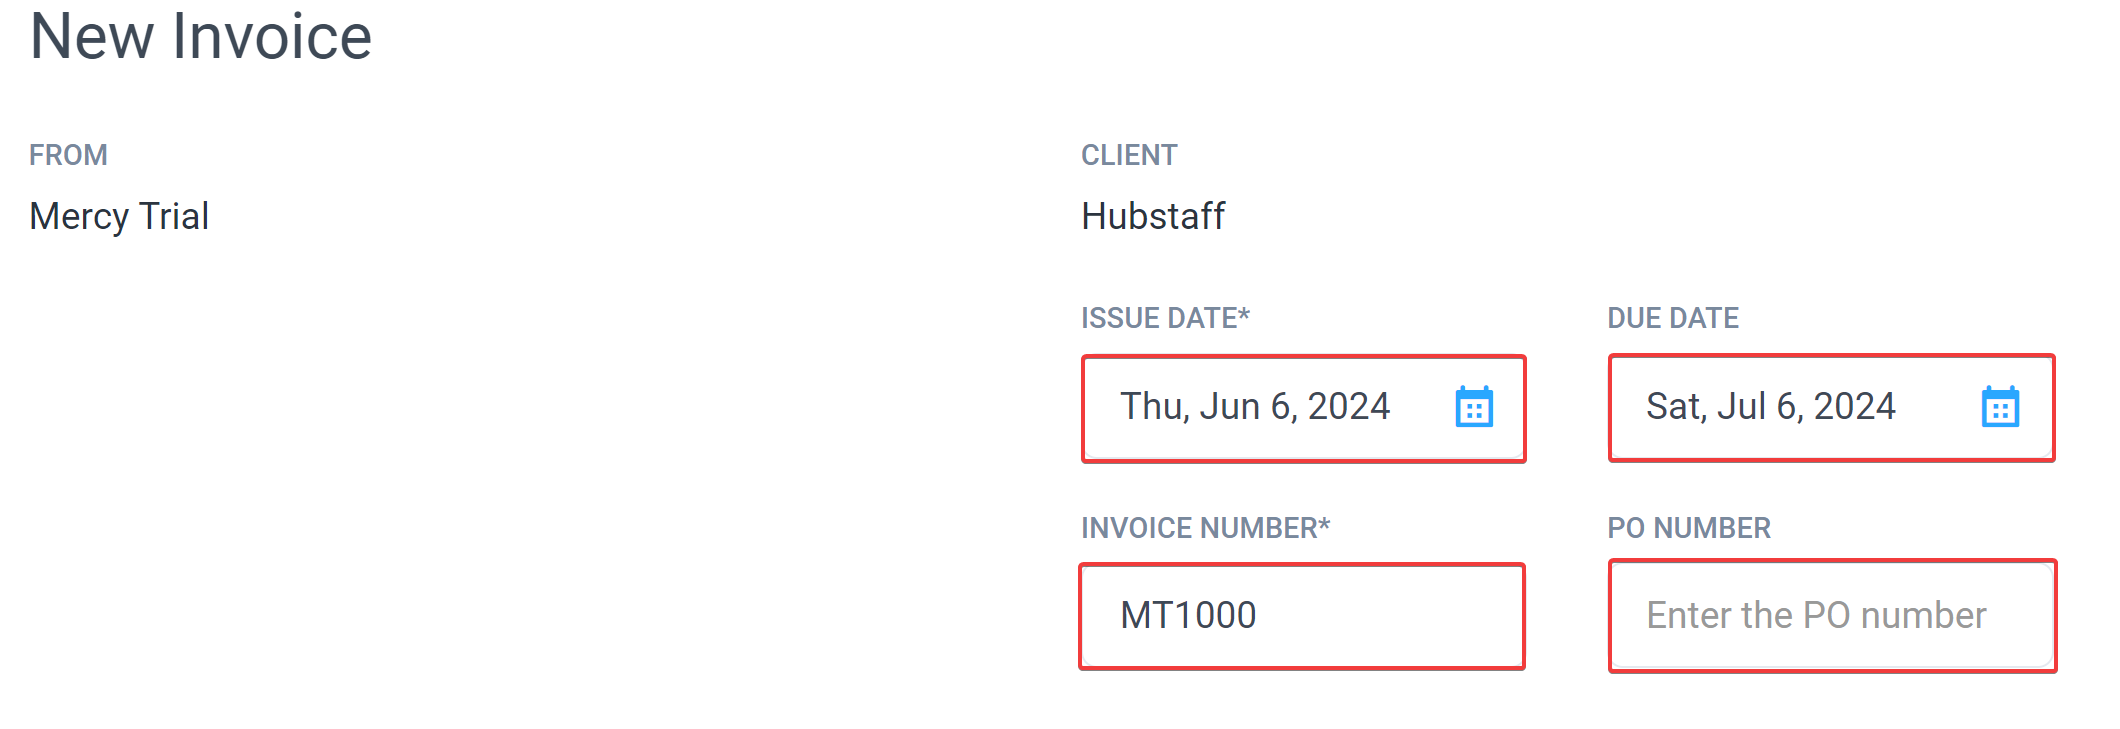
Step 2
Specify the issue and due dates, then set a custom invoice number or leave the default value.
- Issue date – the date the invoice was issued to your employer.
- Due date – the due date for the payment of the invoice.
- Invoice number – this is automatically assigned to each invoice. You can leave it as is, or enter a custom invoicing sequence.
- PO (Purchase Order) Number – this field is optional for contractors.
Step 3
To fill out the line items included on your invoice, you can either:
- Manually add line items – you can choose to manually enter each line item, then click the Add item button to add another one:
- Description
- Notes
- Quantity
- Unit Price
- Generate line items – click the “Generate line items” button and Hubstaff will automatically load line items based on a date range.

Generate Automatic Line Items
Step 1
On your new invoice, click Generate line items and set your date range, project, and line item filters as needed, then click Generate.
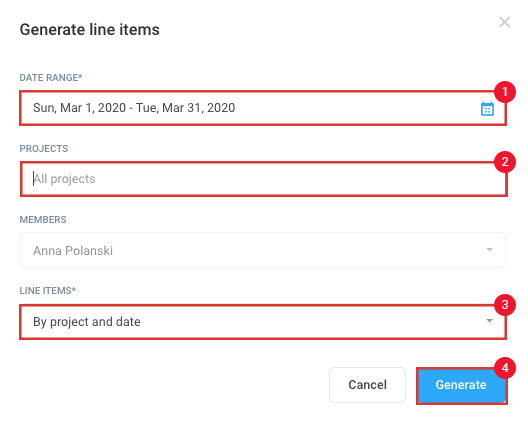
It will then add the line items during the selected range to the invoice.

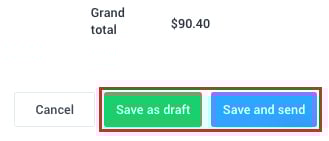
Step 2
When you’re all finished, click Save and send if you’d like to send your invoice right away, or you can click Save as draft if you’d like to send it later.
Filtering Invoices
You can use a few different filters to view your invoices for just a particular date and status, then click Apply.

Editing an Invoice
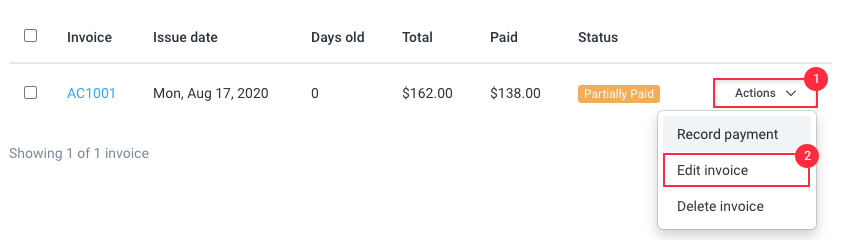
Step 1
Click on Invoices, then next to the invoice you wish to edit, click Actions then select Edit invoice from the drop-down.
Step 2
Edit the details, then save the changes and resend the invoice if desired.
Downloading an Invoice
Step 1
Click on the Invoices, then click on the invoice number of the invoice you want to download.

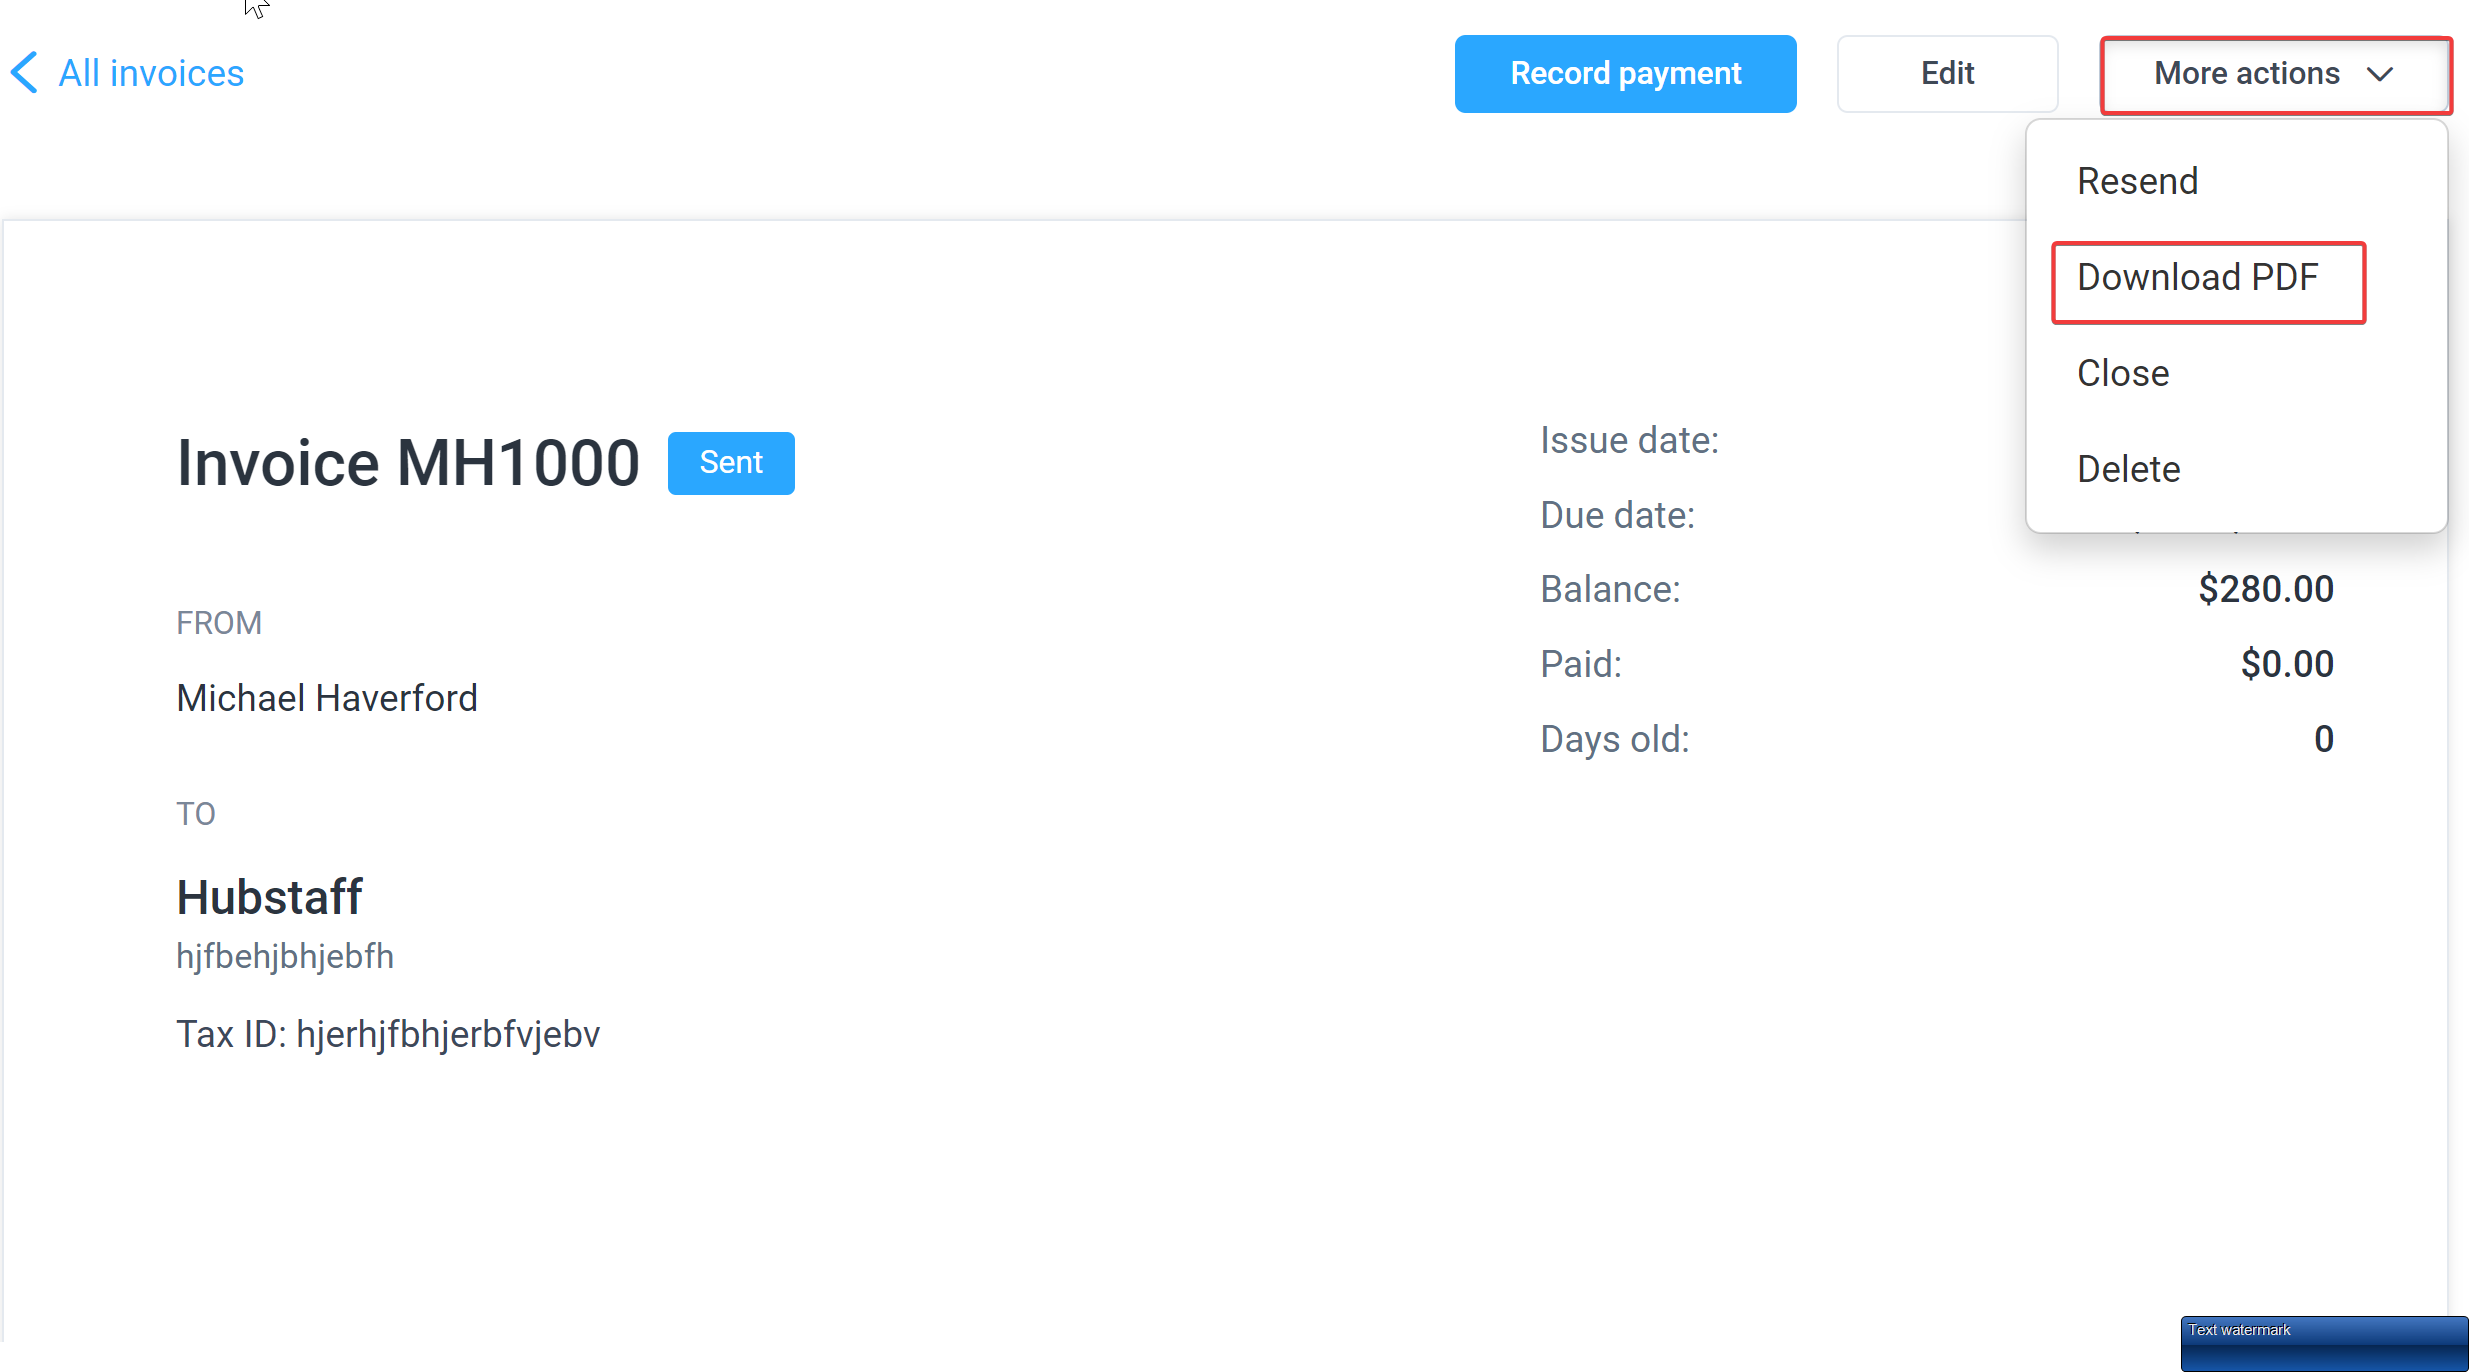
Step 2
Click on More actions, then select Download PDF.
Closing an Invoice
Step 1
Click on the Invoices then click on the invoice number of the invoice you wish to close.
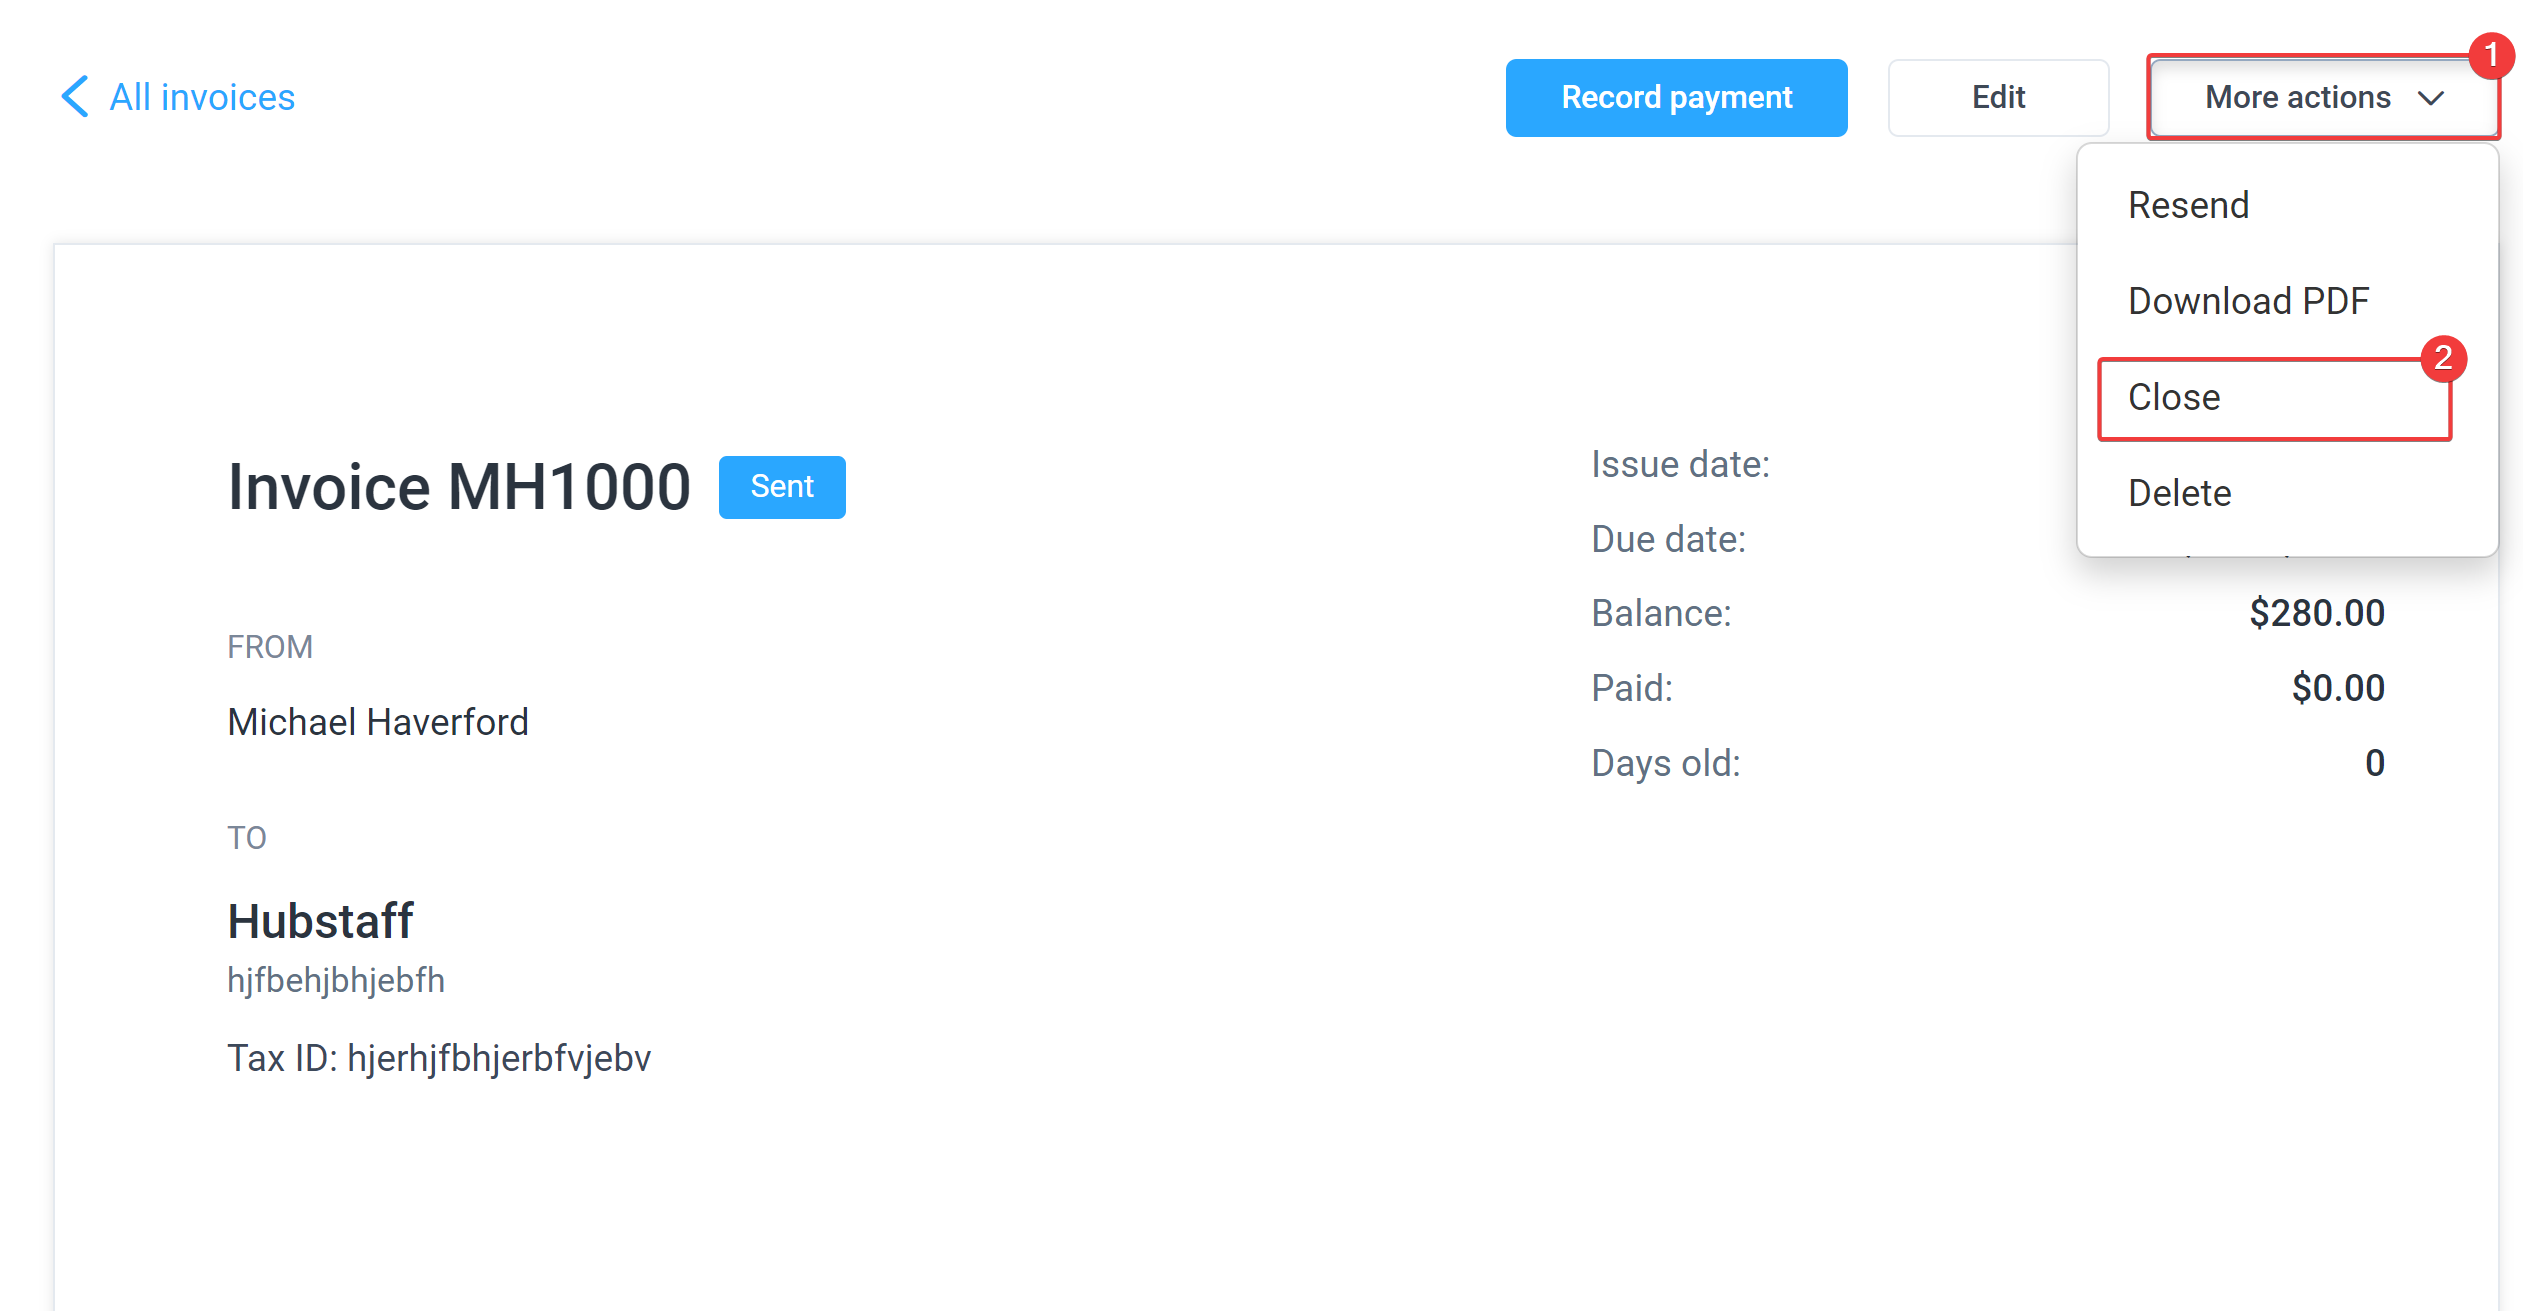
Step 2
Click More actions, then select Close from the drop-down.
Reopening a closed Invoice
Step 1
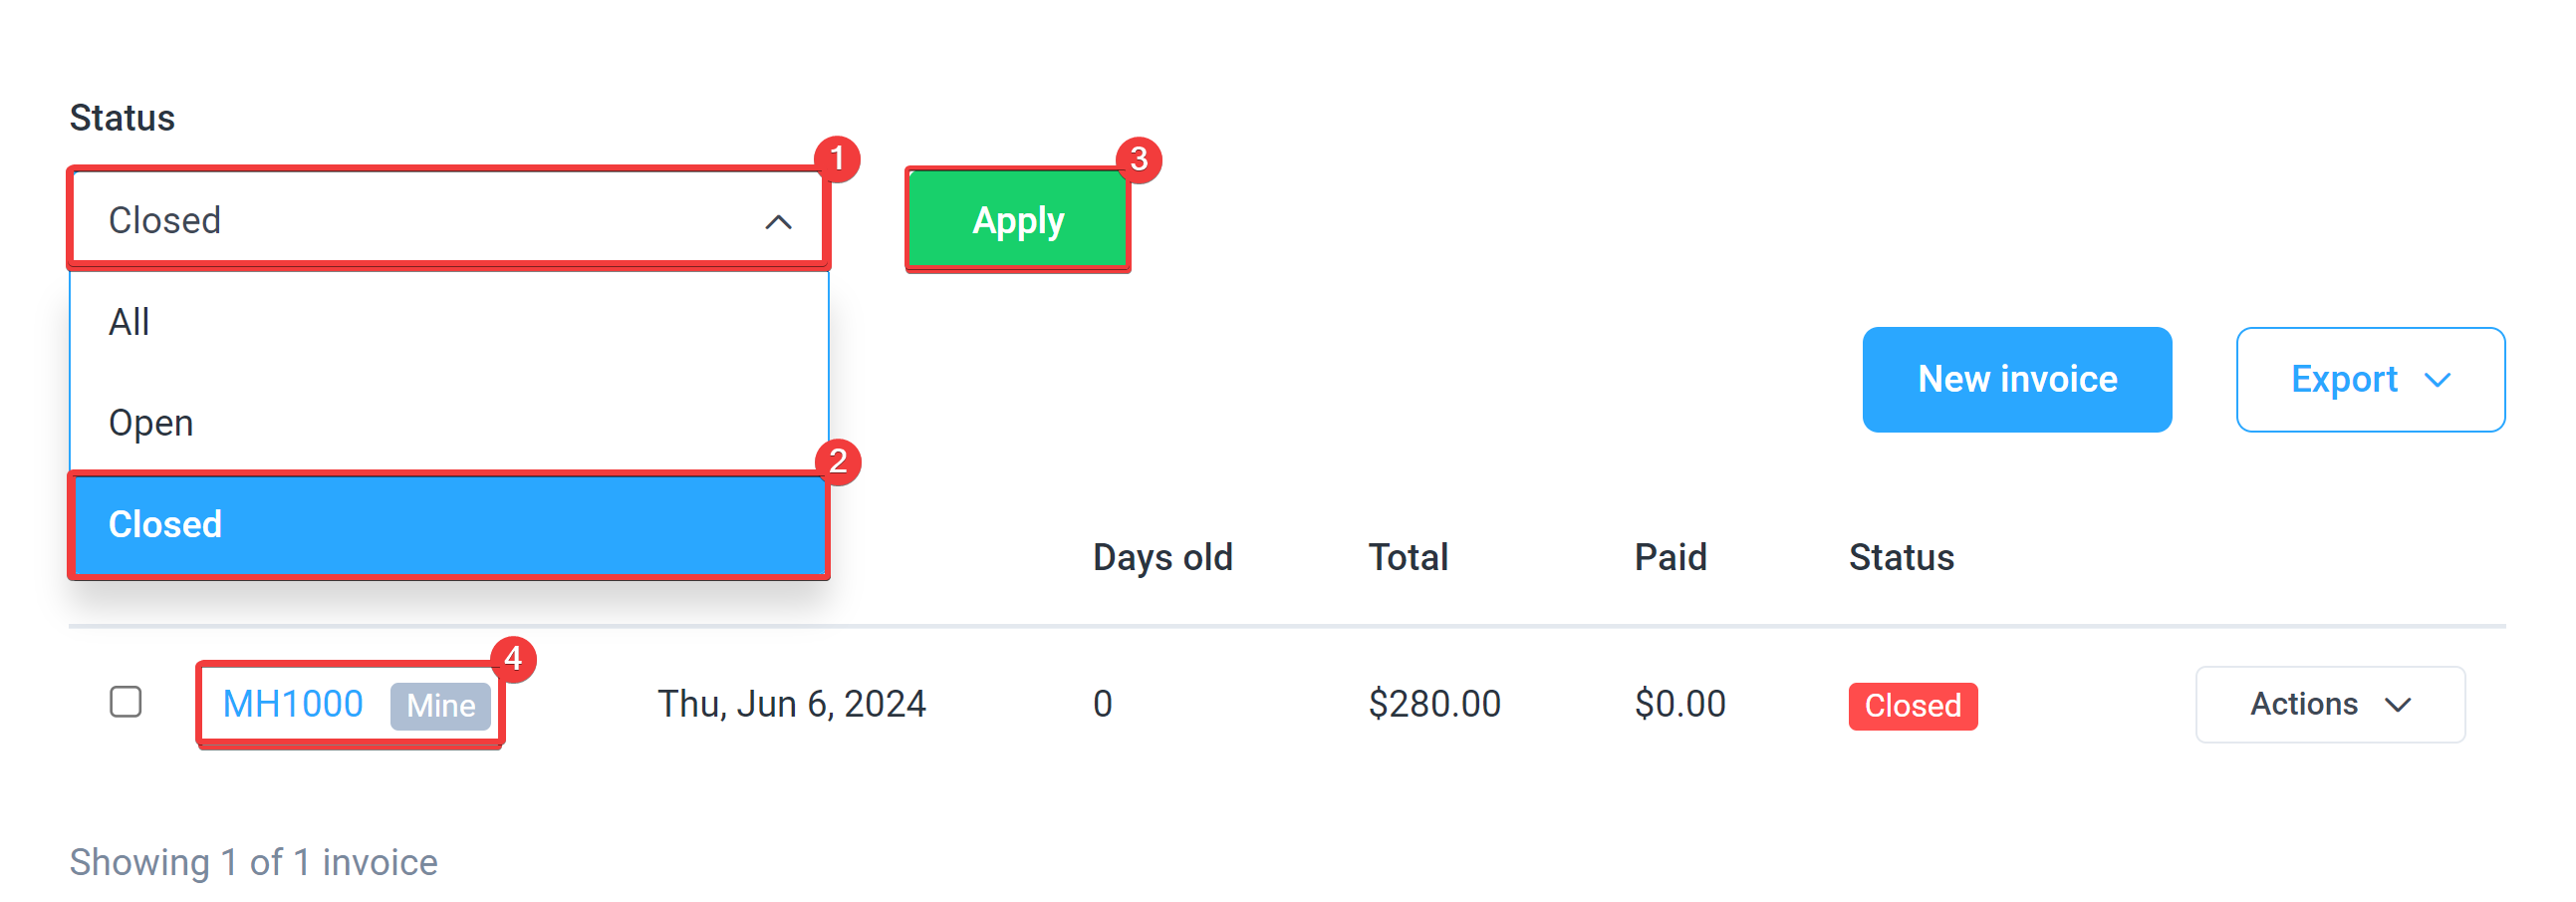
Click on Invoices, then select the Closed option from the Status drop-down, then hit Apply. Click on the invoice number to open the invoice.
Step 2
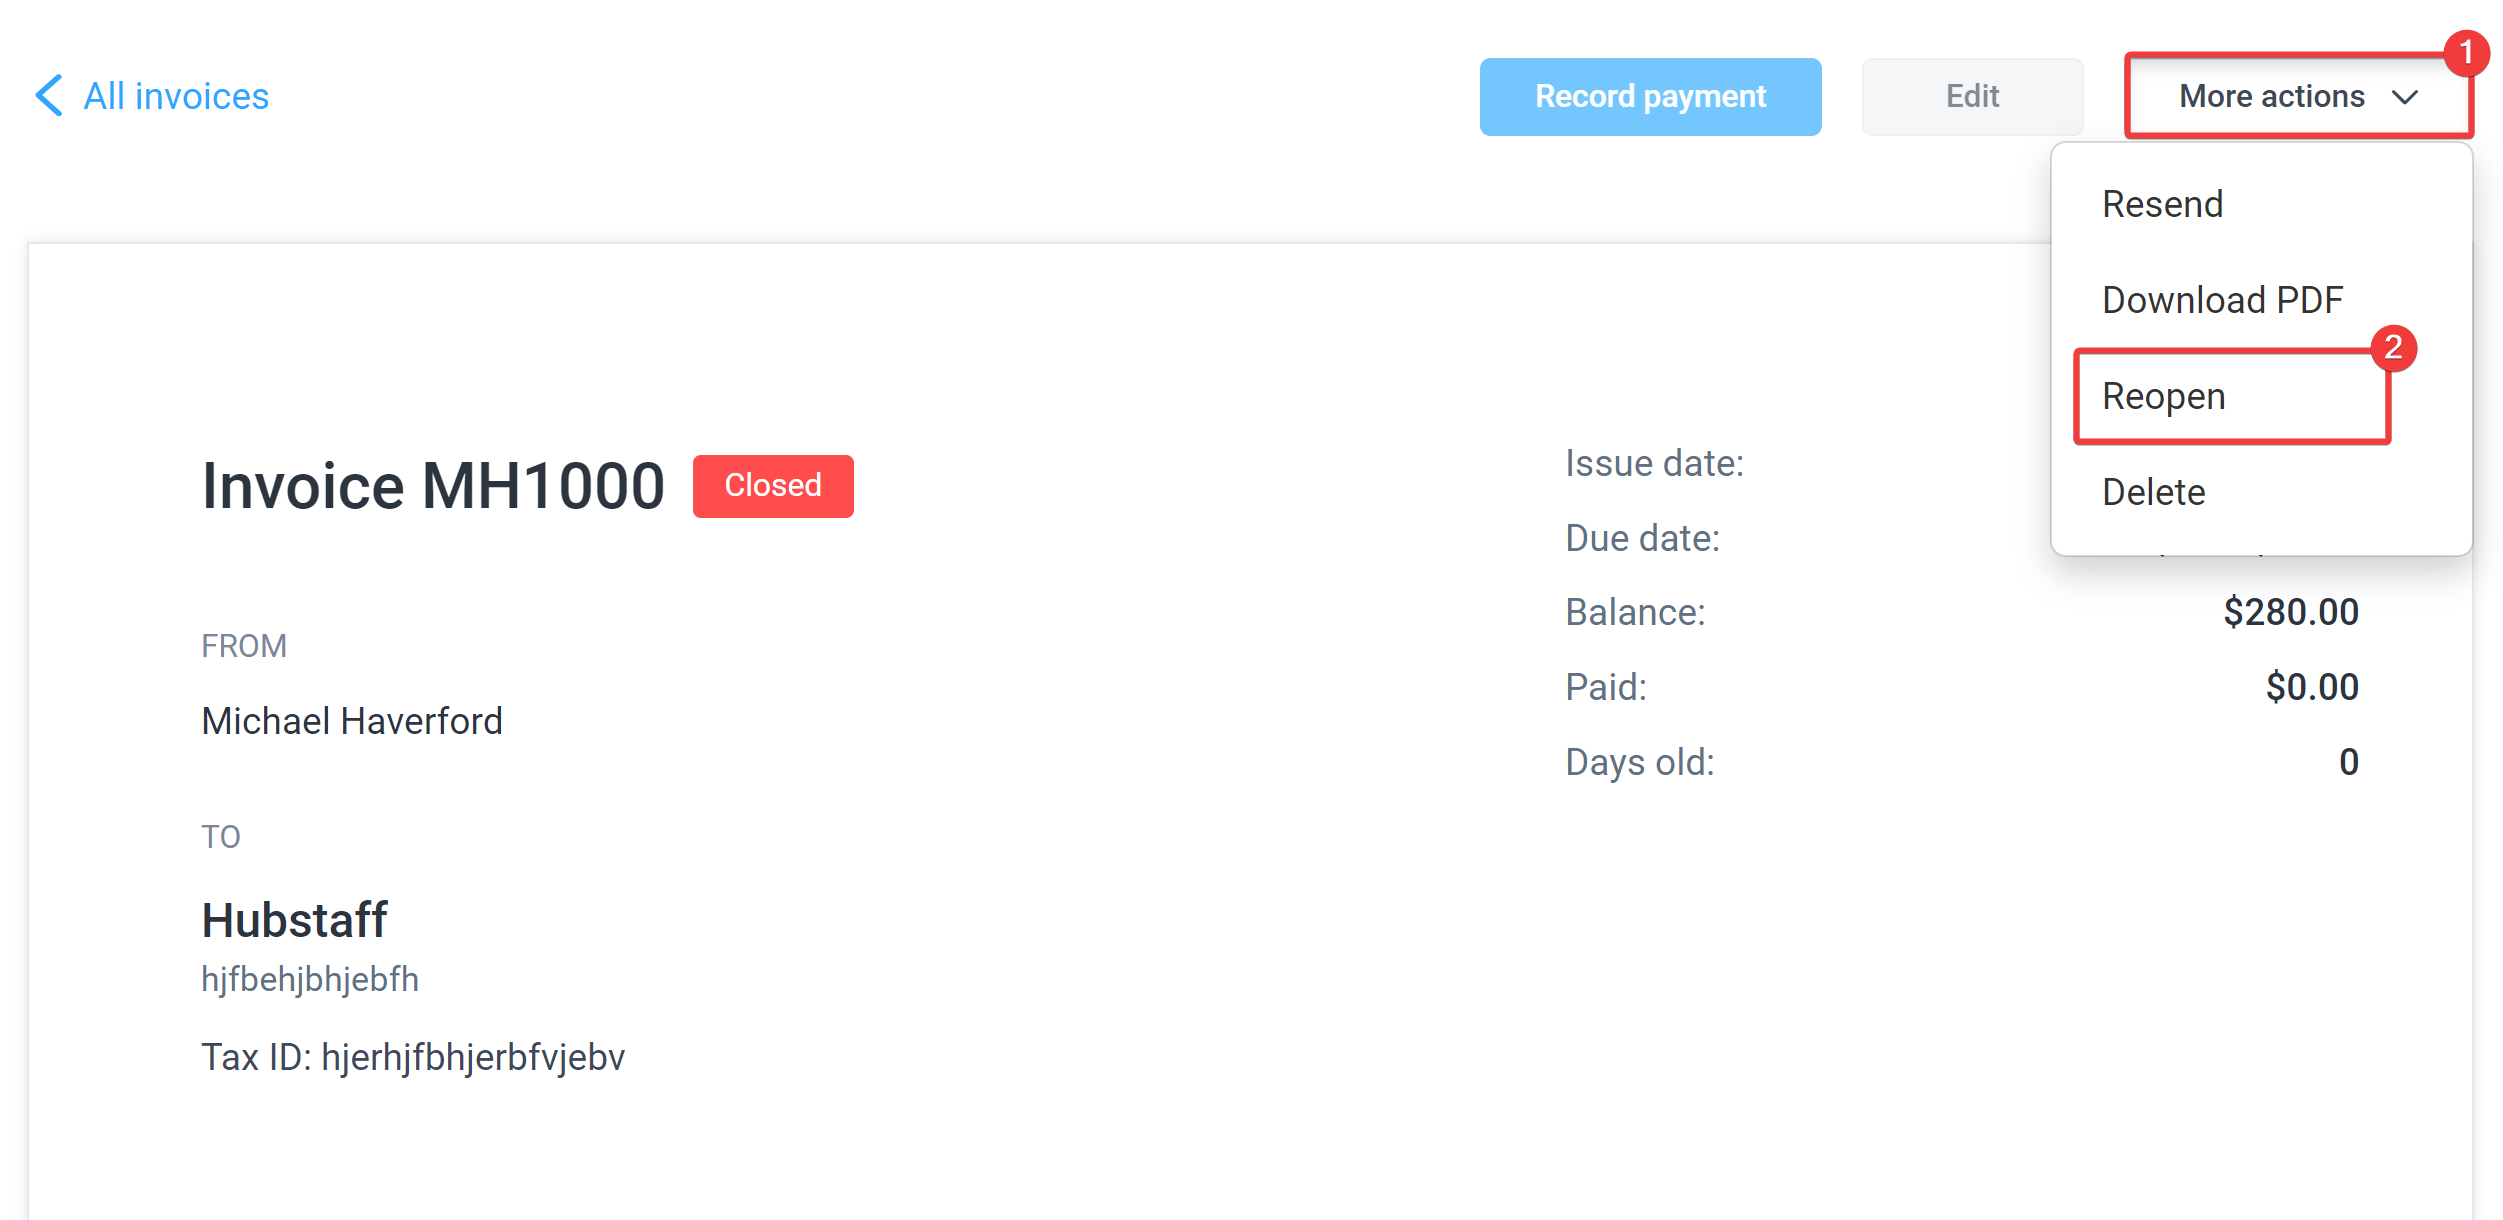
Click More actions and select Reopen from the drop-down.
Deleting an Invoice
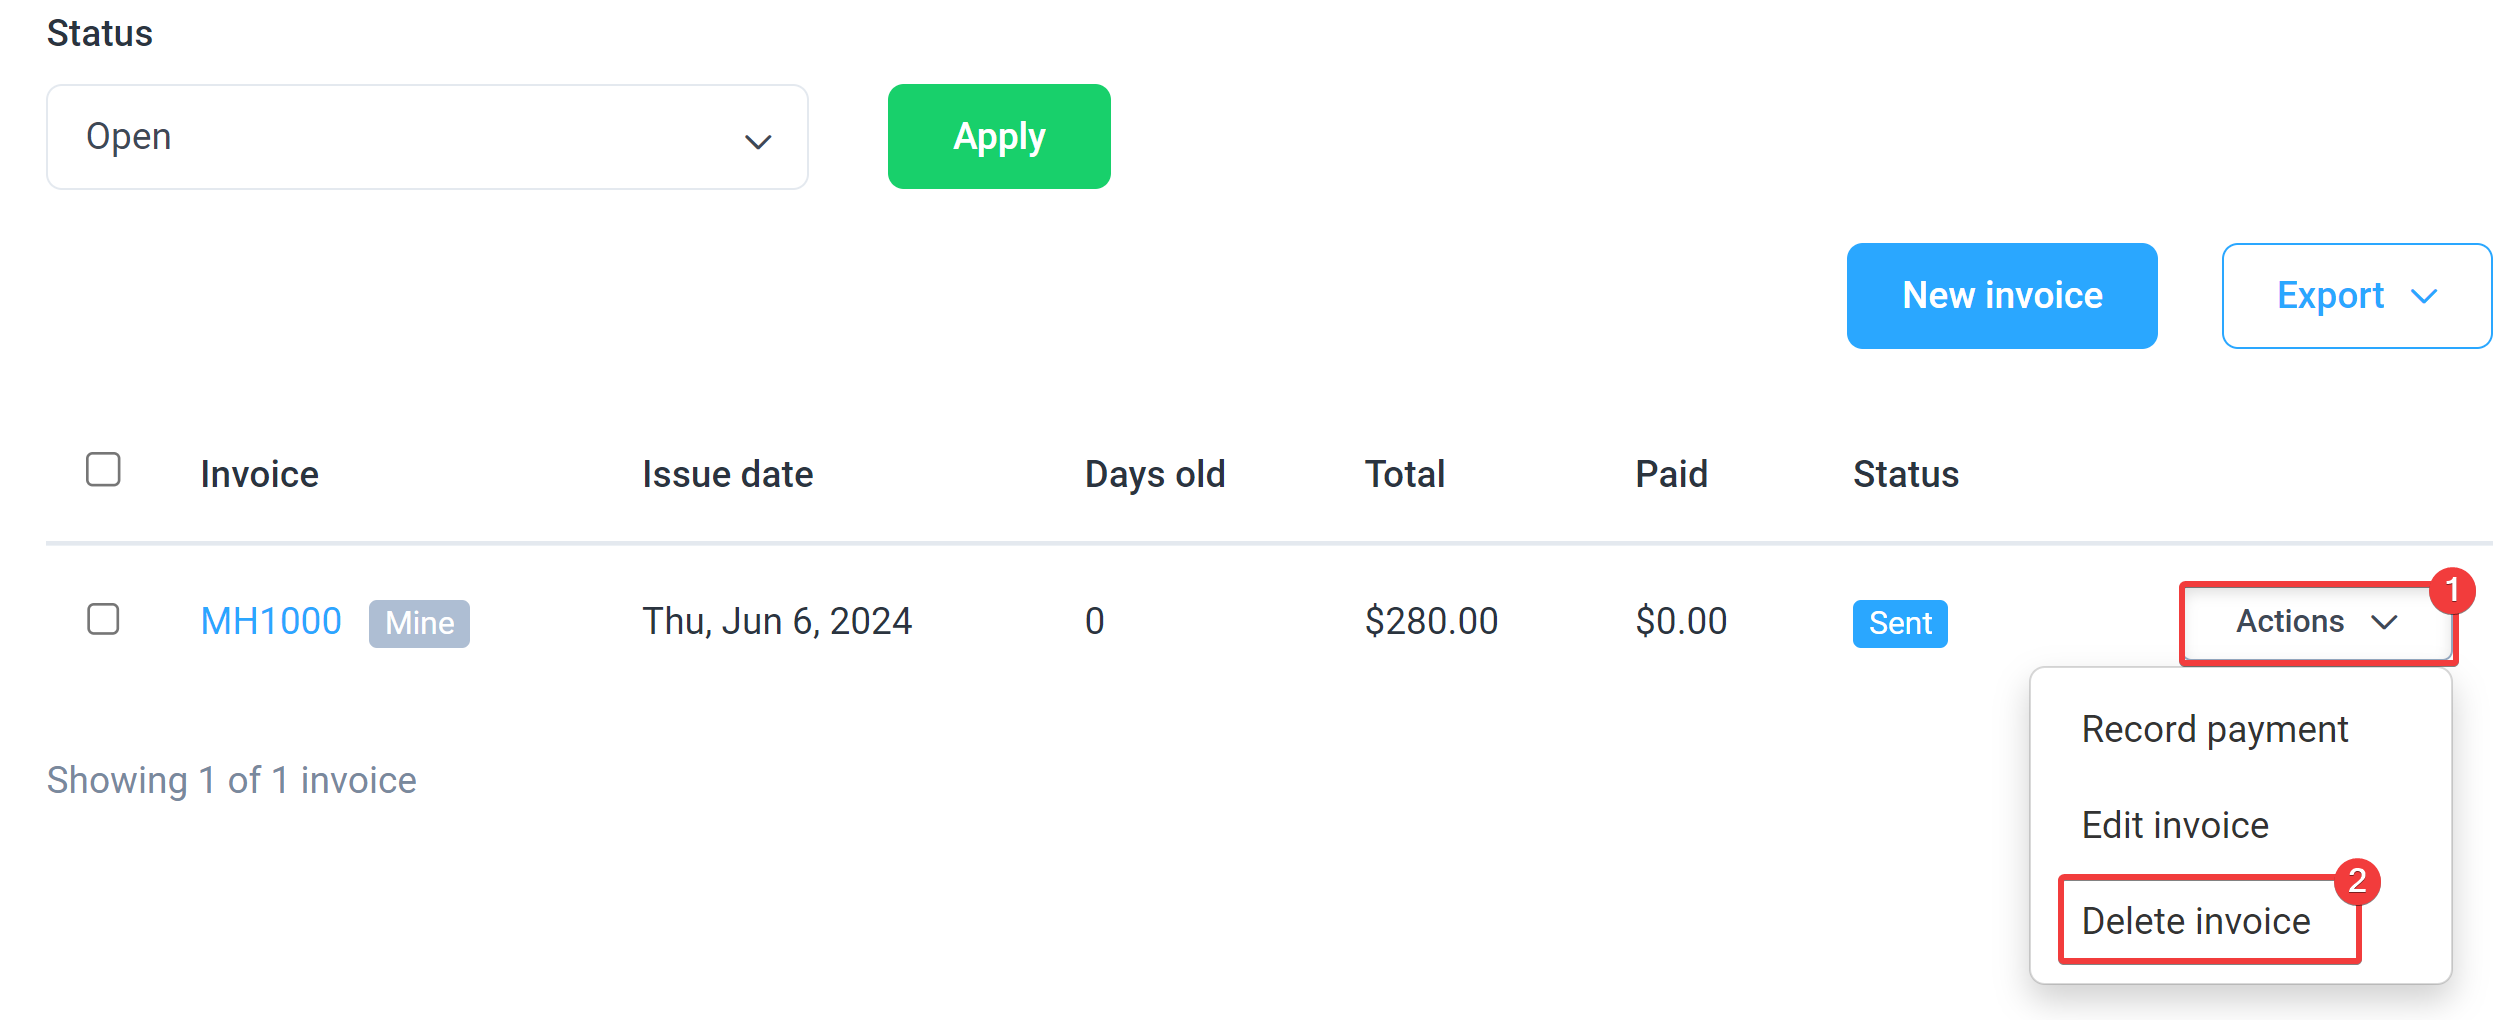
To delete an invoice entirely instead of closing it, click Actions next to that invoice and select Delete invoice on the drop-down.
Recording payments
Marking an invoice paid
Step 1
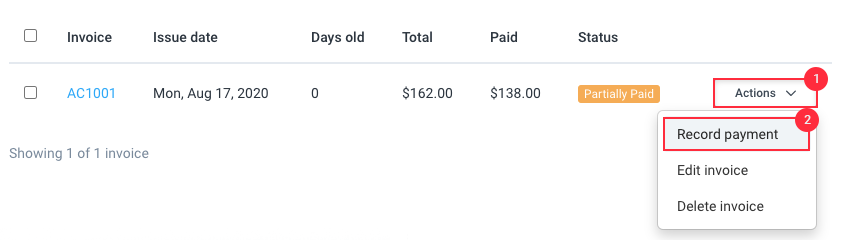
Click on the Invoices then next to the invoice you wish to mark paid, click on Actions, then Record payment.
Sample Invoice
Here is a sample invoice of what your clients will see:
When editing an invoice, if you want to delete a generated line item, you need to click the trash icon for the generated line item you want to get rid of and then save the invoice for that change to take effect. Likewise, those hours will change back to not locked.
If you make any changes to an invoice and click on the Cancel button right after, then the changes will NOT take effect and the line items (regardless of whether they are manual line items or generated line items) will still be there in the invoice.
Hubstaff’s invoicing feature cannot be used for import into accounting systems.
Our invoicing system allows users to manually create line items to bill clients/employers per task/word.