26 minutes
How to configure Microsoft Entra ID for SCIM integration
In this article, you will find instructions on how to configure SCIM, which stands for System for Cross-domain Identity Management, and allows our Enterprise customers to automatically provision, update, and de-provision Hubstaff members through their identity provider service.
If you’re looking for how to configure SSO, click here.
For SCIM integration, we support the following:
- Microsoft Entra ID
- Okta
- OneLogin
If you need support for any additional provider, contact us at support@hubstaff.com.
- This feature is only available on the Enterprise plan.
- Who can access this feature: Organization Owners, Organization Managers, and Users with the Manage IT custom permission assigned to their account.
- Identity data syncs every 40 minutes, unless the IDP has a feature that circumvents the delay (e.g. Microsoft Entra ID’s provision on-demand feature.)
Setting up SCIM
Step 1
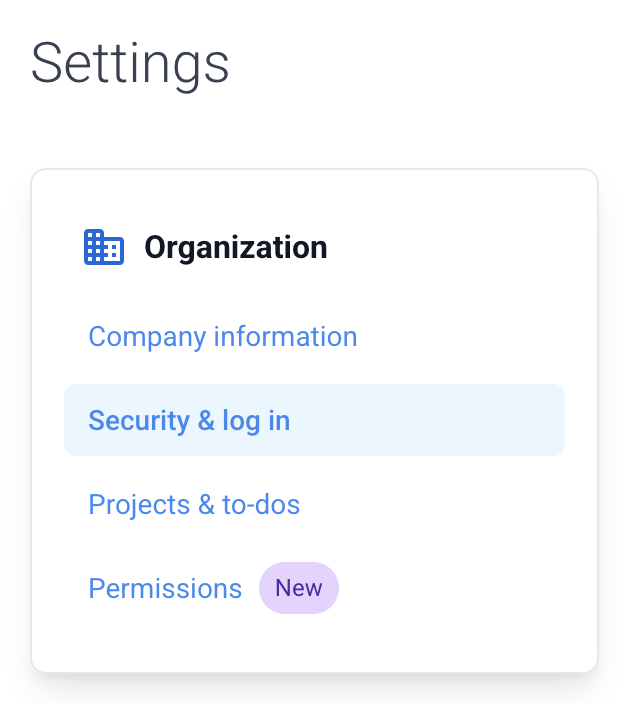
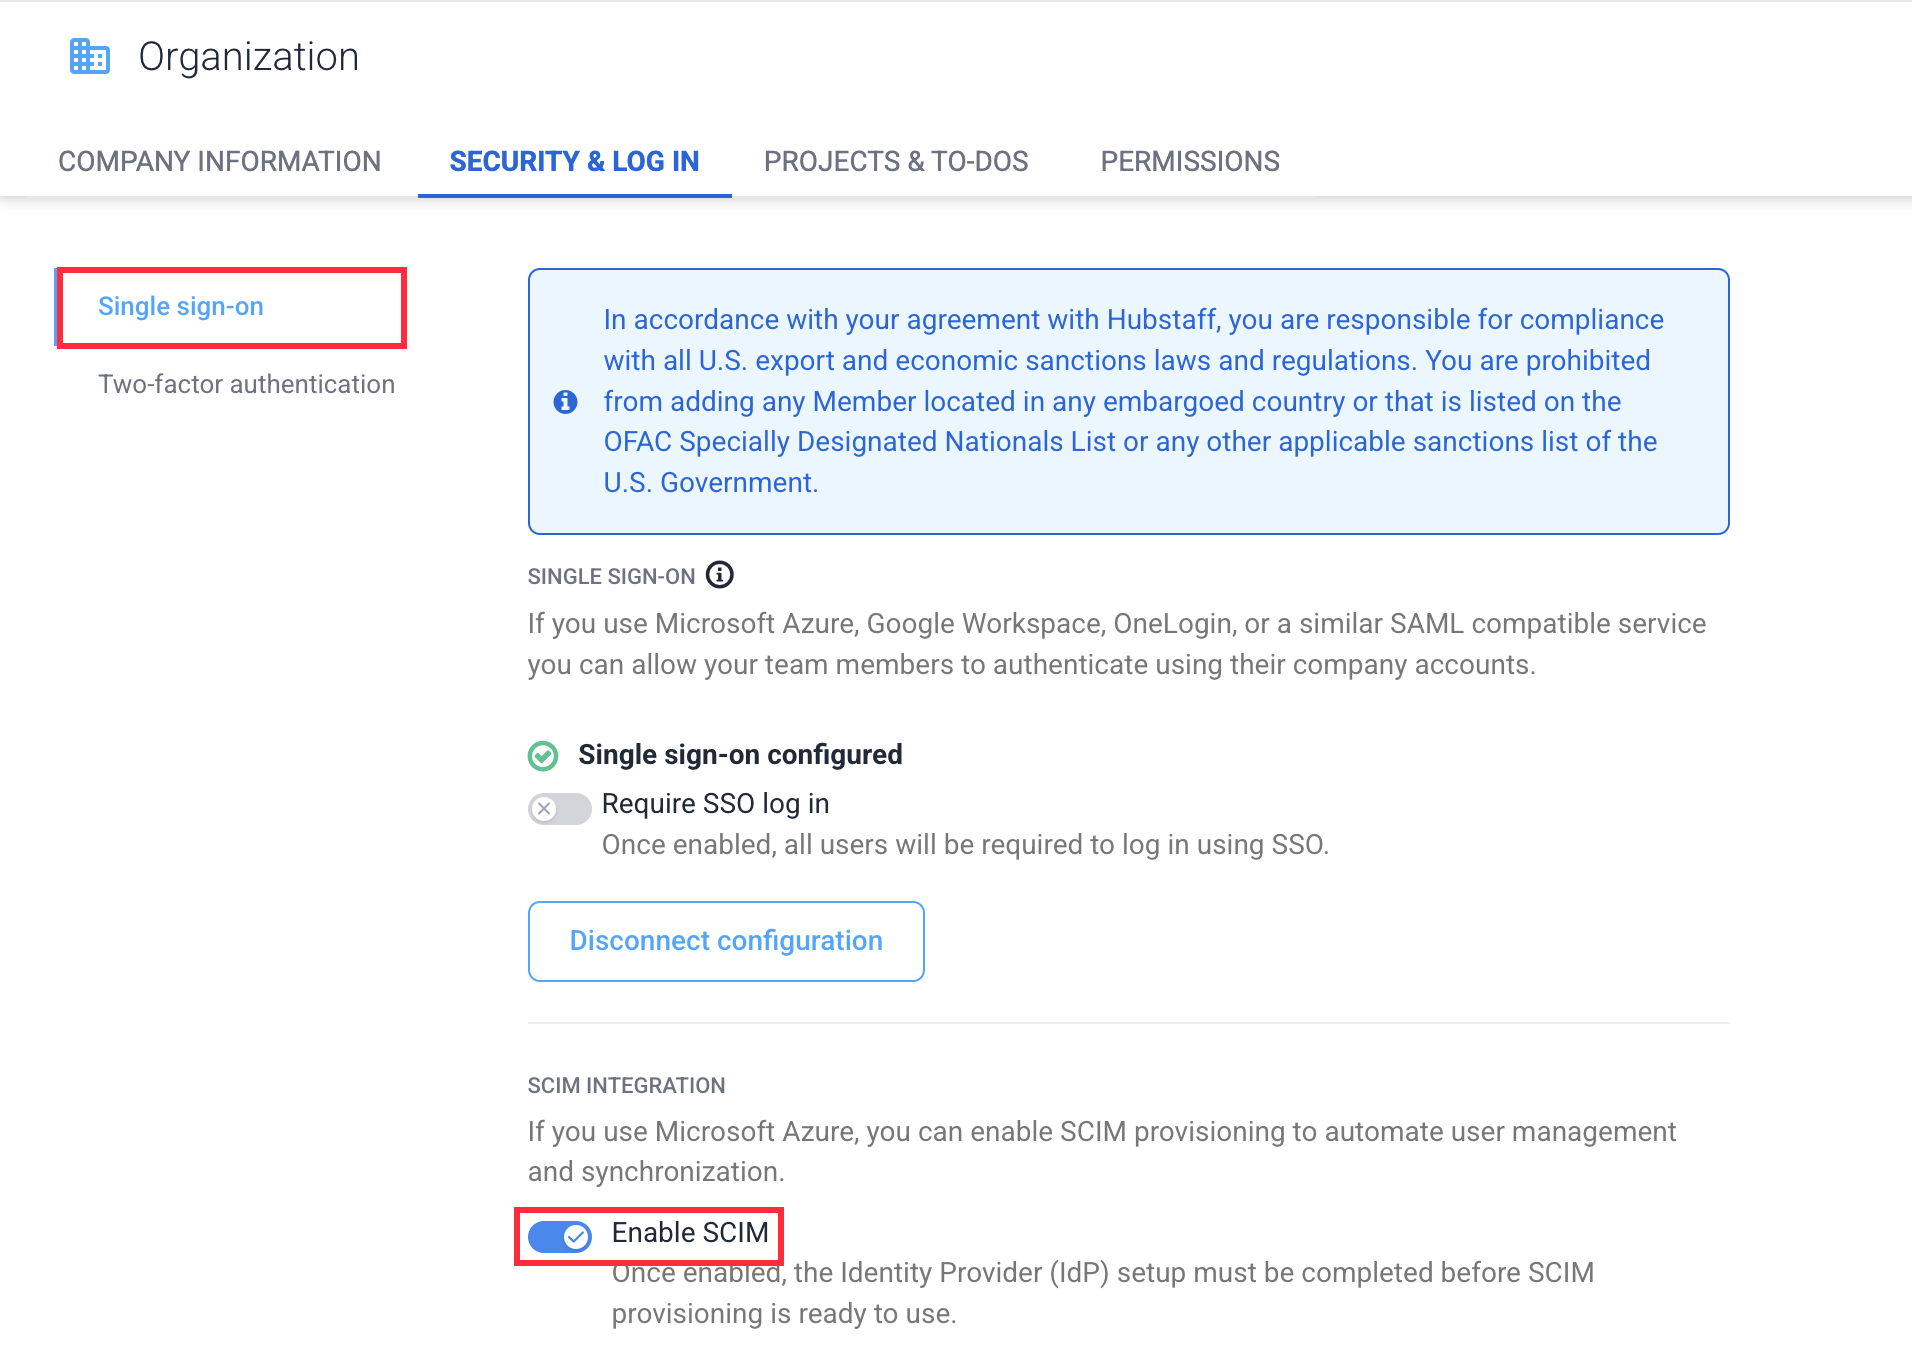
To enable SCIM, navigate to Settings > Organization > Security & log in.
Step 2
Click the Single Sign-on tab, then toggle the Enable SCIM setting.
Step 3
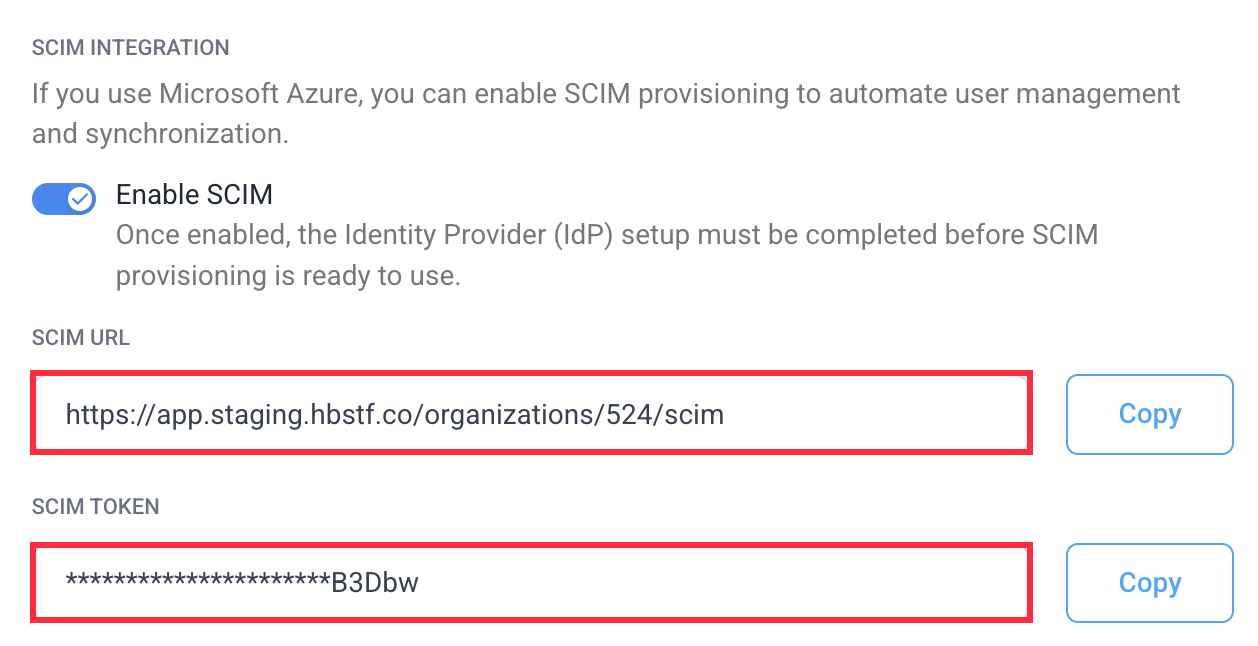
Copy then add the SCIM URL and SCIM token to your identity provider. Once done, you should be able to provision, de-provision and update members within the IDP.
 `
`
Provisioning users
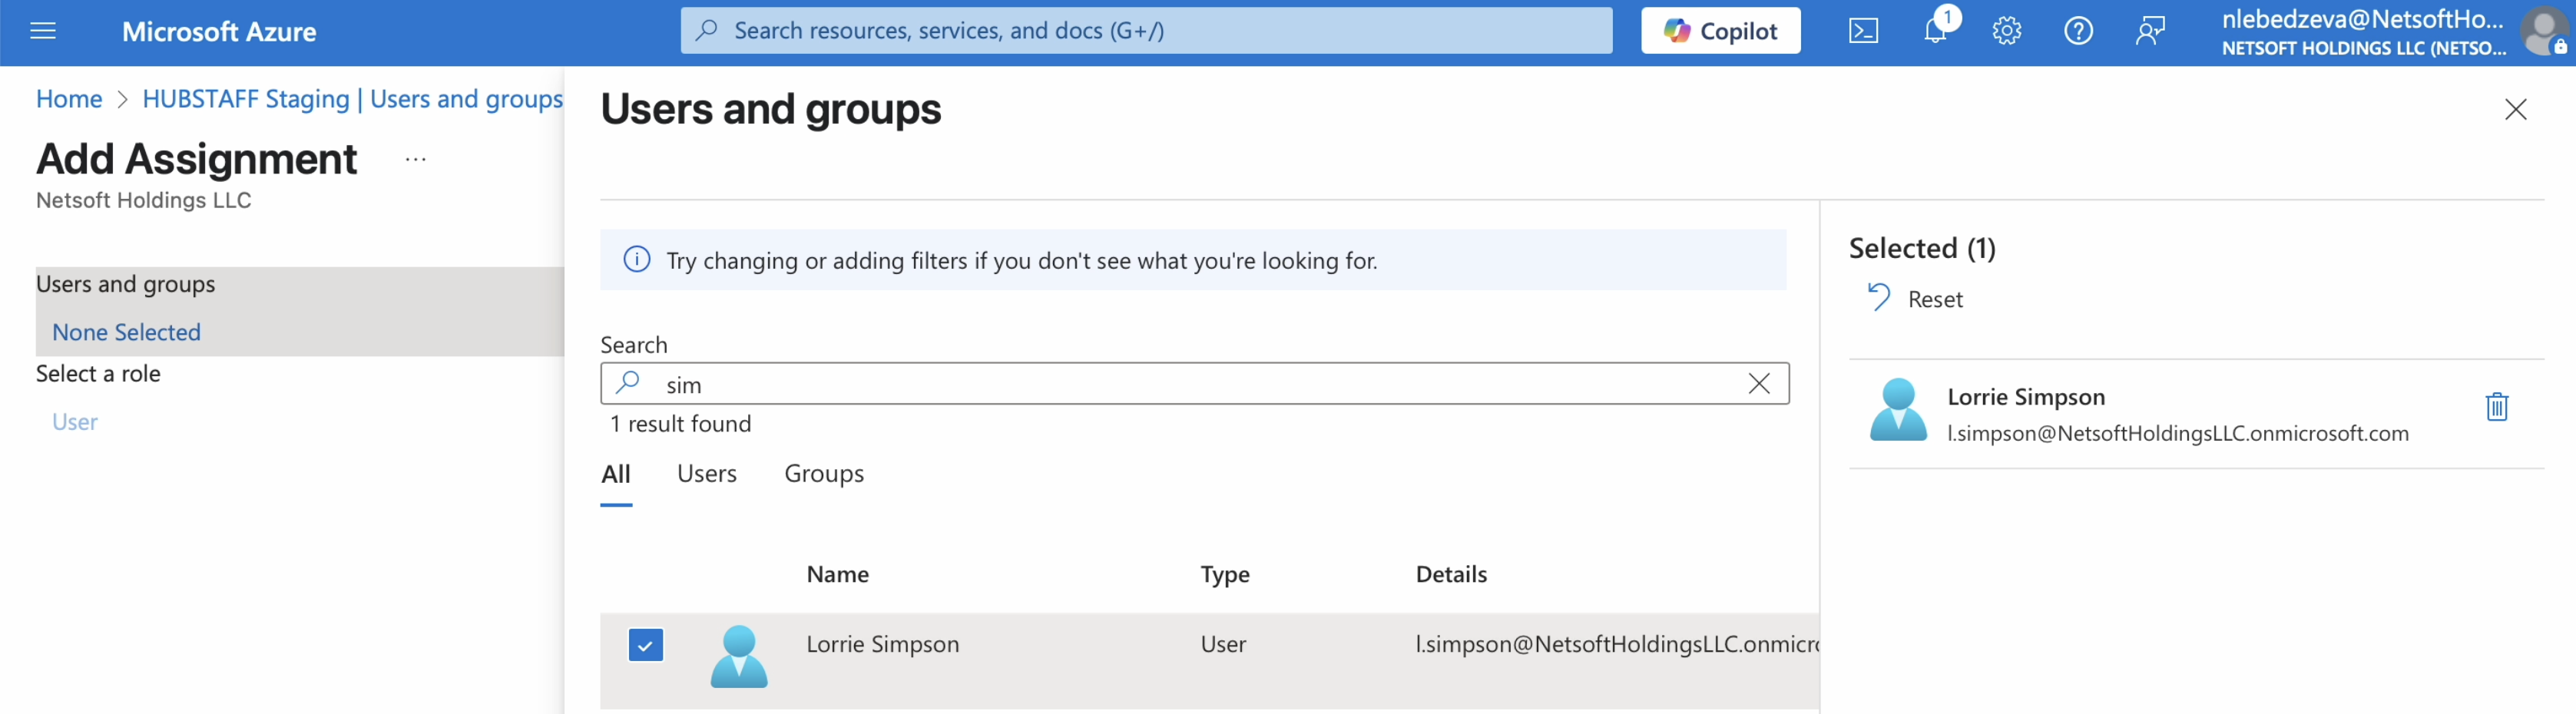
To provision users, add them to your IDP application’s user list. IDPs typically update records every 40 minutes. However, some IDPs, such as Microsoft Entra ID, support on-demand provisioning, which bypasses this interval.
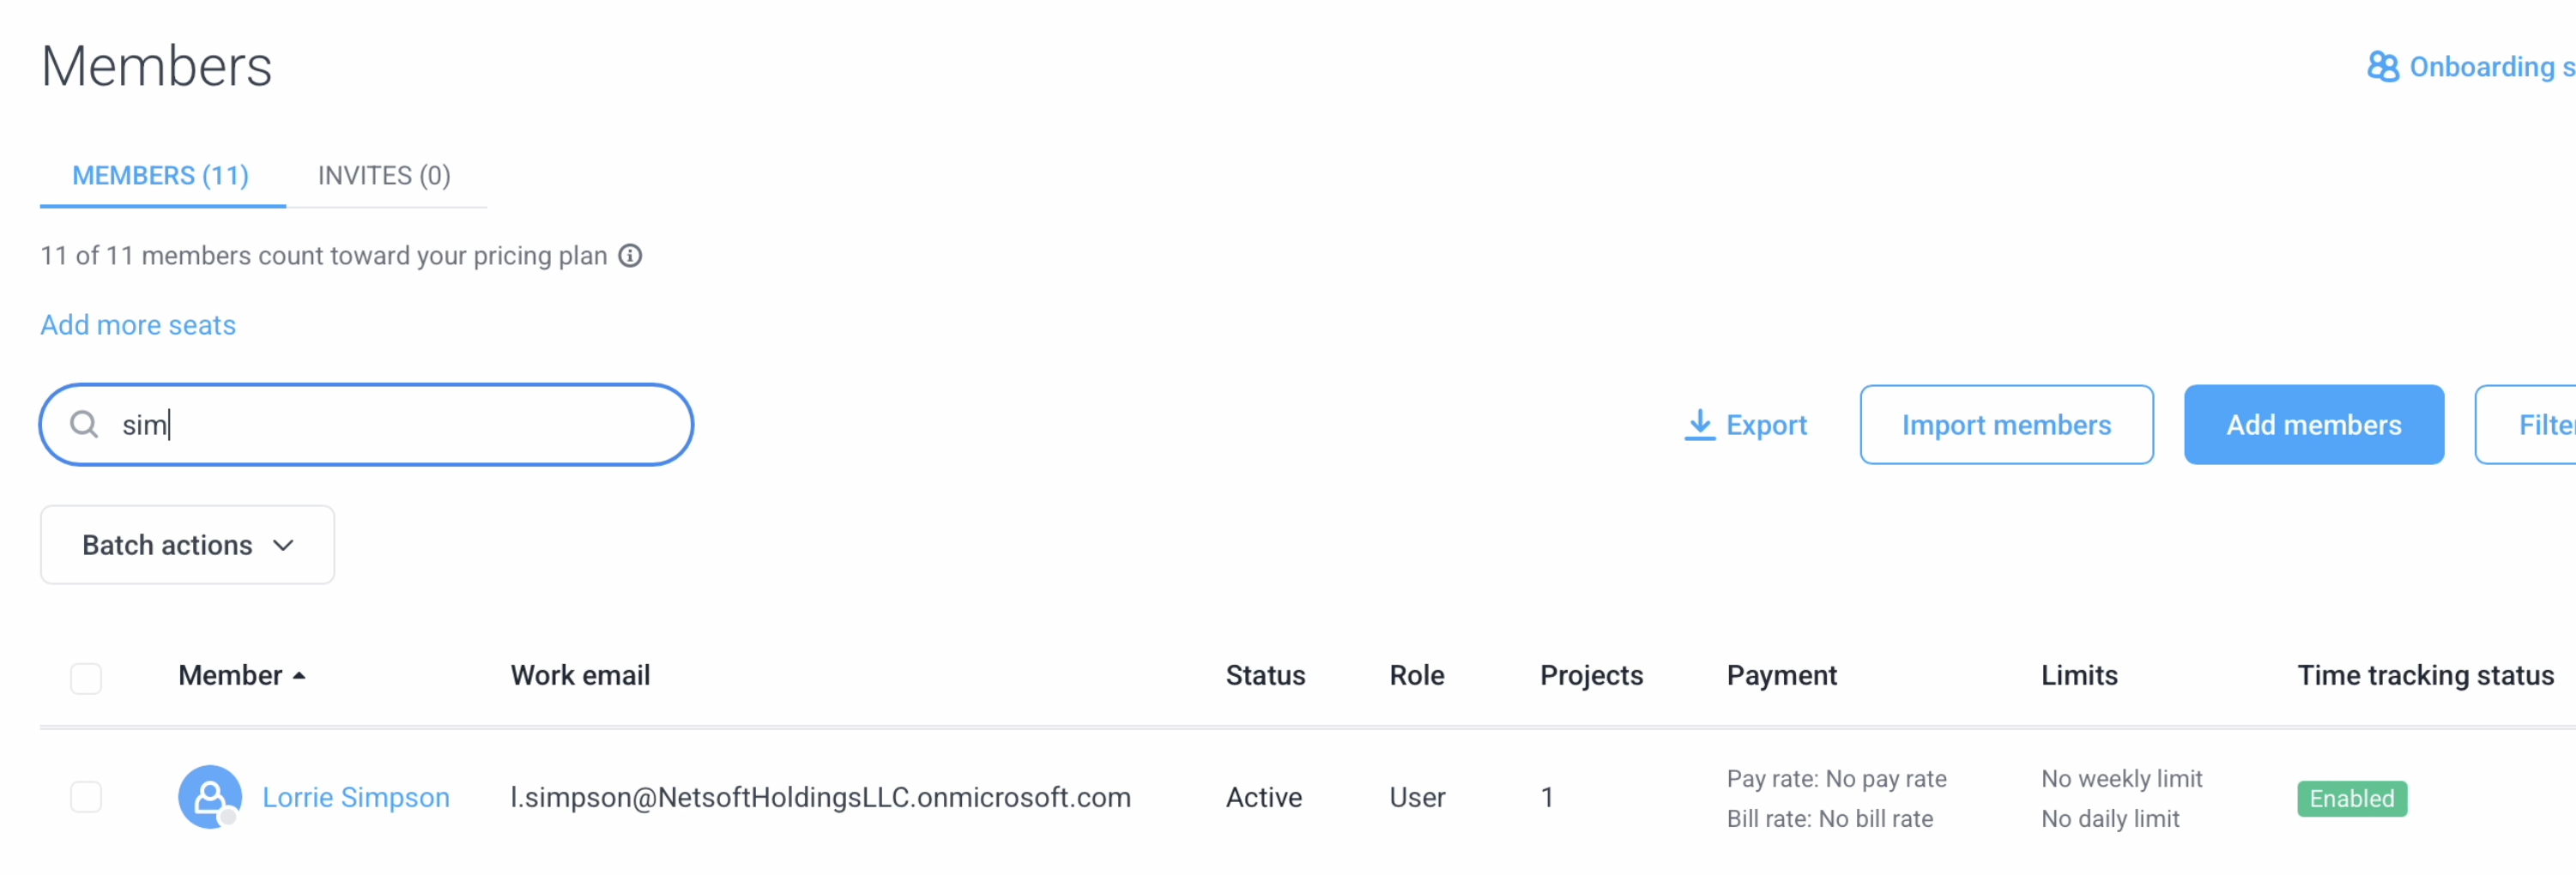
Once added they should appear on the Hubstaff members page.
Updating users
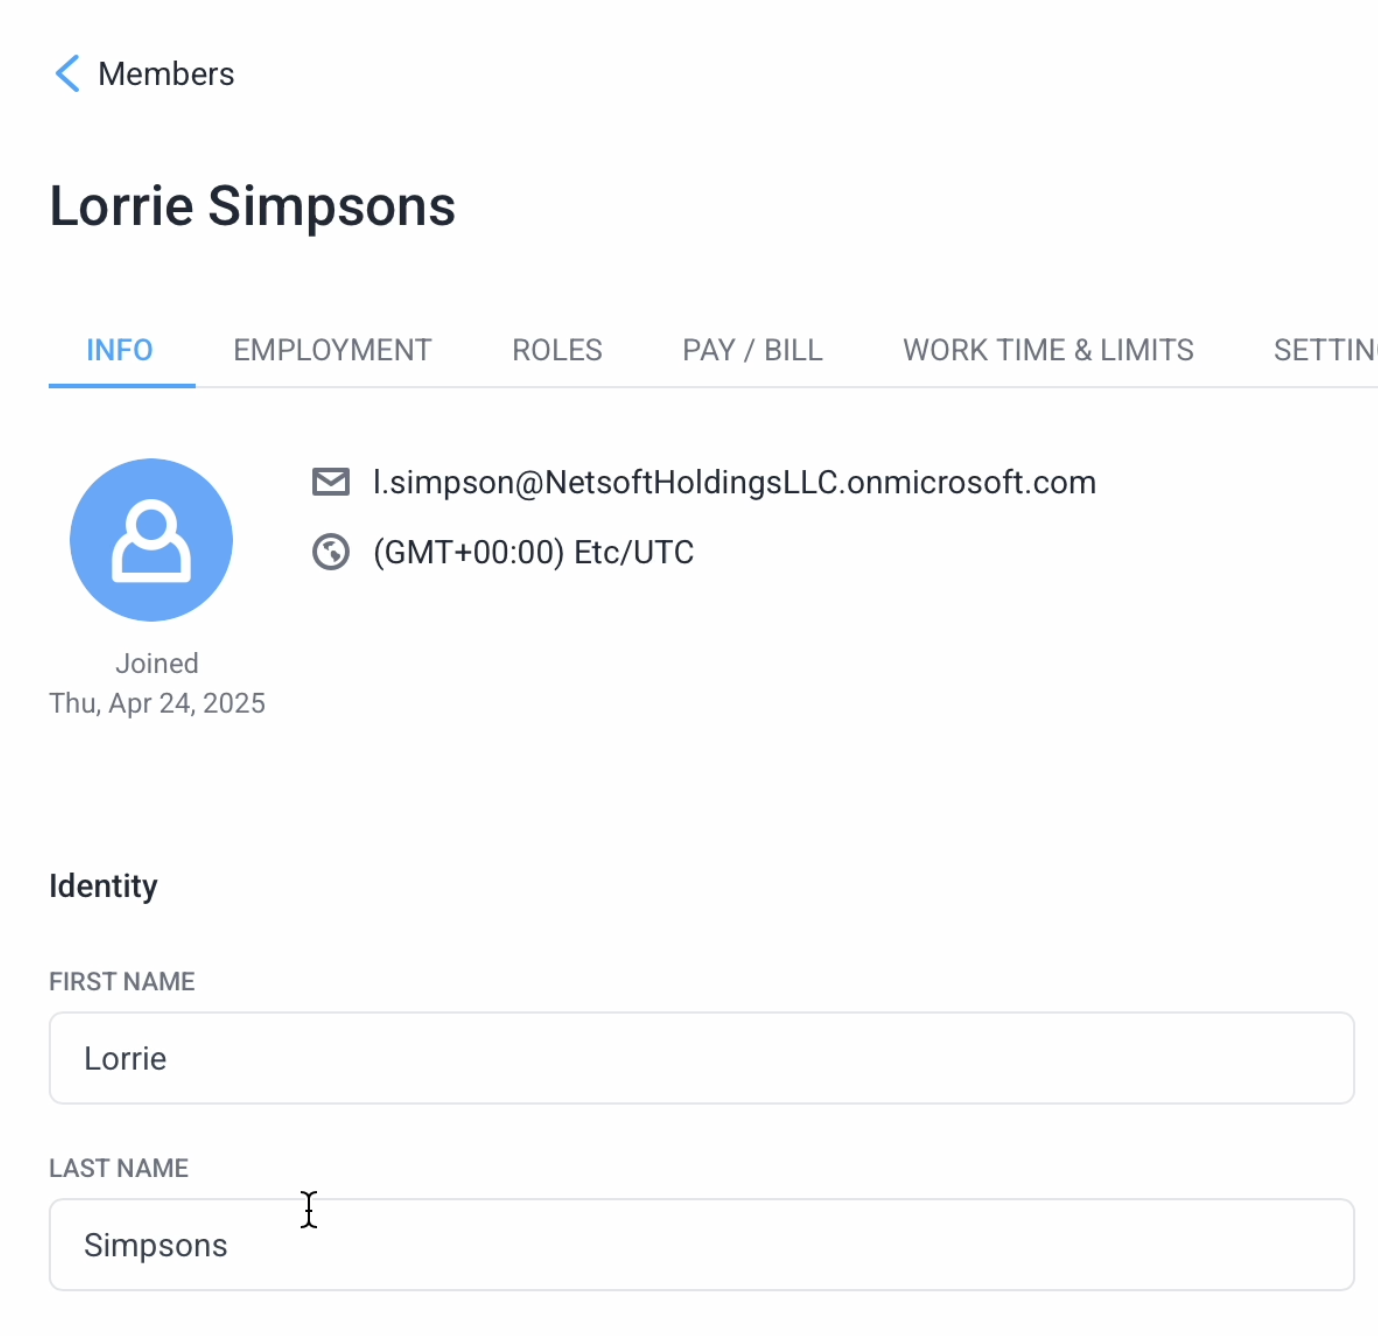
Updating users will occur when member records are changed in the IDP and the changes are synced, which happens in intervals of 40 minutes.
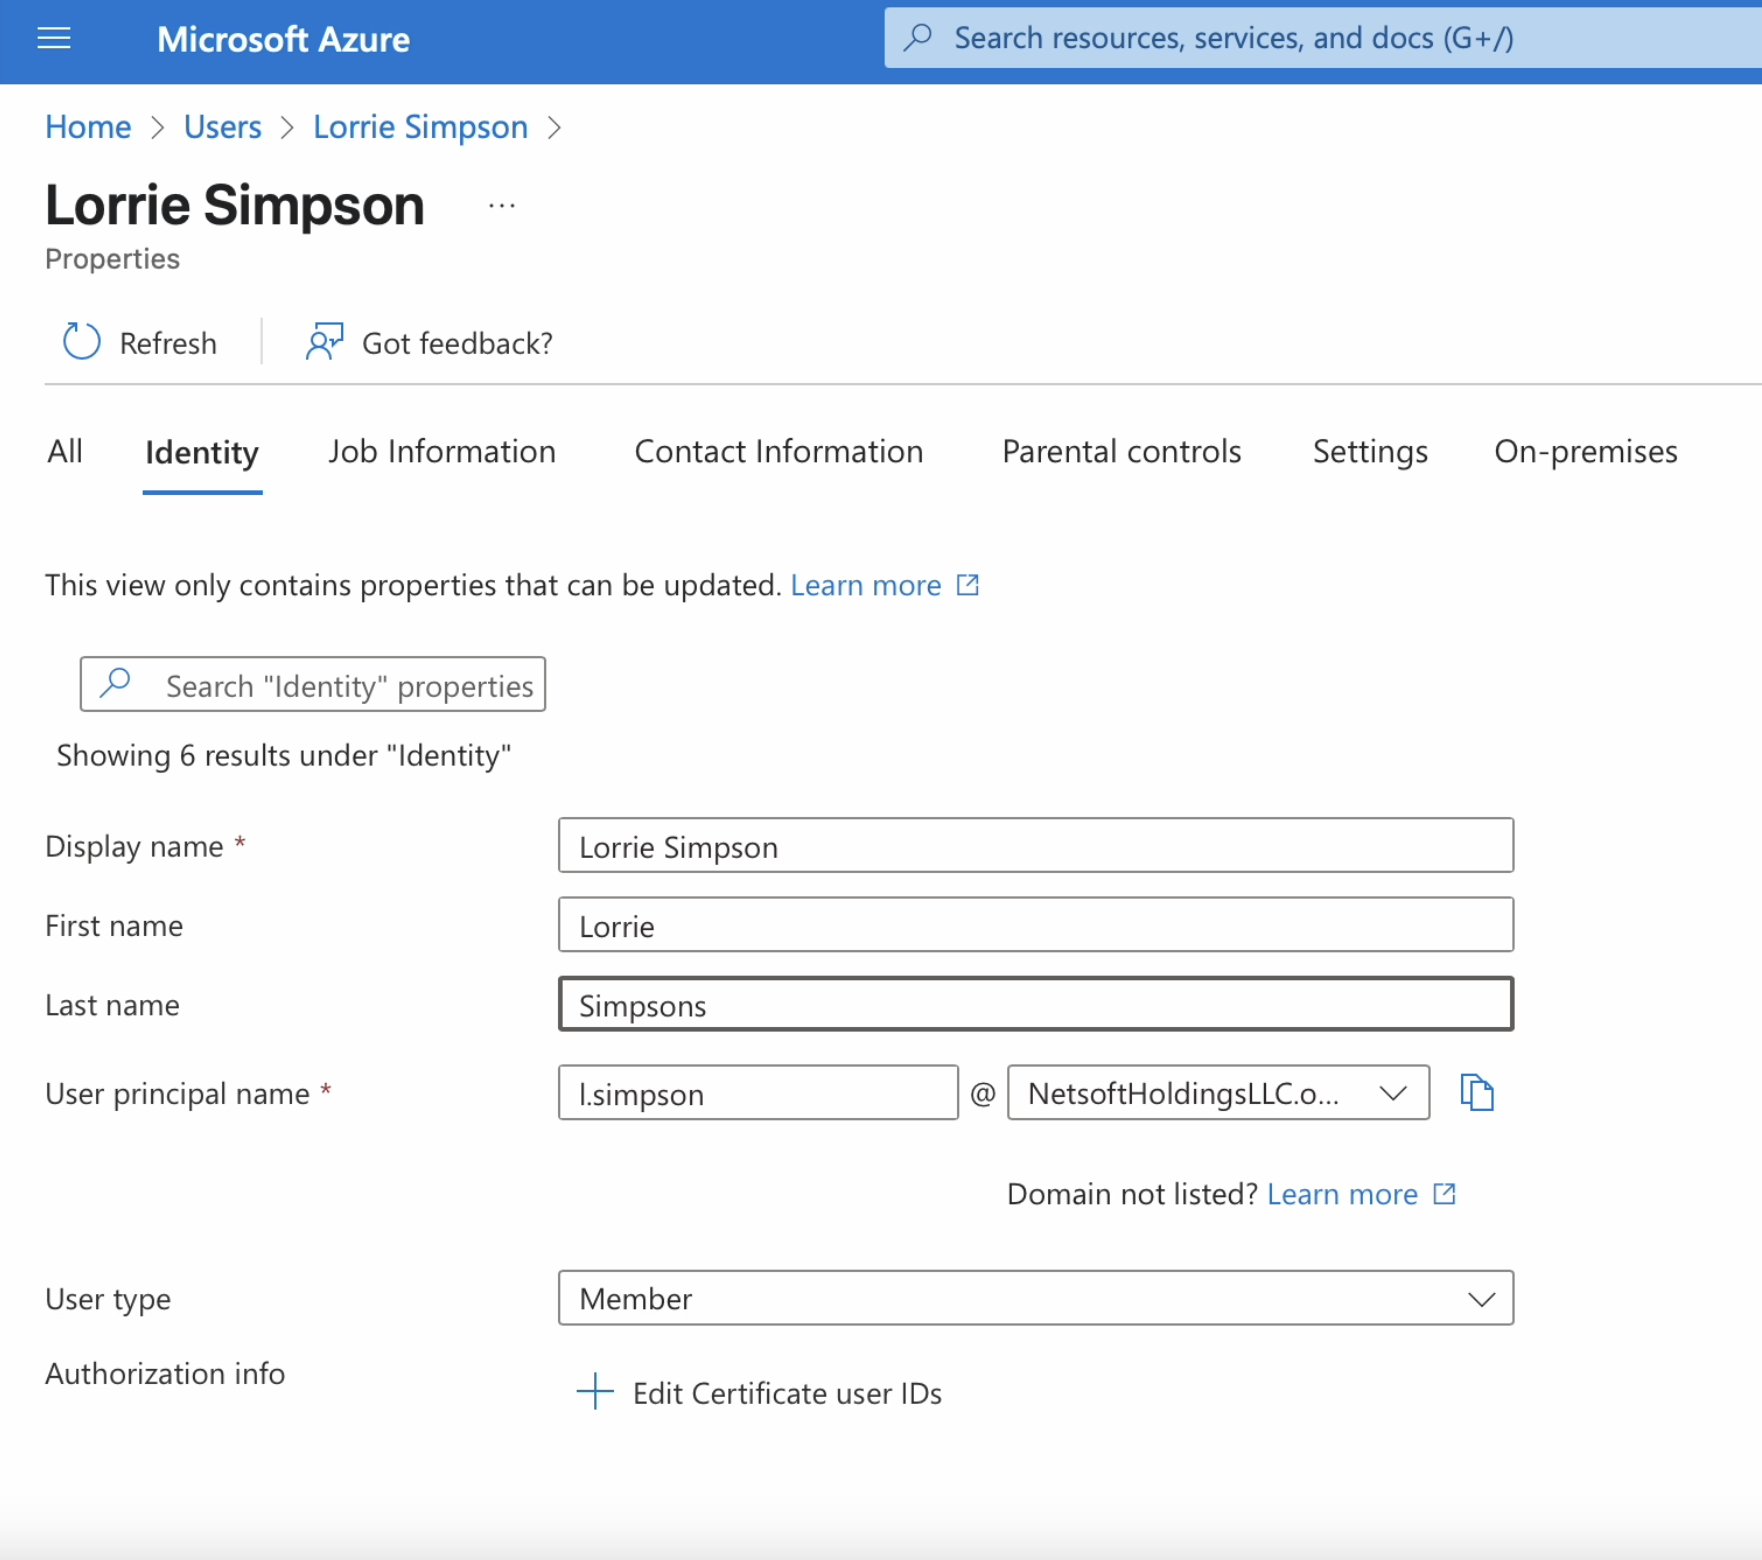
Once synced, the changes should be updated on the Hubstaff side as well.
De-provisioning users
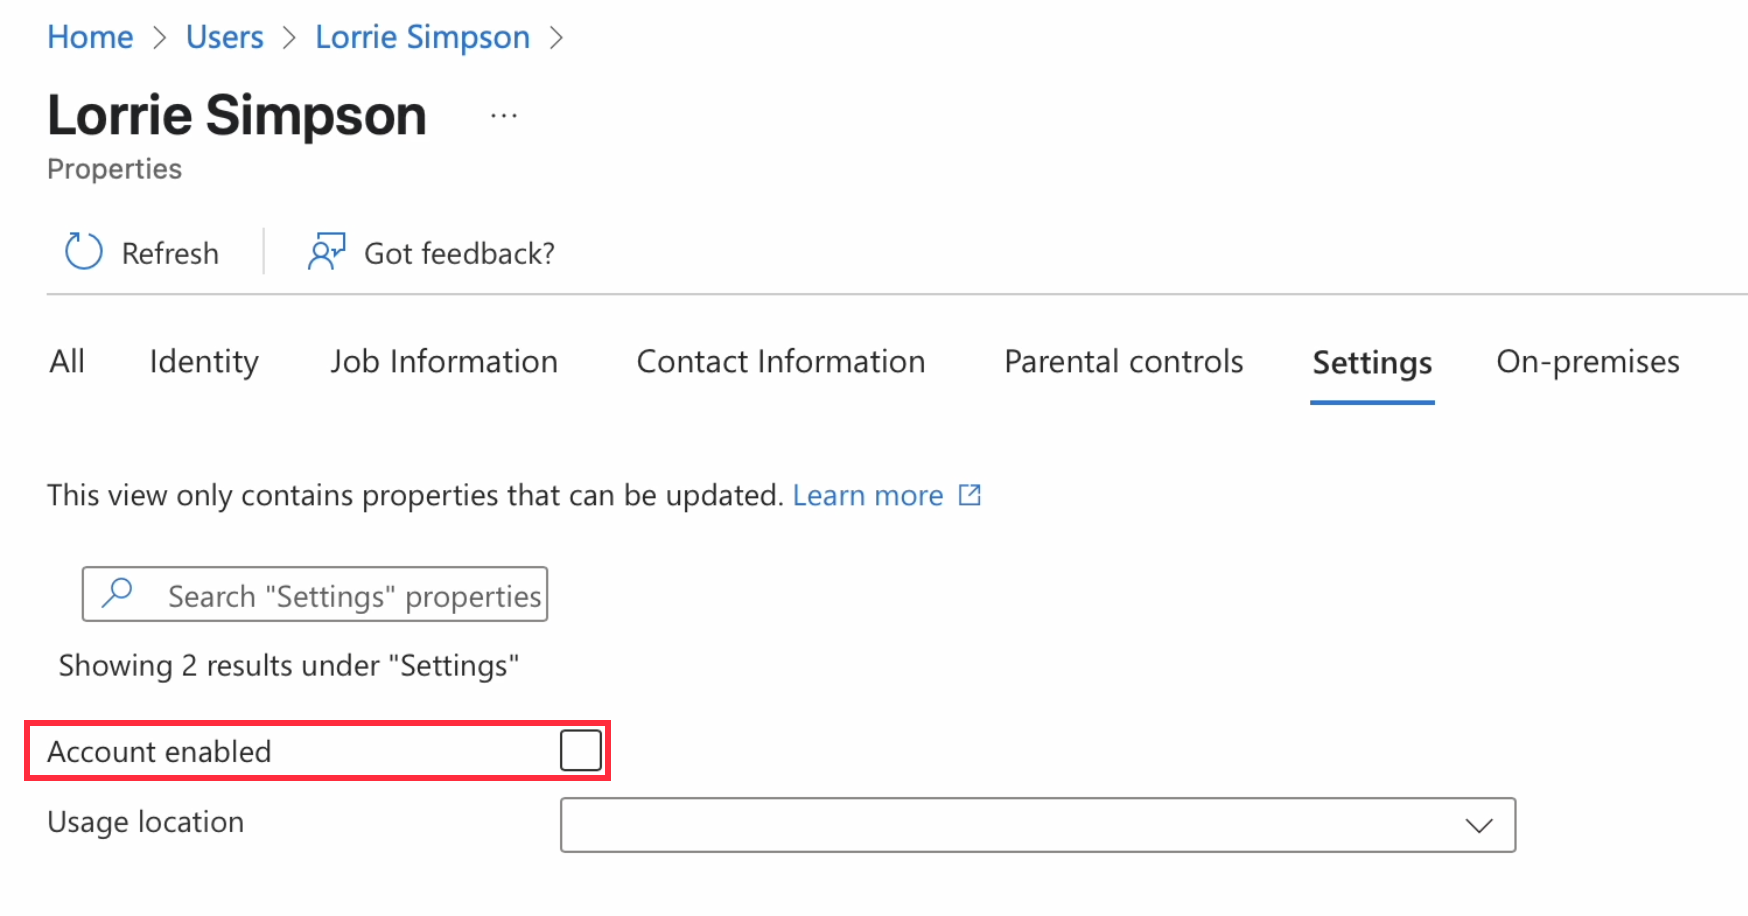
To de-provision a user, simply disable their account on the IDP side to remove them from Hubstaff.
Custom mapping
In this integration, the following fields are supported:
- Display name
- First name
- Last name
- Email address (Uses principal name)
- Job title
- Department
- OS username (requires custom mapping)
Microsoft Entra ID does not include a native OS username field, however, you can configure a custom mapping using an existing attribute—such as Employee ID (or another attribute) — to populate the OS username in Hubstaff.
To configure this:
- In your IDP, create a custom attribute with the key: urn:ietf:params:scim:schemas:extension:hubstaff:2.0:User:osUsername
- Map this key to your preferred attribute (e.g., Employee ID or another appropriate attribute).
- Once configured, this value will sync to both the Employee ID and OS Username fields in Hubstaff.
If the OS Username is not syncing as expected, please verify that the custom mapping has been set up correctly on the IDP side.
- There’s no local OS username attribute in Microsoft Entra ID, so we will be unable to sync this information via SCIM.
- In some directories (like Microsoft Entra ID), email address and UserPrincipalName may differ. To ensure consistent behavior in Hubstaff, we recommend mapping the email address field rather than relying on UserPrincipalName.
- We’ve implemented this via a custom mapping; organizations will have to set it up to acquire OS usernames synced. Expected key name = urn:ietf:params:scim:schemas:extension:hubstaff:2.0:User:osUsername
Existing teams when enabling SCIM
When SCIM provisioning is enabled, Hubstaff checks whether an incoming Microsoft Entra ID group matches an existing Hubstaff team name. The match is case-insensitive.
If a matching team is found, Hubstaff will use the existing team and mark it as SCIM-managed instead of creating a duplicate team.
When an existing team becomes SCIM-managed:
- Members who are not part of the corresponding Microsoft Entra ID group will be removed from the Hubstaff team.
- Members who are part of the Microsoft Entra ID group will be removed and re-added to the team as regular members.
- Any project assignments inherited through the existing Hubstaff team will be removed.
- Teams that do not have a matching Microsoft Entra ID group will remain unmanaged.
Restrictions for SCIM-managed groups
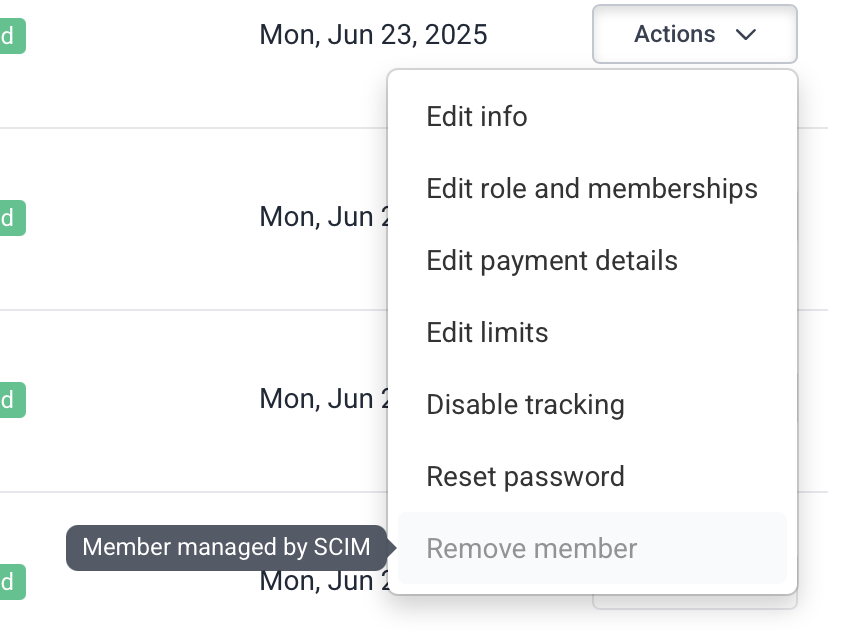
The following are restrictions placed when organizations are SCIM-managed and will throw a “Member managed by SCIM” error:
-
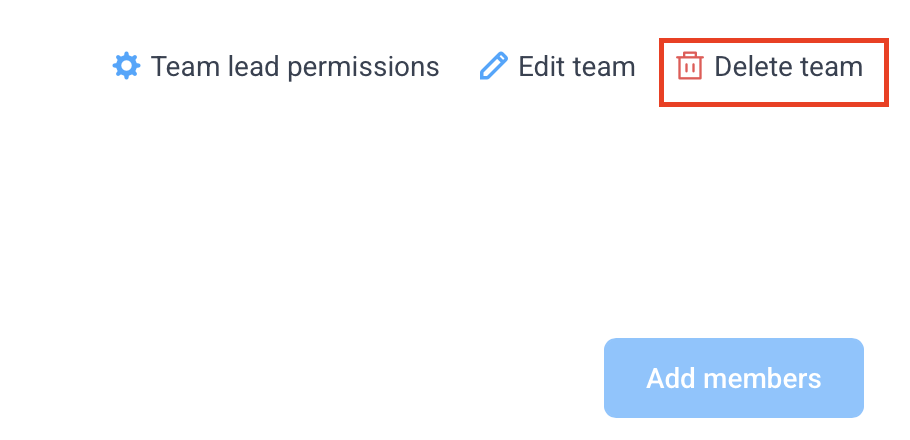
Removing a team from People > Teams.
-
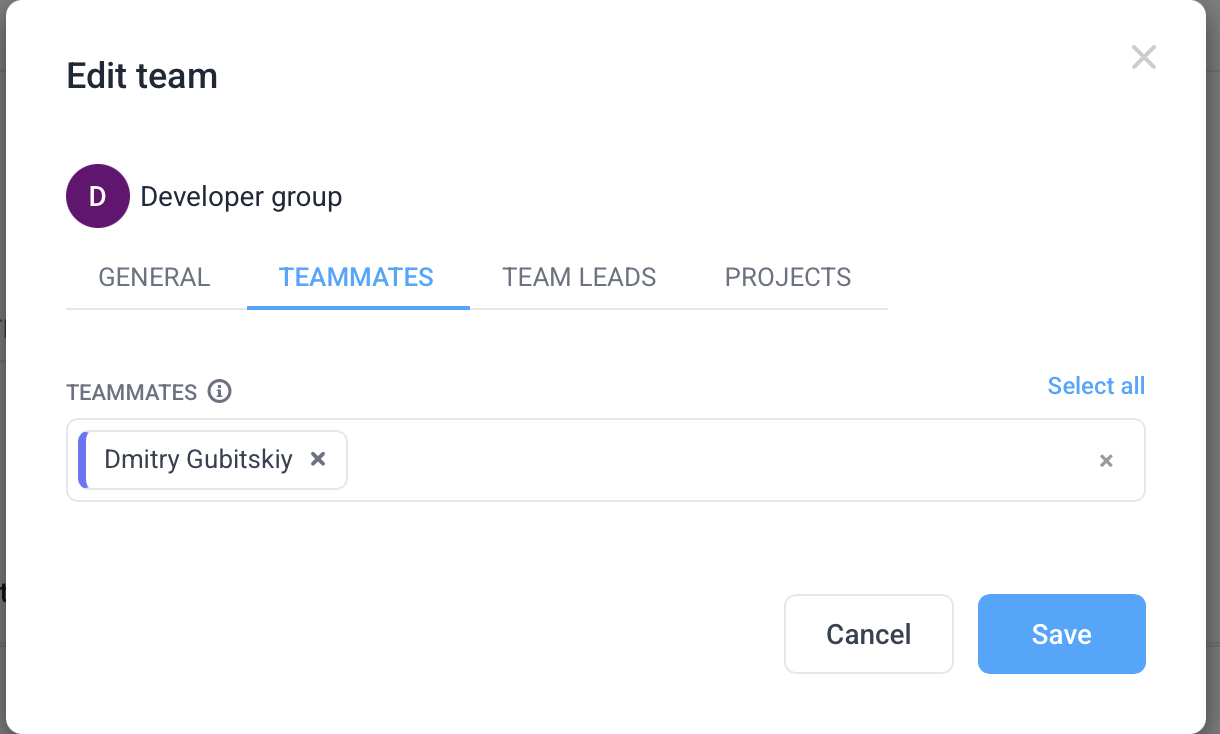
Editing a team’s name.

-
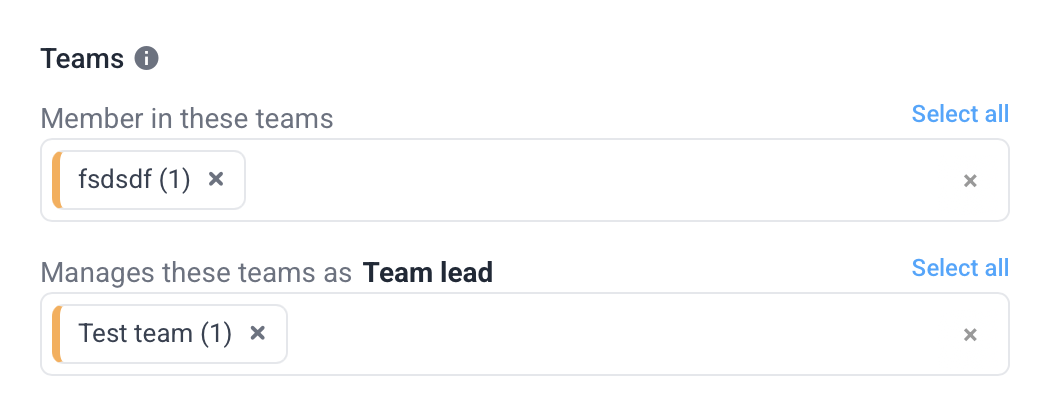
Editing team’s members. Moving members between teammates and team leads is still allowed.
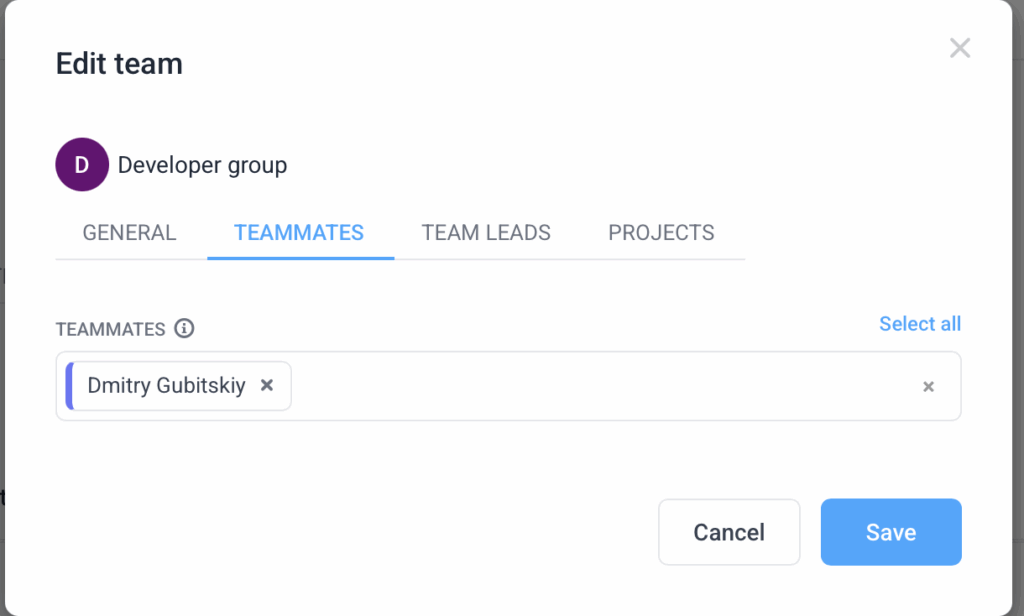
-
Adding members from People > Teams > Team.

-
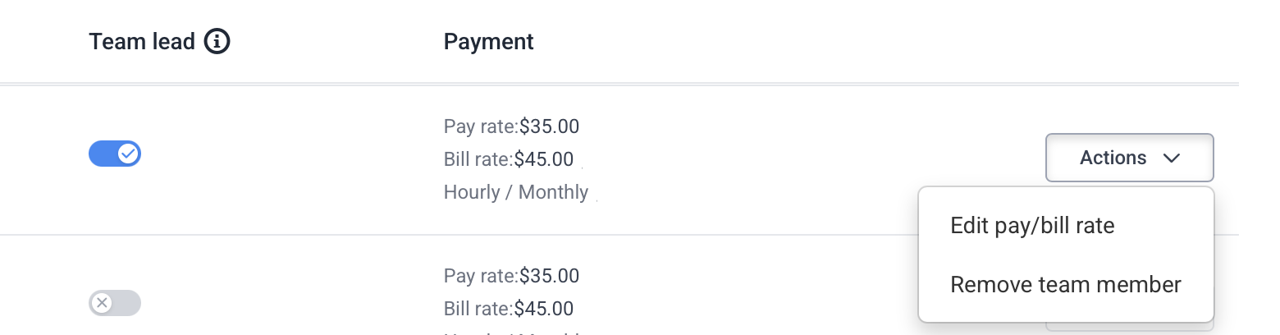
Removing members via People > Teams > Team.
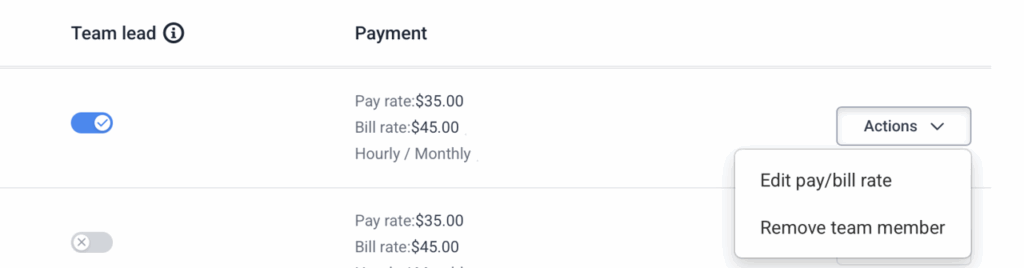
-
Batch removal of members via People > Teams > Team.
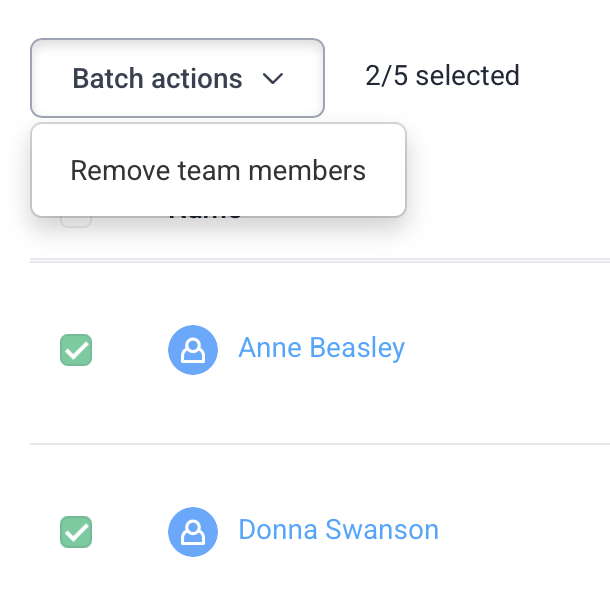
-
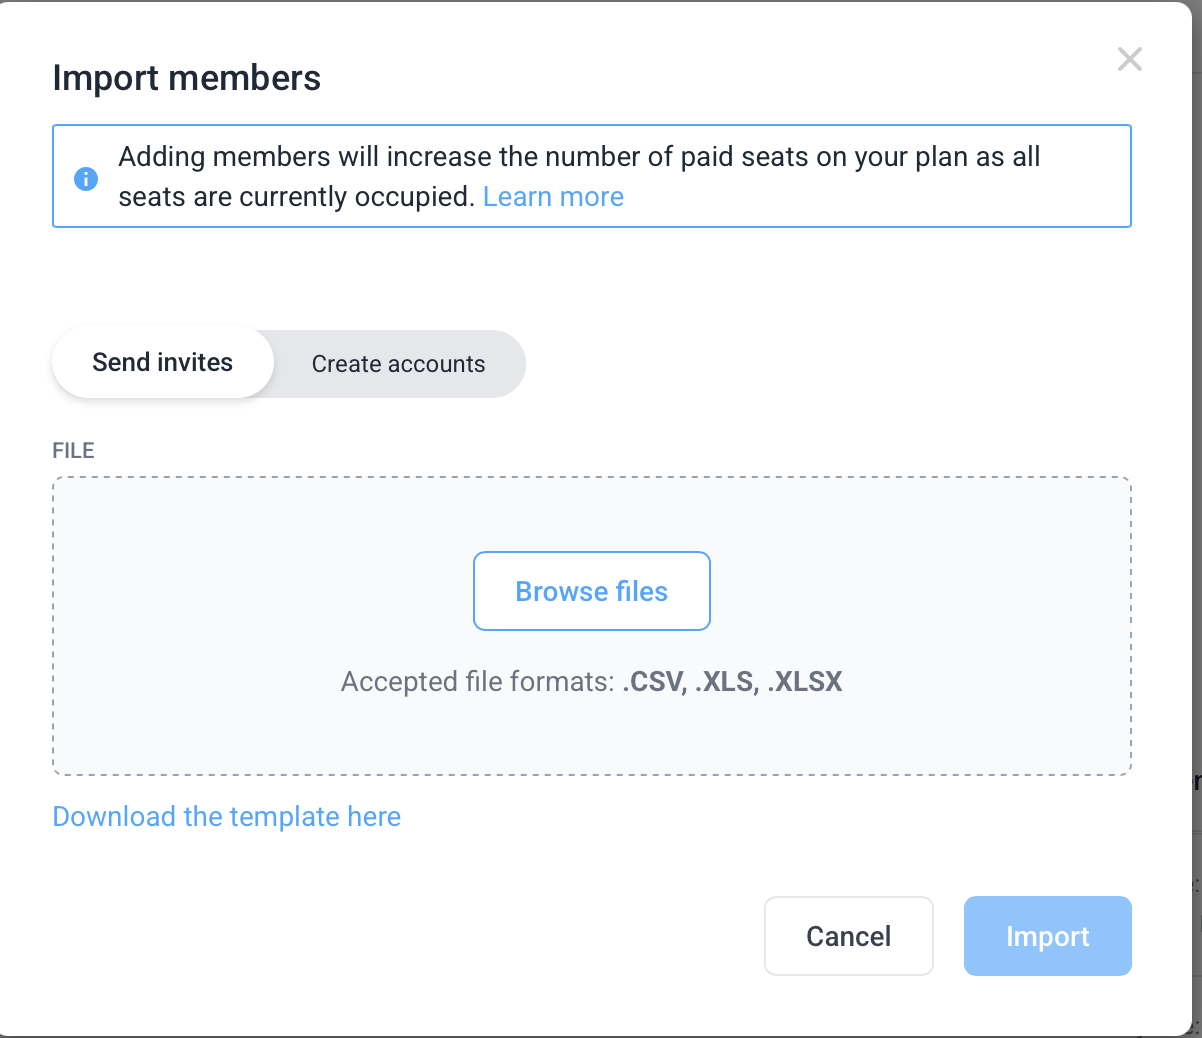
Ignore SCIM-managed teams specified in uploaded CSVs in People > Members > Import members for both Send invites and Create accounts.
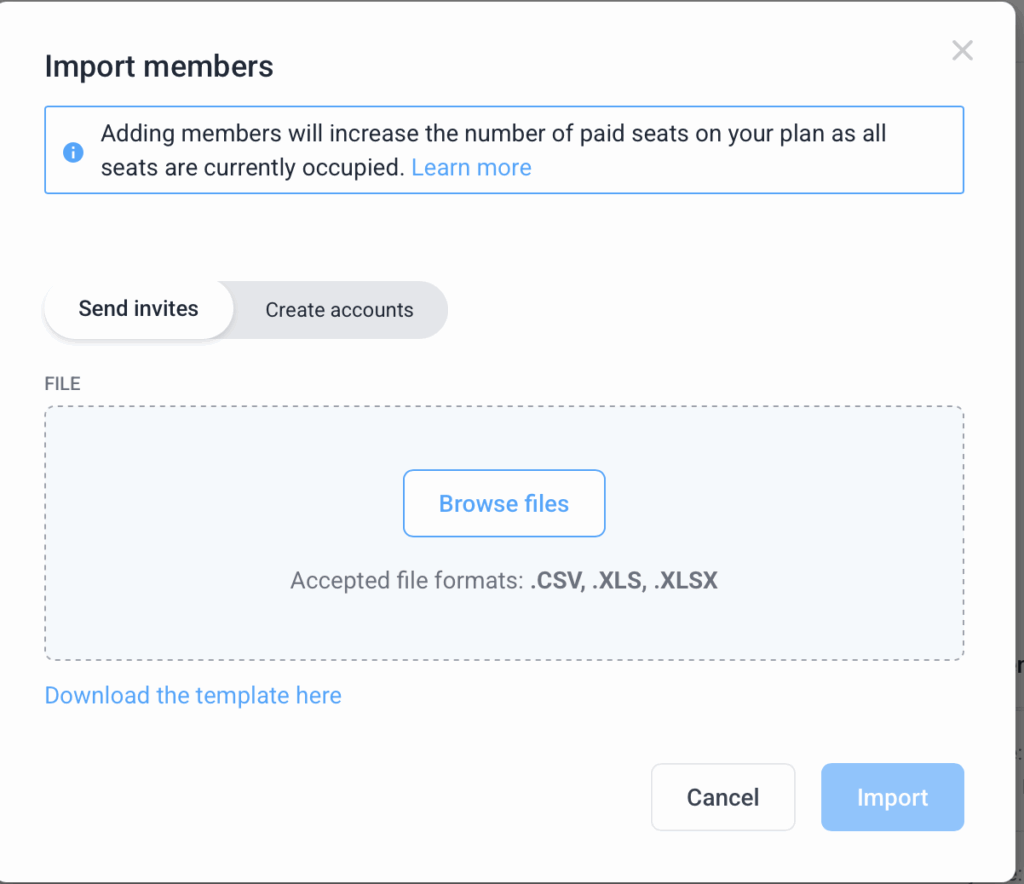
-
Ignore SCIM-managed teams specified in People > Members > Batch actions > Import list to bulk update.
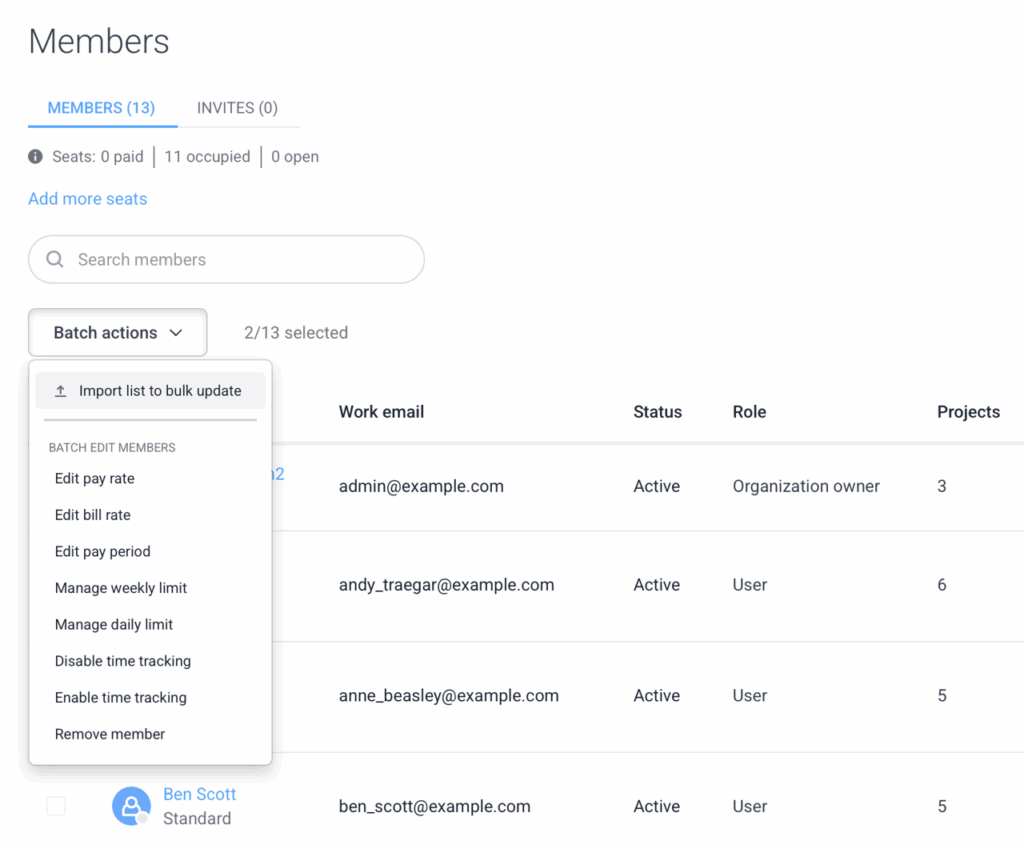
-
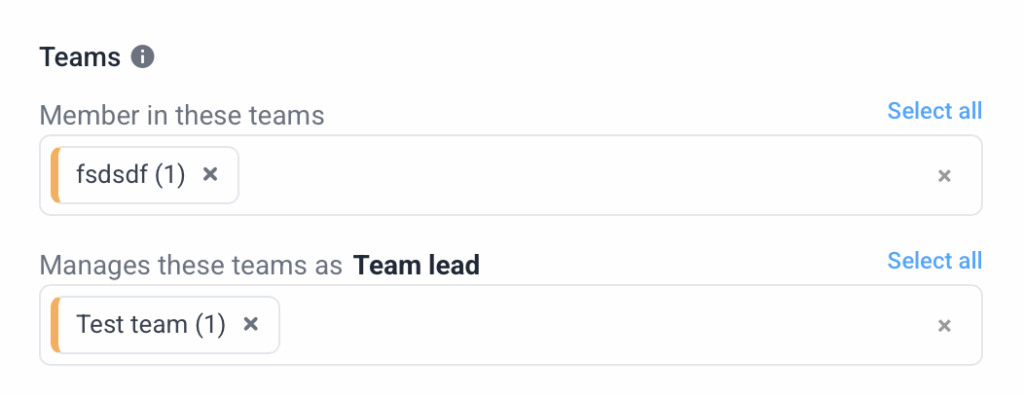
People > Members > Member > Roles: disabled removal from SCIM-managed teams + adding to SCIM-managed teams. Select all is disabled if it will add the user to a SCIM-managed team
-
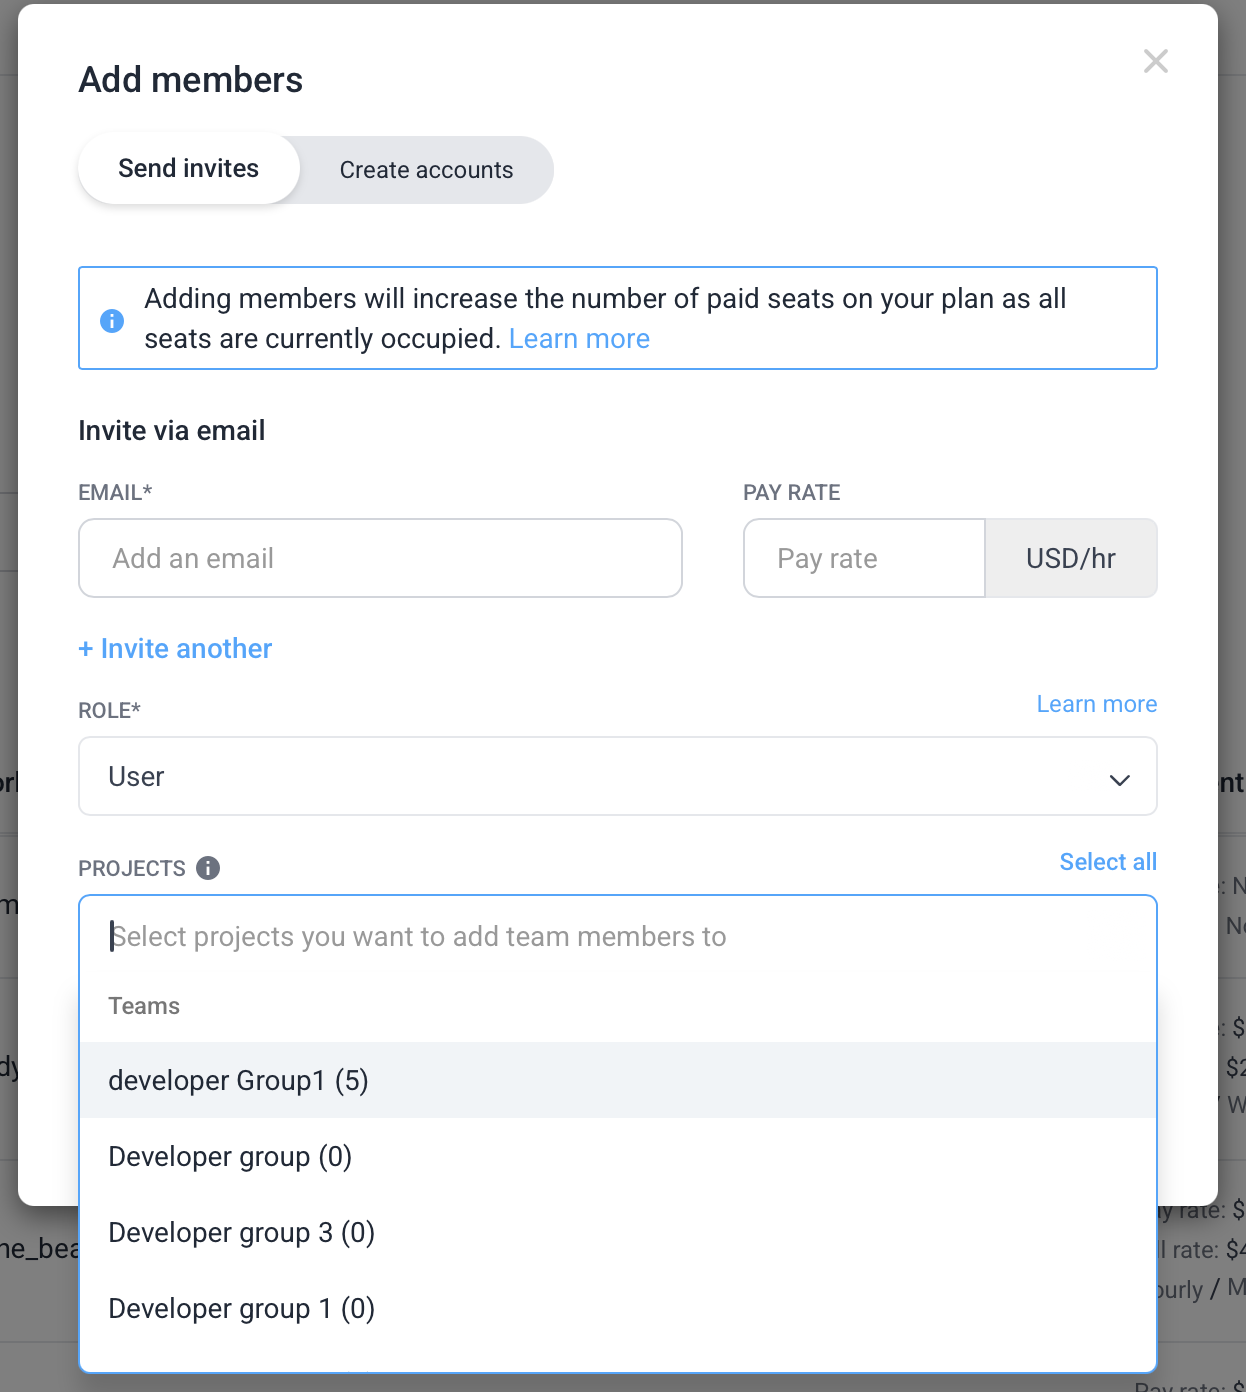
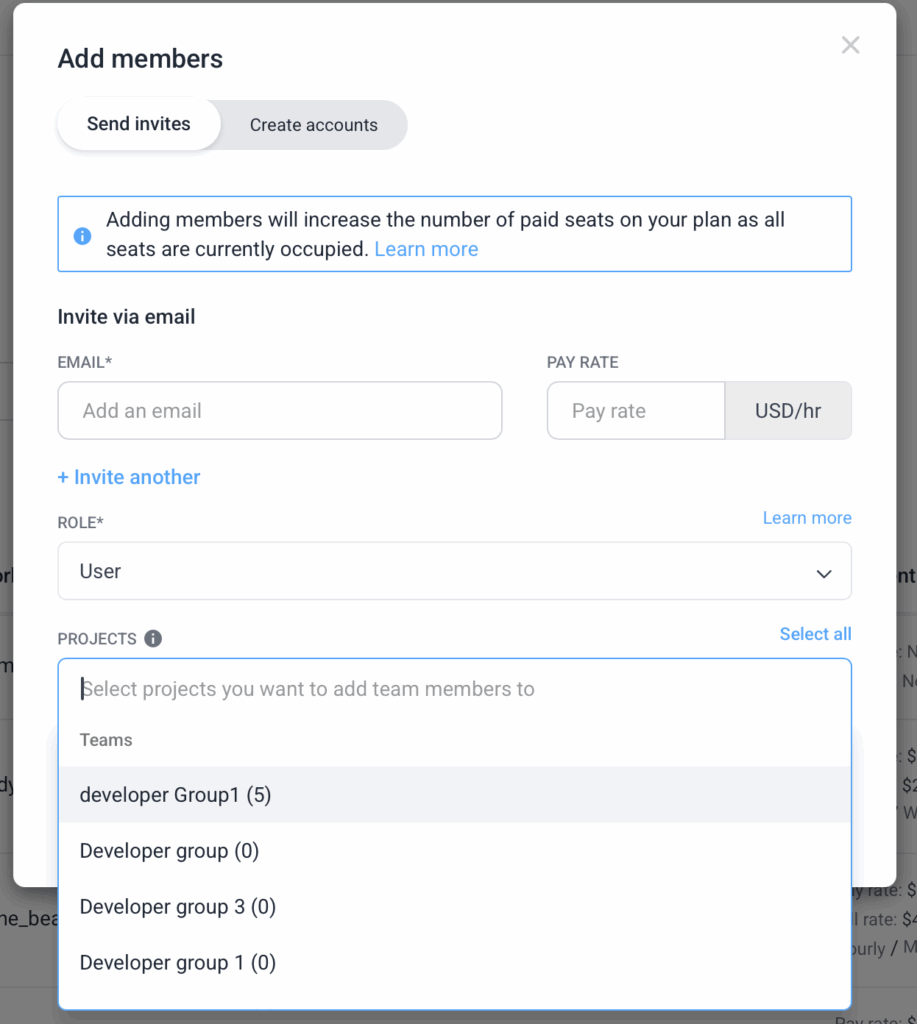
People > Members > Add members: SCIM-managed teams are read-only in projects (both Send invites and Create accounts)
-
Teams > Team > Delete team: read-only for SCIM-managed teams.