6 minutes
Using saved report filters to speed up your workflow
Need quick access to specific filtered reports? Try our saved filters feature to save a predefined set of filters and apply them to your reports instantly.
How to save filters
Step 1
Navigate to the Reports section from your web dashboard then select the report you wish to review.
![]()
The Saved filters feature supports the following reports:
- General reports (Time & activity, Weekly report, Expenses, etc.)
- Payment reports
- Budgets and limits reports
- Time off reports
- Schedule reports
Step 2
Click on the Filters button to reveal the filters pane.

Step 3
Specific clients, projects, members, to-dos, activity levels, and time worked can be included in your customized report.

Click in the relevant field, and choose an item from the drop-down list.
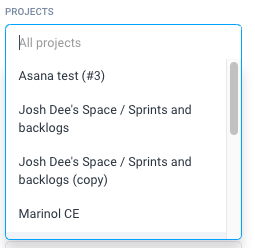
You can also type the member, project, client, or to-do name to quickly find it.

Step 4
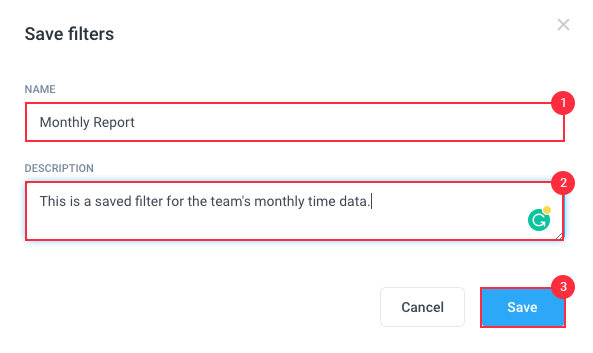
Once all filters are selected that you wish to apply to the report, press Save Filters to store it for next time.
A pop-up box will appear allowing you to enter a name for the filter, and a description.
Step 5
Your filter will now be saved. It will appear under the Saved Filters tab for easy access, as per below.
How to apply a saved filter to a report
Step 1
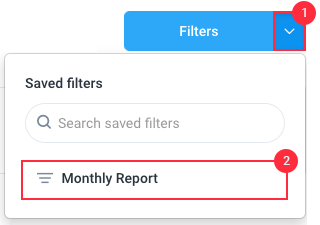
To apply a saved filter to a report first, click on the arrow beside the filters button.
Click on the relevant filter from the drop-down list to select it. You can also type the name of the filter in the search field to quickly find it.
How to delete a saved filter
Step 1
On the reports page, click Filters
![]()
Step 2
Next, click on the Saved filters tab.

Step 3
Finally, click the trash icon next to the name of the saved filter you wish to remove.
![]()