7 minutes
How do I get a report for idle time in Hubstaff?
Idle time is the time recorded without keyboard or mouse activity after the inactivity warning or idle timeout dialog appears. To learn more about how the idle/inactivity warning works click here.
How to filter time tracked according to idle time type
Step 1
Use the main navigation menu to browse to the relevant section. Time types can be filtered across the Activity > Screenshots or Timesheets > View & edit sections.
Activity > Screenshots:

Timesheets > View & edit:

Step 2
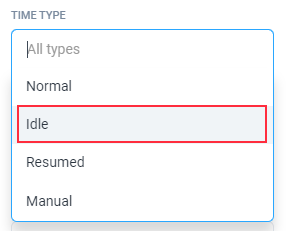
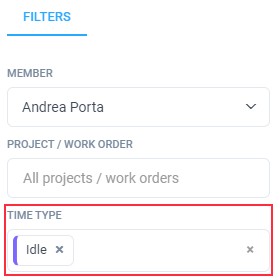
Click on the Filters button then select the Idle option from the time type drop-down.

Step 3
Your view will now be filtered. All idle time tracked will be displayed.
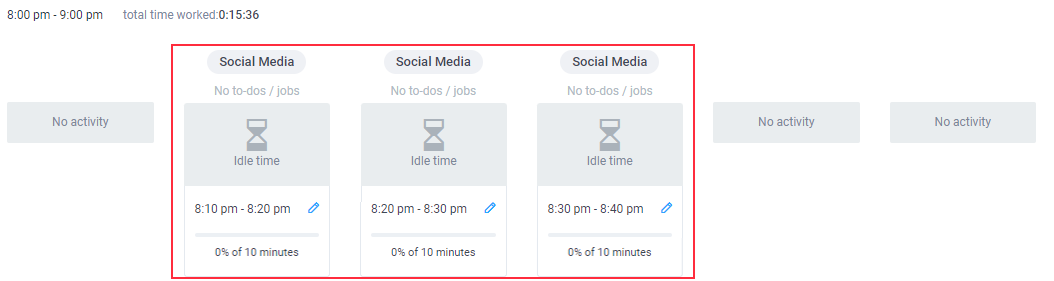
Visually, this is what will appear under the Screenshots section, with the filter applied. As per below, only blocks of idle activity are visible.
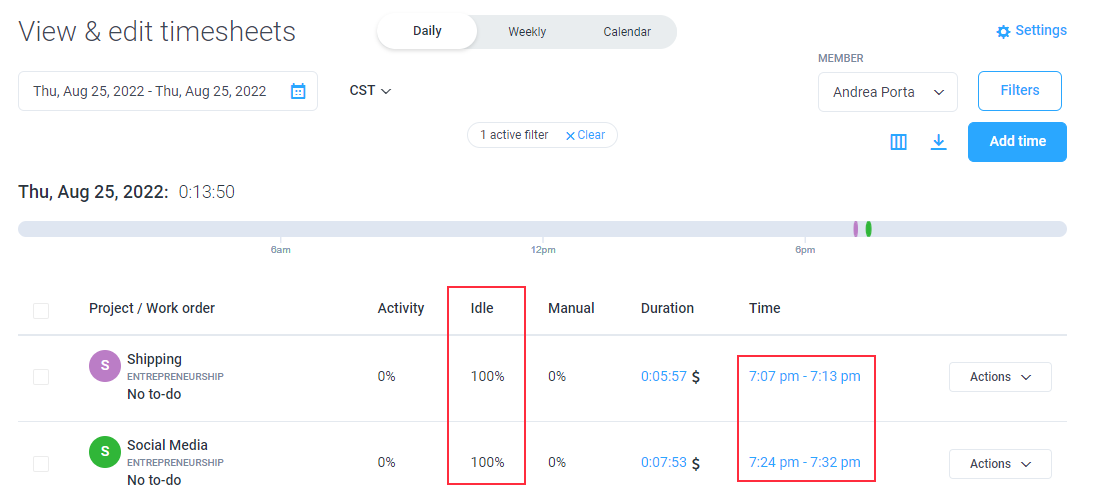
Similarly, this is how the filter will appear under the Timesheets section. Only periods of idle activity are displayed.
How to generate an idle time report?
Step 1
Navigate to Reports > Time and Activity

Step 2
Select the date range from the calendar. Hit Apply.

Step 3
Click on the Filters button if you wish to filter the report by project, client, member, task, etc.

Step 4
Click the gear icon then select the idle (%) and/or idle (hr) options.

Step 5
You will see the Idle columns added to your report. The Idle (%) column will show the percentage of idle time over the total time tracked, and the Idle (hr) column will show the total idle time.

In this report, you’ll see the user was idle for more than half of their total recorded time.