4 minutes
Connect Your Payoneer Account to Hubstaff
This guide shows users how to connect their Payoneer account to Hubstaff to receive payments via Payoneer. If you are an organization owner looking to add a Payoneer account to send payments, read this guide.
Adding your Payoneer account to receive payments is very simple.
Step 1
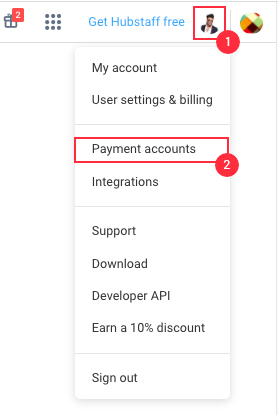
Click on the Avatar menu in the upper right corner of the screen, then click Payment accounts from the dropdown menu. (You also should receive an email when your employer adds you to Payroll – if they have not added you yet, you will not be able to complete the next step).
Step 2
On the Payment accounts page, please click on Actions from your payment account so that you may add your Payoneer credentials.
Step 3
Click the Connect button, and you will see a popup window that gives you instructions on how to proceed. Simply click the Connect button in the popup window to proceed.

Step 4
You will be redirected to Payoneer, where you can either create a new account or sign in to an existing account:

Step 5
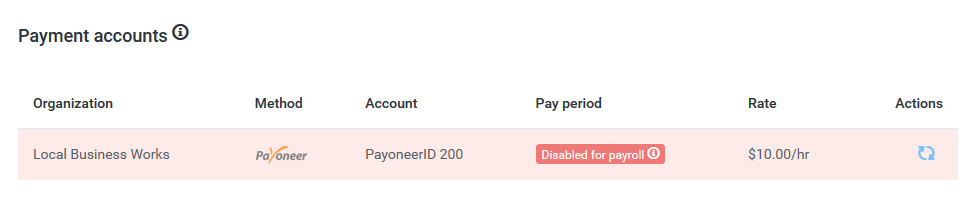
Once you finish the sign-up process or successfully log into your Payoneer account, return to your Hubstaff payment account page. You may have to refresh the page or wait a few moments. You will see that your account is set up but “Disabled for payroll” (at this point, it needs to be enabled by the organization owner):
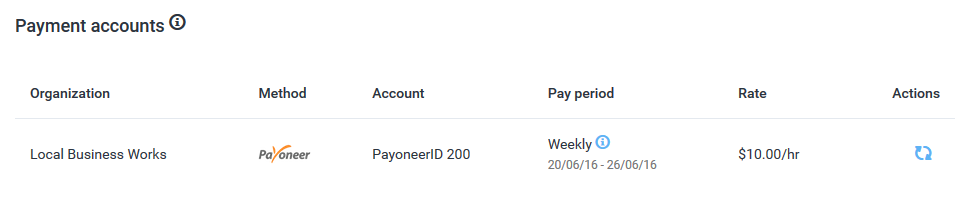
Once your organization owner has enabled your account for Payroll, you will see that reflected in your payment accounts section:
You can click the Reauthenticate button at any time to grant access again if necessary (perhaps you changed your password or have a new account).
If you are not seeing the option to add your Payoneer account, this is likely because it hasn’t been added by management as a payment option. In order for you to be paid via Payoneer as a team member, the company will need to have a Payoneer payment account added to Hubstaff.