6 minutes
Change View Modes in the Desktop Timer application
The desktop timer application currently has three view modes:
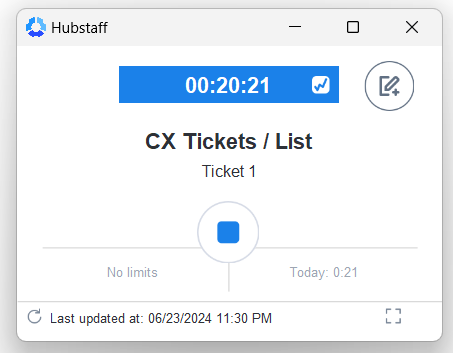
Compact Mode
Compact Mode minimizes the timer’s size and presence, enabling users to keep the tracker on the screen without it being distracting or obtrusive.
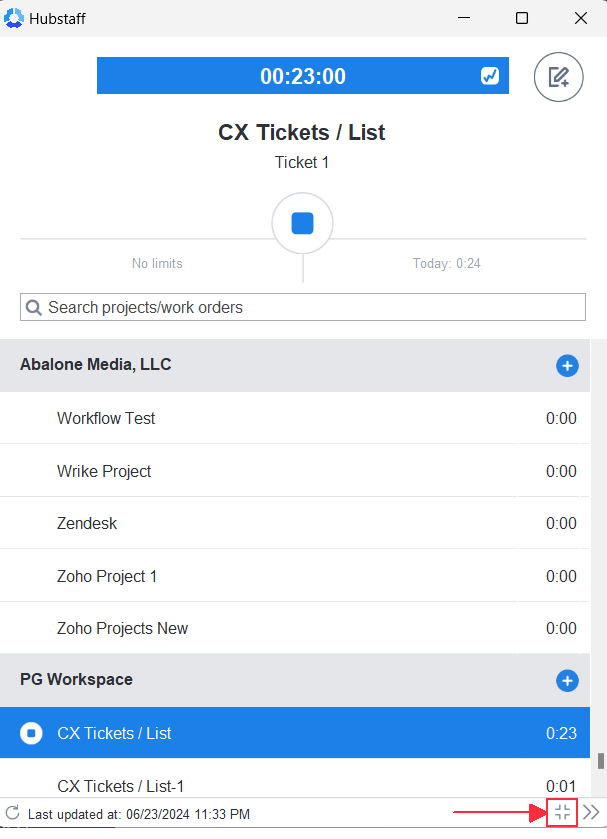
You can adjust the timer to Compact Mode by clicking on the icon on the bottom of the timer.
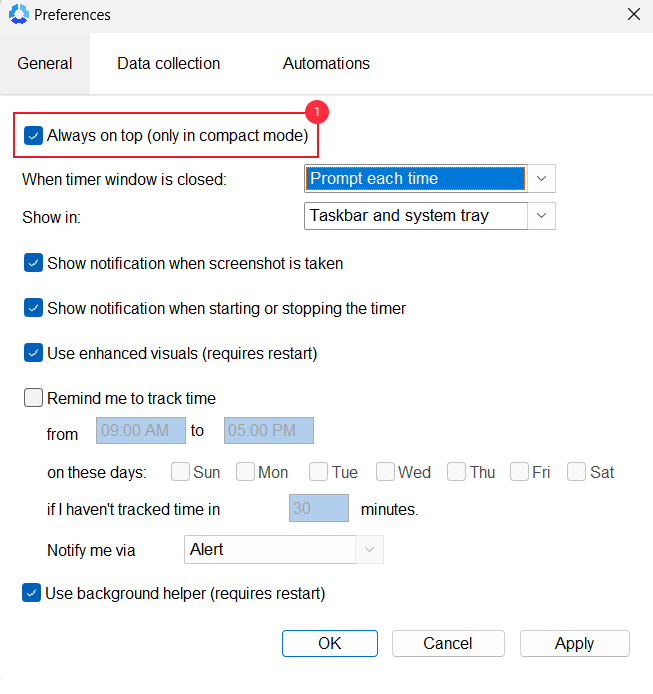
Users can enable the “Always on Top” option in the preferences menu. This will keep the timer visible on screen, even as you interact with other apps on your computer. Note that it will only stay visible if it is both in Compact mode and the setting is enabled.
In Compact Mode, projects are not displayed, and you can only track time to the last selected project until you switch to project mode and choose a different one.
Projects Mode
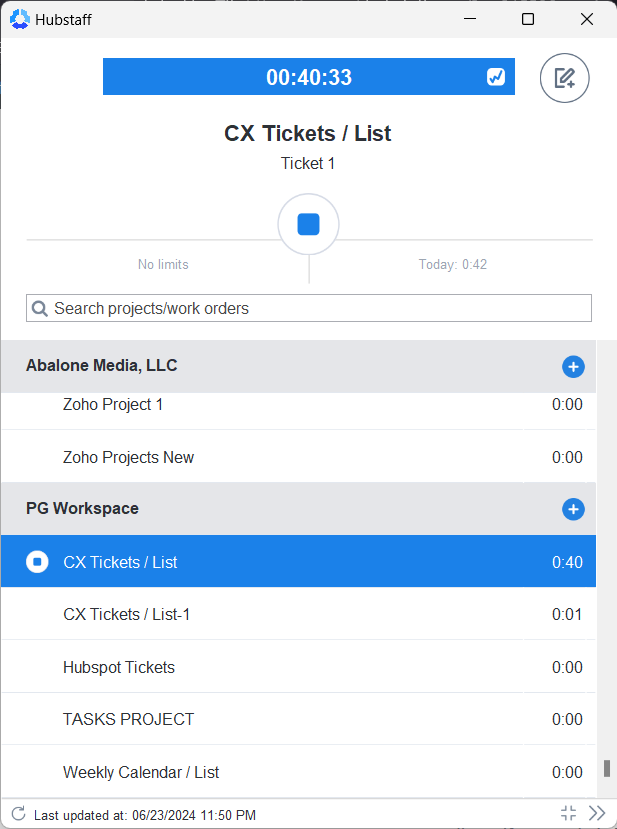
Projects Mode not only shows the information from Compact Mode but also lists all projects available for time tracking, along with the time tracked for each project that day. Additionally, in this mode, users can also start and stop tracking time by hovering over a project and clicking the Play button.
Tasks Mode
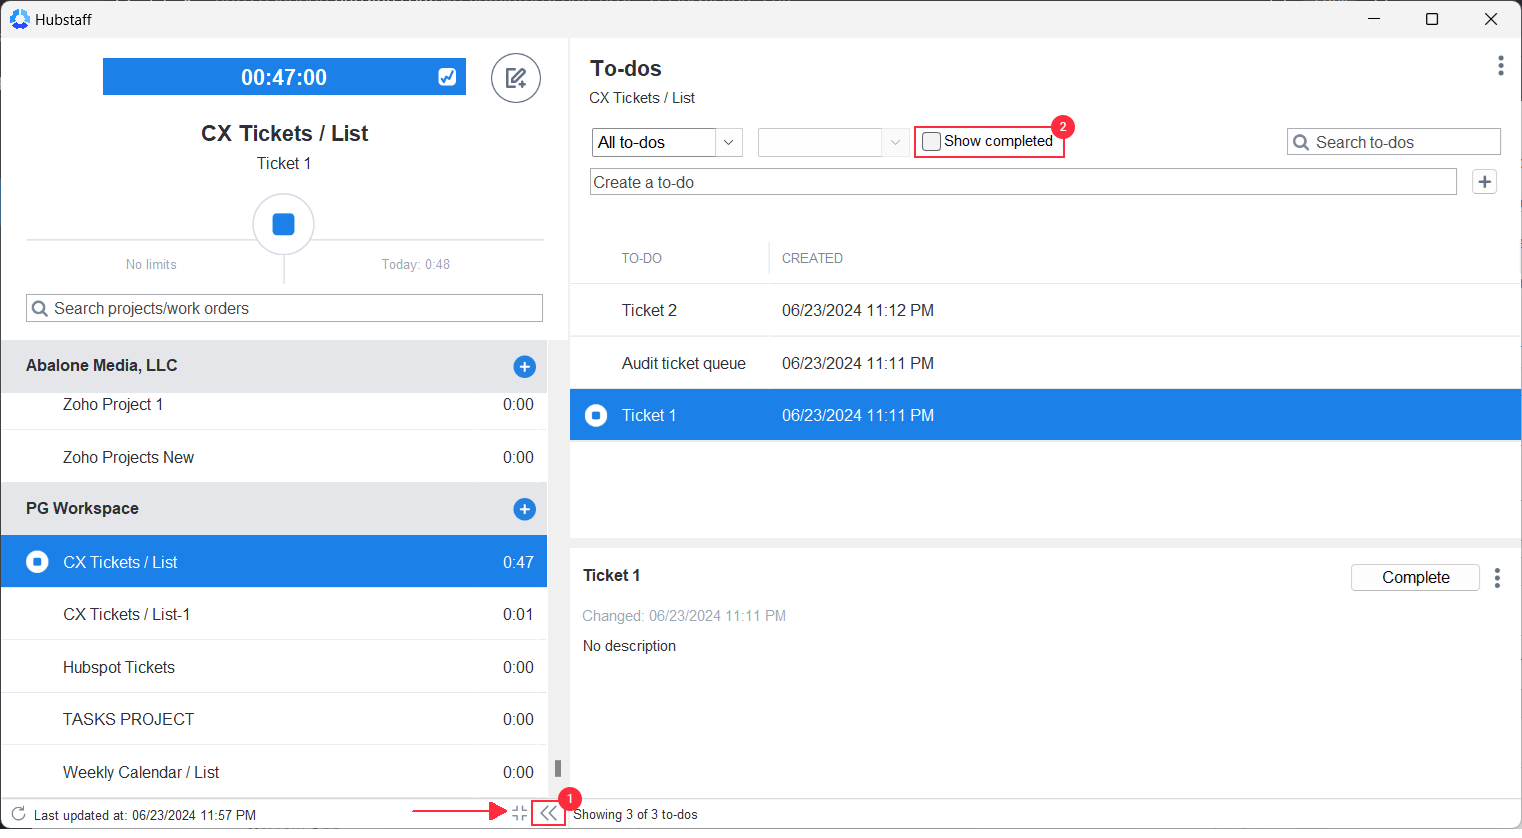
Tasks Mode includes all the information from Projects Mode and also lists all tasks within a project on the right-hand panel of the timer. You can change to Tasks Mode by clicking on the double arrow button on the bottom right of the desktop tracker in Projects Mode. If you switch from Tasks Mode to Compact Mode and then back again, it will return to Tasks Mode instead of Projects Mode. Additionally, tasks can be marked as complete by selecting the task and clicking the Complete button, although the button title may vary depending on the project or task management integration you are using.
