6 minutes
Shift attendance report
The attendance report aids the Hubstaff scheduling feature for better schedule management.
Step 1
To access the attendance reports, click on the Reports tab, then under the Schedule section, click on Shift attendance.

Step 2
Organization owners and managers will see both a Me and All tab. Employees configured as users will only see the Me tab to view their own data.
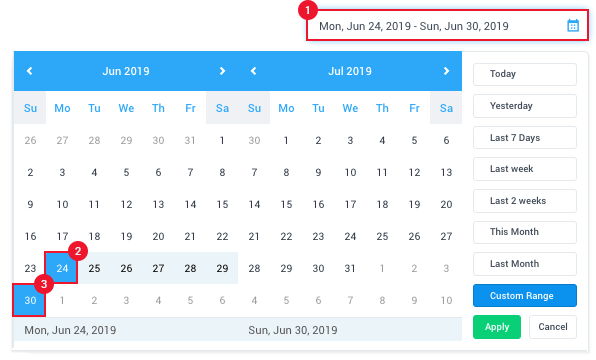
Step 3
Click on the calendar to select the date coverage for the data you wish to view.
Step 4
Click the Filters button to filter the report by member, or their attendance status.

- Not started – user has not begun tracking time for their scheduled shift and the shift has not started yet.
- On Time – the user was able to log in on time for their shift.
- Late – the user was tardy in coming in for their shift. The threshold for the late notification is set to 5 minutes.
- Missed – the user did not log in for their entire scheduled shift.
- Abandoned – this means the employee failed to complete the shift schedule as set. For example, if you’ve created a shift schedule of 8am-5pm (9 hours) and set a minimum hour requirement of 9 hours, when a user has tracked time from 7:55am – 4:55pm, they will be marked as “abandoned shift” as they only tracked a total of 8 hours and 55 minutes within the shift and will receive an email confirming their attendance status. You will want to set the “MINIMUM HOURS” to less than the shift duration itself to avoid abandoned shift statuses.
Below is a sample attendance report. It will include your team member’s name, their attendance status, shift schedule, the time they started tracking time, hours required, and their actual total logged hours for that day.

Our Scheduled reports feature will let you have reports automatically sent based on a frequency of your choosing
If you need to Export a report for your own record keeping, we offer that option as well