8 minutes
Using the Hubstaff Web Timer
Hubstaff now offers a web timer built right into the web dashboard that can be used without needing to download or install anything.
This is useful when users don’t have a desktop computer to track time, or when users have access to a computer but are unable to install the app (for example, if they’re working at a public library, or at an administrator-managed device).
The web timer is a great way to easily track time right from the website. However, if you wish to have the full set of features that we offer (screenshots, activity percentages, URL and App tracking), you will want to install one of the dedicated desktop clients. They can be downloaded here.

To learn more about app functionalities available on each client type, please click here.
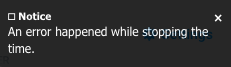
A stable internet connection is required in order for the web timer to work. If there is no connection, the app will stop tracking time and throw the following message:
Here is how to use the new web timer.
Step 1
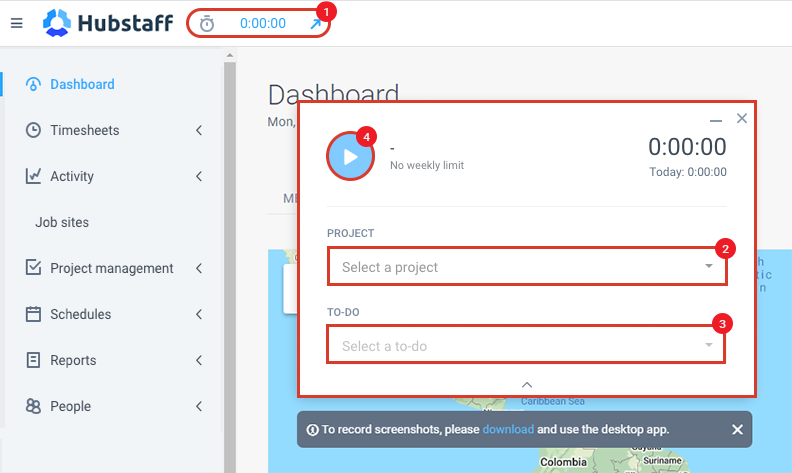
You will see the web timer shown in the top left of the screen next to the Hubstaff logo (It is visible on all pages on the site). When clicked (1), it will open up the web timer window. You will be able to choose the project you wish to track time to (2), as well as any tasks that are assigned (3). Click on the Play button to begin tracking time (4).
Step 2
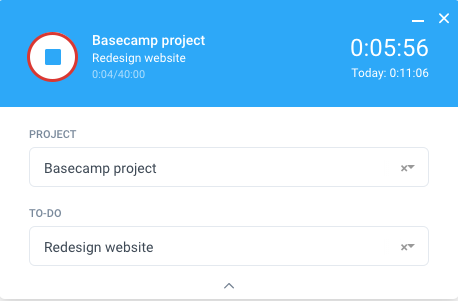
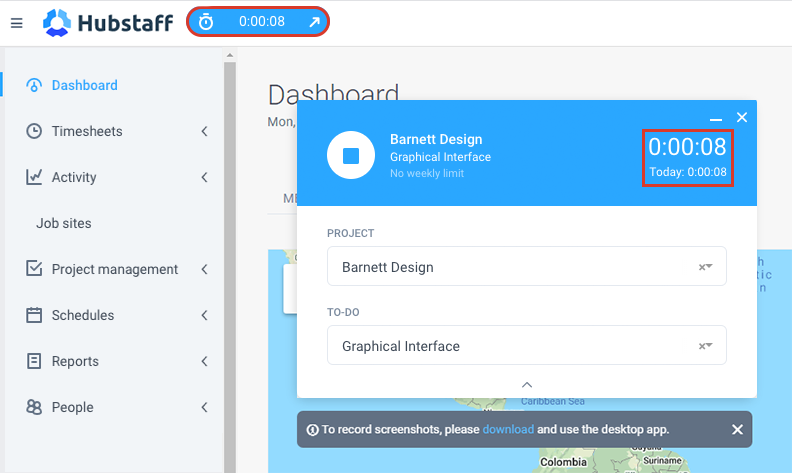
When you begin tracking time, the timer will turn blue. The time tracked during that session, and the total time tracked for that day is displayed on the timer itself.
Step 3
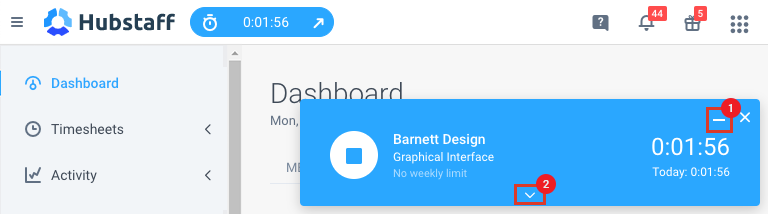
The timer can be minimized to a smaller version by clicking the minimize button (1). You can also restore the timer by clicking on the downward arrow at the bottom of the app (2).
Step 4
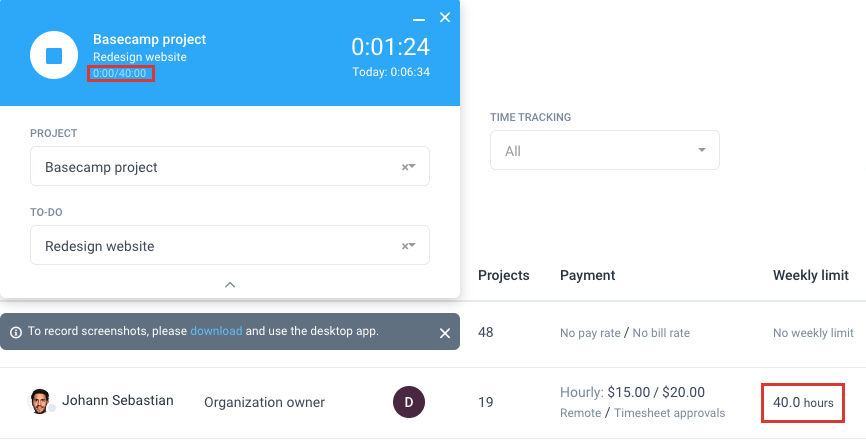
Any weekly limits that have been set will also show on the timer, as well as the remaining balance.
Step 5
Press the Stop button to stop recording time.
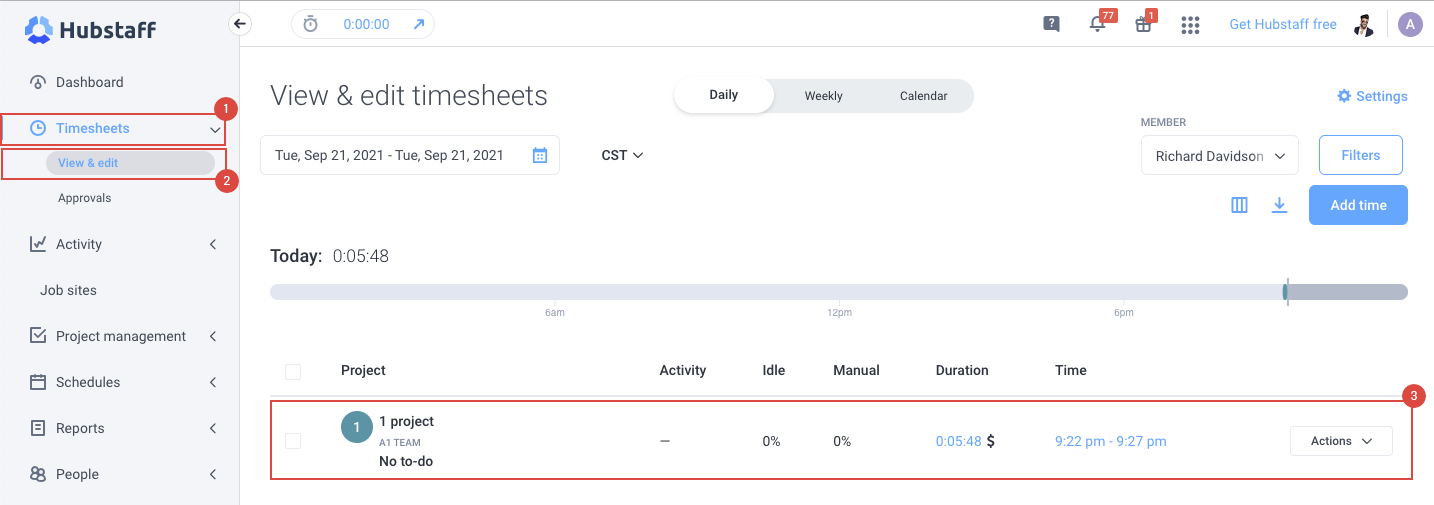
Once the timer is stopped, you’ll see the time you recorded via the Timesheets > View & edit page.
Adding to-dos using the web timer
Step 1
Open the web timer and select the project where the to-do is added.
On the TO-DO / JOB filter, select + Add a to-do.

Step 2
A new to-do window will open, Add a To-Do name, select an Assignee, and Save.

The web timer can be clicked and dragged anywhere on the page to ensure it does not cover or block any of the information on the pages you are viewing.
Adding to-dos on the Web timer is only available for projects without any 3rd party integrations.
Be sure to press the Stop button once you have stopped working. If you close your browser while the timer is still running, it will not automatically stop. Once stopped, the timer will stop tracking time and activity.