Projects in Hubstaff Tasks are where you organize the different tasks you and/or your team members will work on. Projects can encompass anything you want, such as “Development” or “Sales”, or they can be specific to clients or team members. When you have at least one project created, you’ll be able to start adding tasks to it.
Creating a Project
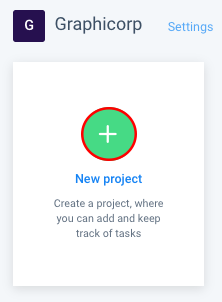
Step 1
Click New project to create a new project (you’ll organize lists and tasks under each project, and can create as many as you need).
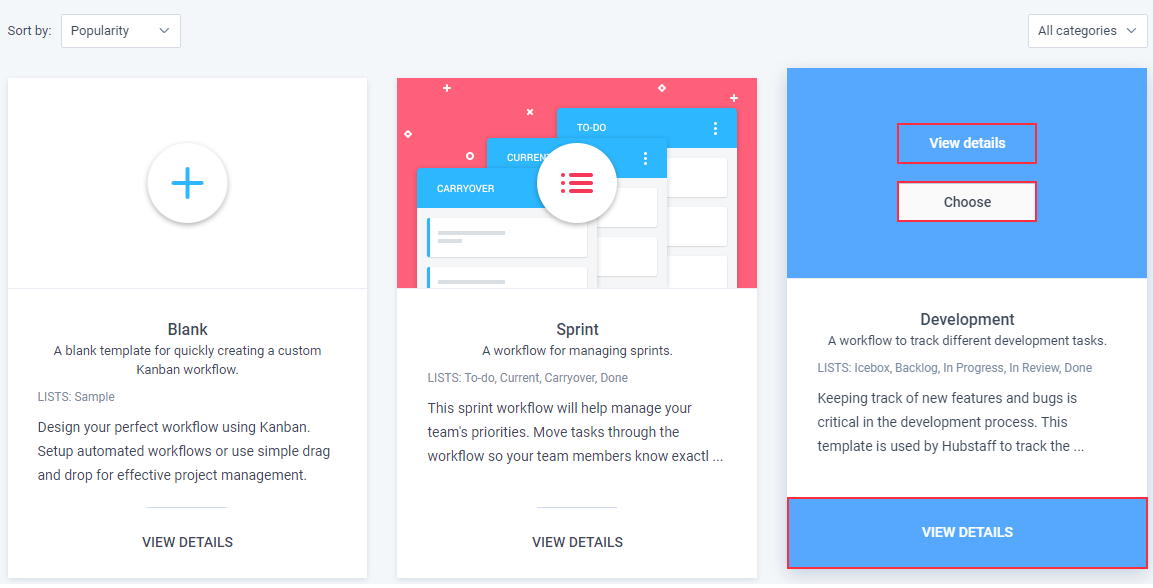
Step 2
You’ll be able to choose a template to help you quickly create a project (there is also a Blank option if you wish to not use any template). Click View Details to see more about the template and select it.
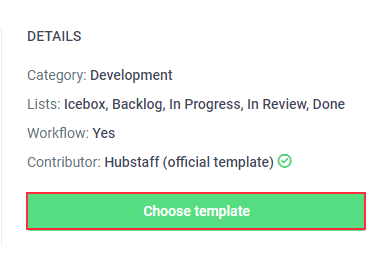
Step 3
You can learn more about the template, and if you want to proceed with it, click Choose template.
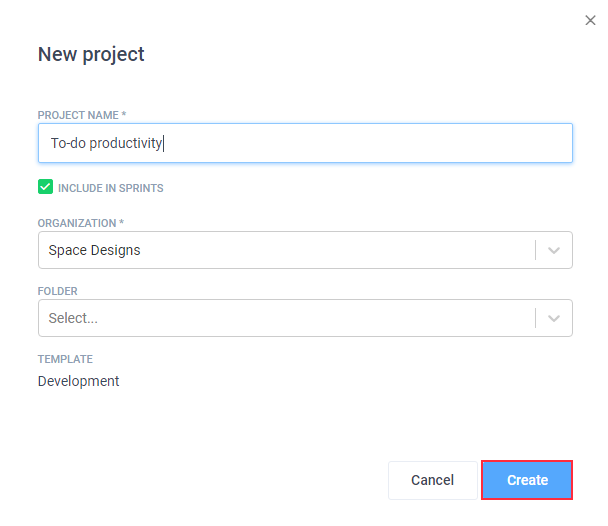
Step 4
Enter a name for the project and click Create.
Project Lists
Lists are groups of tasks. You can add as many lists as you need and move them by dragging them from one position to another. After creating a project, you’ll see some lists already created (if you selected a template).
Step 1
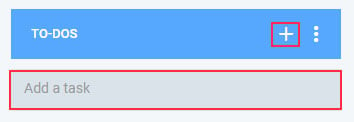
You can click the Add a task to quickly create a task, or press the + button to create a task and place it at the top of the list (this is useful when you already have many tasks created).
Step 2
You can also create a new list by clicking the Add a new list option.

Step 3
You’ll be able to enter the name of your new list and click the Save button.

After creating a list, you can start adding tasks to them. You can assign different members to tasks to assign them or set them as followers.
Project Settings
You can access your project settings in the top right corner of your project.
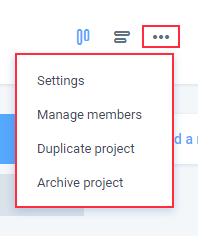
- The Settings option will let you change the name of the project, change its parent folder, archive it, or delete it.
- The Manage members option will allow you to invite new team members or change permissions of existing team members so they can view or collaborate on the project.
- The Duplicate project option will allow you to create a copy of the existing project. This feature is useful when your organization’s workflow includes repeating projects and tasks/to-dos.
- The Archive project option will allow you to get the project out of the way by archiving it (it’s essentially soft deleting it – you can restore the project at any time if you need to).